
Build Your Dream Backyard Pond (That Actually Looks Natural)
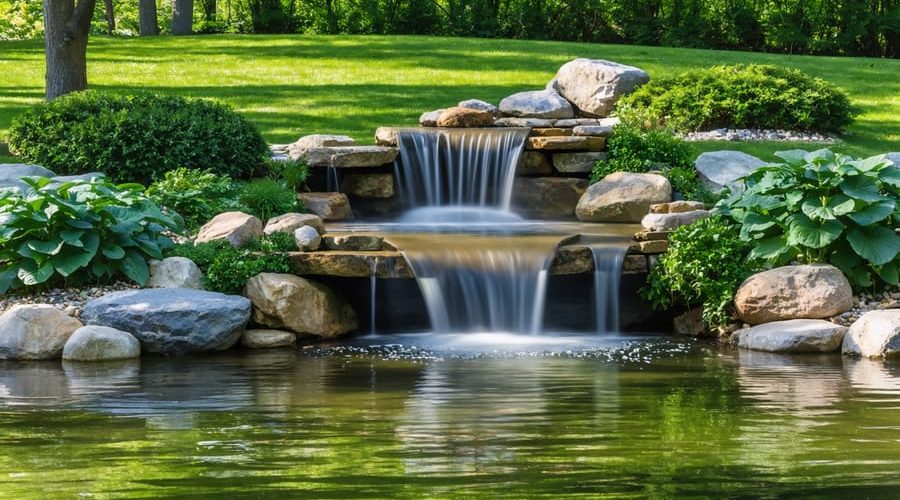
Transform your backyard into a tranquil oasis by creating a stunning garden pond and waterfall that rivals professional installations. Building these water features requires careful planning but delivers remarkable results – from the soothing sounds of cascading water to the vibrant ecosystem they support. Whether you’re dreaming of a simple meditation pool or an elaborate backyard pond ideas with multiple waterfalls, this comprehensive guide will walk you through every critical step.
The key to success lies in three fundamental aspects: precise excavation that considers natural ground slopes, proper liner installation that prevents leaks, and strategic placement of rocks to create authentic-looking waterfalls. With the right tools, materials, and our expert guidance, you’ll learn how to construct a water feature that seamlessly integrates with your landscape while providing years of enjoyment.
Let’s dive into the essential techniques that will help you build a professional-quality pond and waterfall system, starting with crucial planning decisions that will save you time and prevent costly mistakes down the line.
Planning Your Perfect Pond
Choosing the Ideal Location
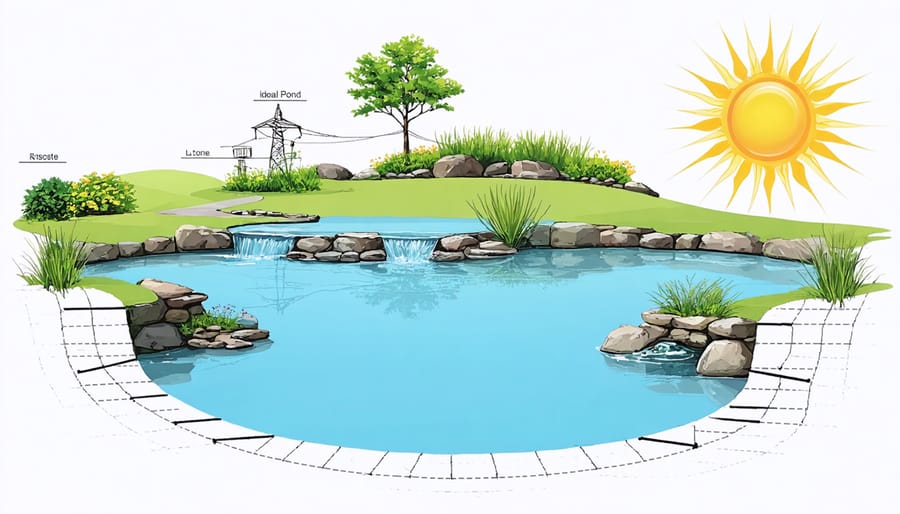
Selecting the perfect spot for your garden pond is crucial for its long-term success. Start by identifying an area that receives 4-6 hours of sunlight daily – this balance helps prevent excessive algae growth while supporting healthy aquatic plants. Avoid placing your pond under trees, as falling leaves can clog filters and affect water quality.
Consider the natural contours of your land, as working with existing slopes can make waterfall installation easier and more natural-looking. You’ll want to ensure proper drainage away from your home’s foundation, and the area should be relatively level or easily adaptable for leveling.
Before breaking ground, contact your local utilities company to mark underground lines. This essential safety step prevents accidents during excavation. Also, think about proximity to electrical outlets for pumps and pond lighting options.
Choose a location visible from your favorite outdoor sitting area or through windows, maximizing enjoyment of your water feature. Consider accessibility for maintenance and ensure there’s enough space around the pond for comfortable movement and potential future expansions.
Size and Depth Requirements
When planning your garden pond, size and depth are crucial factors that significantly impact its success. For a small decorative pond, aim for at least 50 square feet of surface area and a minimum depth of 2 feet. Medium-sized ponds work best between 100-300 square feet with depths varying from 2-4 feet. If you’re planning to keep koi, you’ll need at least 1,000 gallons and a depth of 4-6 feet to give them adequate space to thrive.
Remember to include different depth zones in your design. The shallow marginal shelf should be 6-12 inches deep for aquatic plants, while the deep end provides fish with protection from predators and temperature fluctuations. For natural-looking waterfalls, plan a drop of 1-2 feet for every 10 feet of stream length.
Always check local building codes before digging, as some areas require permits for ponds exceeding certain dimensions. Consider maintenance accessibility when determining size – you should be able to reach the center of the pond from the edges for cleaning and care.
Essential Materials and Tools
Before starting your pond and waterfall project, gather these essential materials and tools:
For the pond:
– Pond liner (EPDM rubber or PVC)
– Underlayment fabric
– Shovel and spade
– Level tool
– Wheelbarrow
– Measuring tape
– Heavy-duty scissors
– Garden hose
– Pond pump (sized for your project)
– Filter system
– Marking paint or rope
For the waterfall:
– Natural stones or pre-formed waterfall units
– Waterfall foam sealant
– Flexible waterfall liner
– PVC piping and fittings
– Pump tubing
Additional tools:
– Work gloves
– Safety goggles
– Utility knife
– Channel locks
– Carpenter’s level
– Rubber mallet
– Sand or crushed stone
– Garden rake
– Pliers set
Optional materials:
– Pond plants
– Fish-safe water conditioner
– Lighting system
– Decorative rocks
– Aquatic plant baskets
– Edge materials (pavers, stones)
Remember to calculate materials based on your pond’s size and design before purchasing.
Building Your Pond Foundation
Excavation Tips and Techniques
The success of your pond project largely depends on proper excavation techniques. Start by marking your pond outline using spray paint or rope, following your design plan. Before digging, call your local utilities company to check for underground lines and pipes.
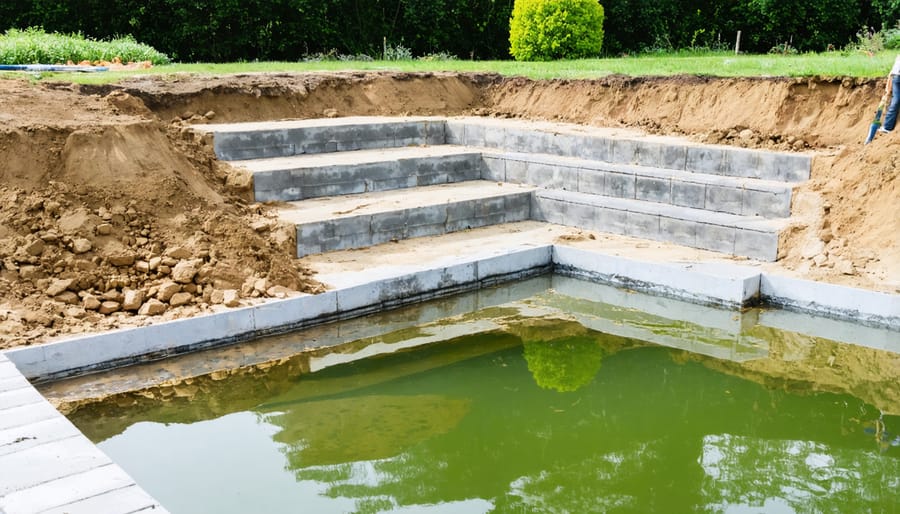
Begin excavating from the center outward, creating distinct shelves or levels as you go. The top shelf should be approximately 9-12 inches deep – perfect for marginal plants. Create a second shelf at about 18-24 inches deep for water lilies and other aquatic plants. The deepest part of your pond should be 30-36 inches, providing fish with a safe haven during extreme weather.
When digging, maintain a gentle slope between levels to prevent soil collapse. Use a spirit level frequently to ensure your edges are even – this is crucial for achieving a professional look and preventing water from pooling on one side. Remove any sharp rocks, roots, or debris that could puncture your liner later.
For natural-looking results, avoid perfectly straight lines and geometric shapes. Instead, create gentle curves and irregular edges that mirror nature. As you dig, pile the excavated soil nearby – you’ll need it later for building up the waterfall area and backfilling around the edges.
Keep the sides of your shelves slightly angled inward (about 20 degrees) rather than perfectly vertical. This helps prevent cave-ins and makes it easier to position the liner later. Remember to compact the soil at each level using a tamper to create a solid foundation for your pond.
Remember to take frequent breaks and pace yourself – excavation is physically demanding work, but careful attention to detail at this stage will pay off in the final result.
Installing the Liner Correctly
Before laying your pond liner, start by installing a protective underlayment to prevent rocks and roots from puncturing the liner. Roll out the underlayment material, ensuring it covers the entire excavated area with at least 12 inches of overlap around the edges. Smooth out any wrinkles or folds as you go.
Now for the liner itself – choose a calm, warm day for installation as this makes the material more flexible. Begin by unfolding the liner and draping it over the entire pond area. Don’t pull it tight yet! Allow the liner to settle naturally into the contours of your excavation. The liner should overlap the edges by at least 2 feet on all sides to ensure adequate coverage.
Start at the deepest point and gradually work your way outward, gently pushing the liner into all corners and crevices. Avoid stretching or pulling too hard, as this could cause thin spots or tears. Instead, let the weight of the liner help it conform to the shape. For vertical areas, create neat folds rather than stretching the material.
As you work, place a few heavy rocks strategically around the edges to hold the liner in place. Don’t trim any excess material yet – you’ll want to wait until you’ve filled the pond with water and are sure of the final positioning. The weight of the water will help settle the liner into its final position.
In shelves or plant zones, create gentle pleats to accommodate the different levels without creating sharp angles that could stress the material. Take your time with this step – proper liner installation is crucial for a leak-free pond that will last for years.
Edge Design and Finishing
Creating natural-looking edges is crucial for making your pond blend seamlessly with the surrounding landscape. Start by laying the liner with extra material extending beyond the pond’s edge. Using natural stone or flat rocks, place them slightly overlapping the liner’s edge, ensuring they hang about 2-3 inches over the water. This overhang creates a shadow line that conceals the liner and provides a more natural appearance.
For a professional finish, consider incorporating marginal plants along the edges. These plants help soften the transition between water and land while hiding any visible liner. When maintaining pond edges, leave small gaps between rocks to allow these plants to root and spread naturally.
Add smaller rocks and gravel around larger stones to create a more organic look. This technique, known as “naturalizing,” helps prevent soil erosion and provides additional habitats for beneficial pond creatures. For sloped areas, create terraced levels using rocks of varying sizes, ensuring each level is properly secured to prevent shifting.
Remember to angle the edges slightly toward the pond to direct rainfall into the water rather than washing soil into it. This small detail not only helps maintain water quality but also creates a more polished look that will make your pond appear as though it’s always been part of your landscape.
Creating Your Waterfall
Waterfall Design Basics
Creating a natural-looking waterfall starts with thoughtful design and planning. The key is to envision how water will flow from top to bottom, mimicking nature’s patterns. Begin by determining your waterfall’s height – taller falls create more dramatic sounds but require stronger pumps and more maintenance.
For a natural appearance, plan multiple drops rather than one straight fall. Consider creating a series of plateaus where water can pool briefly before cascading to the next level. This creates interesting visual effects and pleasant water sounds. A good rule of thumb is to include at least two drops for every 2 feet of height.
When planning the structure, arrange larger rocks at the base to create a solid foundation. Position flat stones slightly tilted inward along the course to direct water flow toward the pond. Leave small gaps between rocks to allow water to splash and create those desirable trickling effects.
The width of your waterfall should be proportional to your pond size – typically about one-third the width of your pond at its widest point. Remember to incorporate curves and irregular edges rather than straight lines, as this appears more natural.
Consider viewing angles from different spots in your yard, especially from seating areas and windows. Plan for both daytime aesthetics and evening enjoyment by including spots for underwater lighting.
Building the Framework
Now that you’ve prepared your base, it’s time to build the waterfall structure that will bring life and sound to your garden pond. Start by placing your largest rocks at the bottom of the slope, creating a solid foundation. These anchor stones should be partially buried for stability and natural appearance.
Working your way up, build tiers using flat stones of decreasing size. Each tier should have a slight backward slope to ensure water flows correctly and prevents splashing outside the pond. A good rule of thumb is to maintain a 1-inch drop for every foot of horizontal distance.
Create natural-looking shelves by staggering rocks of different sizes. Position smaller stones between larger ones to fill gaps and create multiple pathways for water to flow. This variation helps achieve that sought-after natural cascade effect. Remember to use pond foam between rocks to direct water flow and prevent it from disappearing beneath the stones.
For each tier, create a small pool or catch basin where water can collect before spilling to the next level. These mini-pools add visual interest and create those pleasant water sounds we all love. Aim for at least three distinct tiers for the most appealing effect.
Test the water flow as you build by running a garden hose over your creation. This helps you identify any adjustments needed before finalizing the structure. Pay attention to splash zones and make sure water flows where intended.
Secure everything with construction adhesive suitable for underwater use. While this isn’t always necessary for every stone, it’s essential for key structural pieces. Once your framework is stable, add smaller rocks and gravel around the edges to soften the appearance and create a more natural transition between the waterfall and surrounding landscape.
Remember that nature rarely creates perfect lines – embrace some asymmetry in your design. This will help your waterfall look like it’s always been part of your garden rather than an obvious addition.

Rock Placement and Water Flow
Creating a natural-looking rock arrangement is crucial for your pond and waterfall to blend seamlessly with your landscape. Start by selecting rocks of varying sizes, from large boulders for anchoring to smaller stones for detail work. When placing larger rocks, position them slightly tilted inward toward the pond to direct water flow back into the feature rather than outside it.
Begin at the bottom of your waterfall and work your way up, setting your foundation rocks first. These should be your largest pieces, partially buried for stability. Layer smaller rocks on top, creating natural-looking terraces that water can cascade over. Remember to stagger the rocks rather than stacking them in straight lines – nature rarely creates perfect patterns.
For the most natural water flow, create multiple paths for the water to travel. Some areas should have gentle trickles while others feature more dramatic drops. Test the water flow using a garden hose before permanently securing your rocks. This helps you identify any adjustments needed in rock placement to achieve your desired effect.
Use smaller stones and gravel to fill gaps between larger rocks, but don’t completely pack these spaces. Small voids allow for beneficial bacteria growth and create micro-habitats for beneficial organisms. When positioning rocks along the pond’s edge, alternate between larger and smaller stones to create a more organic look.
Pay special attention to hiding your liner with rocks and gravel, ensuring no plastic is visible. For areas where water drops, create splash zones with flat rocks to prevent erosion and minimize water loss through splashing. Consider adding strategic curves and turns in your waterfall design – this not only looks more natural but also helps oxygenate the water as it flows.
As you work, step back frequently to view your creation from different angles. This helps ensure your rock placement looks natural from all viewing points and maintains proper water flow throughout the feature.
Final Steps and Setup
Pump and Filter Installation
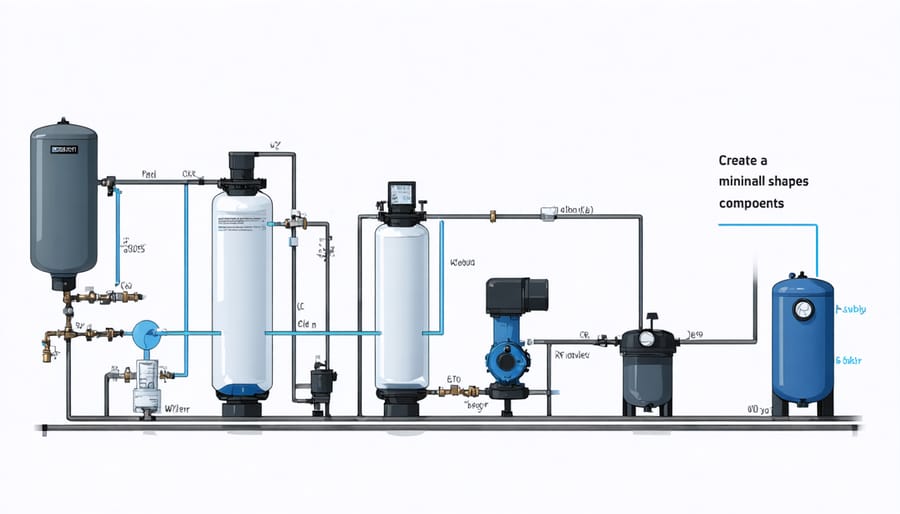
A well-functioning pump and filter system is crucial for maintaining a healthy pond ecosystem. Start by choosing the right filter based on your pond’s size and fish population. Position your pump at the deepest point of the pond, ideally in a pump basket to prevent debris from clogging it.
Run your electrical cable through protective conduit and ensure it connects to a GFCI outlet for safety. Place your filter box near the top of your waterfall, concealing it behind rocks or plants for a natural look. Connect the pump to the filter using flexible hose, securing all connections with hose clamps to prevent leaks.
For optimal circulation, aim to pump the entire volume of your pond through the filter once every two hours. Install a ball valve between the pump and filter to adjust water flow as needed. Remember to leave enough slack in the hoses to allow for maintenance access, and position everything so you can easily reach it for regular cleaning.
Test the system thoroughly before adding fish or plants, checking for proper flow and any potential leaks.
Initial Filling and Testing
Once your pond construction is complete, it’s time for the exciting part – filling it up and testing everything! Start by filling the pond with fresh water, making sure to treat it with a water conditioner to remove harmful chemicals like chlorine. As the pond fills, keep an eye on your liner and ensure there are no visible leaks or unusual bulging.
Turn on your pump and let it run for several hours to test the water circulation. Watch how the water flows through your waterfall – you might need to adjust rocks or redirect water flow for the perfect cascade. This is also the time to check that your filtration system is working properly and that water isn’t splashing outside the pond’s edges.
During the first few days, monitor the water level closely. A slight drop is normal due to evaporation and splash, but significant losses might indicate a leak. Test all your electrical components, including lights and aerators, to ensure they’re functioning safely. Remember, learning to maintain your water feature properly from the start will help prevent issues down the line.
Give the pond system about a week to stabilize before adding any fish or plants. This allows beneficial bacteria to begin establishing themselves and ensures everything is running smoothly.
Building your own garden pond and waterfall is an incredibly rewarding project that can transform your outdoor space into a peaceful oasis. By following the steps we’ve covered, from careful planning and excavation to proper liner installation and waterfall construction, you can create a stunning water feature that will bring joy for years to come. Remember to take your time with each stage, particularly with the initial design and foundation work, as these elements are crucial for long-term success. Don’t be intimidated by the scope of the project – break it down into manageable steps and celebrate your progress along the way. With the right tools, materials, and patience, you’ll soon be enjoying the soothing sounds of flowing water in your very own backyard paradise. Start your pond-building journey today and watch as your garden transforms into a vibrant ecosystem filled with life and tranquility.