
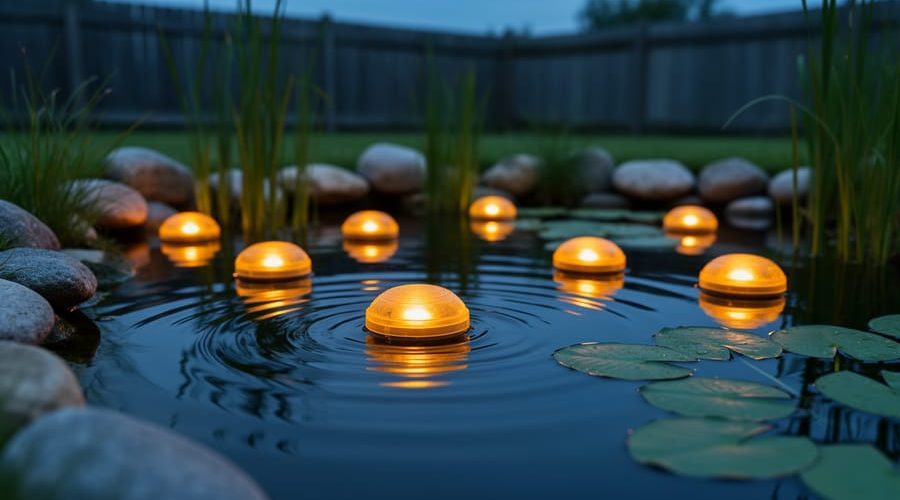
How to Use Floating Pond Lights to Attract Wildlife and Support Biodiversity
Installing floating pond lights takes about 30 minutes and transforms your water garden into an evening habitat that supports biodiversity when you choose the right spectrum and placement. The key is balancing warm, low-intensity lighting that lets you enjoy your pond after dark without disrupting the nocturnal behaviors of frogs, beneficial insects, and visiting wildlife.
Most water gardeners think pond lighting is purely decorative, but your choices directly affect every creature that depends on your pond. Bright white LEDs can disorient frogs during breeding season, while poorly timed lights confuse aquatic insects that rely on moon cycles. The good news? You can create a stunning nighttime display and protect your ecosystem with simple installation techniques that prioritize both goals.
I learned this the hard way three summers ago when my first set of solar floating lights, brilliant and blue-white, sent my resident frogs into hiding for weeks. They stopped calling, egg masses disappeared, and the mosquito population exploded without tadpoles to control larvae. Switching to amber-spectrum floaters on timers brought the whole ecosystem back to life within a month.
This guide walks you through every step of installing floating pond lights that genuinely support your pond’s biodiversity. You’ll get specific product criteria, exact placement strategies based on pond zones, and a maintenance schedule that keeps your lights working without stressing wildlife. Whether you’re lighting a small container pond or a sprawling backyard ecosystem, these techniques work for any scale and skill level.
Why Floating Lights Matter for Pond Ecosystems
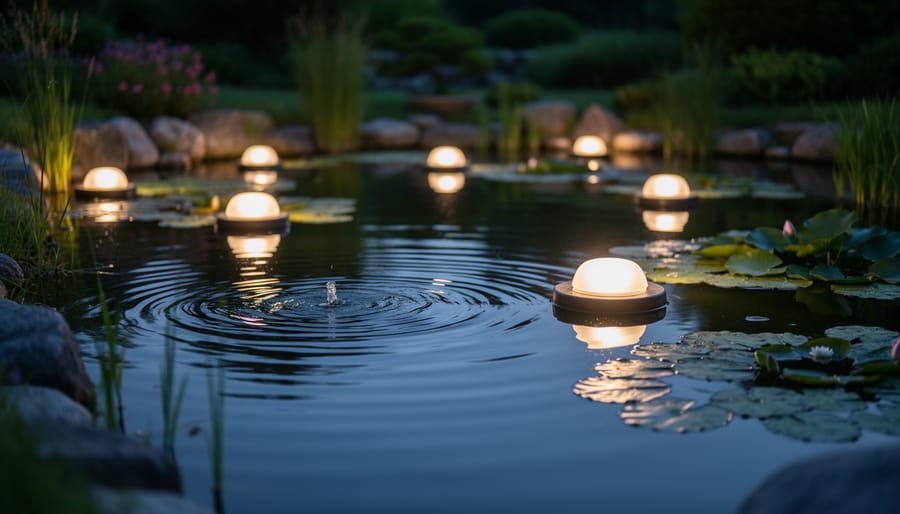
Light doesn’t just illuminate your pond, it transforms it into a living ecosystem hotspot. When you understand how pond lighting changes your water at a biological level, you can design a setup that actively supports wildlife rather than simply decorating it.
Floating lights act as insect magnets, pulling in moths, midges, and other flying invertebrates that become crucial food sources for fish, frogs, and diving beetles. The warm glow creates microzones where water temperature rises slightly, just a degree or two, providing comfortable basking spots for amphibians on cool evenings. These warmth pockets also speed up beneficial bacterial activity near the surface, improving water quality in localized areas.
Nocturnal wildlife like hedgehogs and bats use soft light sources as navigation markers when approaching water to drink or hunt. The gentle illumination helps them locate safe access points without startling them the way harsh spotlights would. Dragonfly nymphs and water beetles also orient themselves using subtle light gradients when emerging at night.
The catch is finding the sweet spot. Too much light disrupts natural rhythms, fish need darkness to rest, and constant brightness can stress amphibians. Excessive illumination also triggers algae blooms by extending photosynthesis hours. Too little light, however, misses the biodiversity benefits entirely. This is where glare control for ponds becomes important, you want enough diffused light to create biological activity without overwhelming the system. Most successful setups use 50-100 lumens per light with warm color temperatures, positioned to create lit feeding zones and dark resting areas in the same pond.
What You’ll Need to Install Floating Pond Lights
Getting your materials together before you start makes installation much smoother and helps you avoid multiple trips to the hardware store. The exact supplies depend on your pond’s size and your biodiversity goals, but this checklist covers everything you’ll need.
Lighting Equipment and Power Sources
Your primary decision is choosing between solar, LED, and low-voltage options. Solar floating lights work best for ponds smaller than 500 square feet and eliminate electrical concerns entirely, just make sure they’ll receive at least six hours of direct sunlight daily for reliable nighttime operation. LED floating lights connected to low-voltage systems (12V) offer brighter, more consistent illumination for larger ponds and give you precise control over timing and intensity. Standard 120V lights exist but pose greater safety risks near water and aren’t recommended for biodiversity-focused installations.
Plan on one light per 40-60 square feet of pond surface for balanced coverage that creates lit zones without overwhelming the ecosystem. A 200-square-foot pond typically needs 3-5 lights depending on your desired effect.
Installation and Anchoring Supplies
- Waterproof floating lights with IP68 rating (fully submersible protection)
- Monofilament fishing line (20-30 lb test) or marine-grade anchor rope for securing lights
- Small weights or ground stakes to prevent drift (smooth river rocks work well)
- Pond-safe silicone sealant for any connection points
- Waterproof wire connectors if using wired lights
- Measuring tape or range finder for spacing calculations
- Waterproof gloves and waders if you’ll enter the pond
- Optional: outdoor-rated timer or smart plug for automated scheduling
- Optional: light sensor for automatic dusk-to-dawn operation
- Optional: dimmer switch compatible with your power system
For ponds deeper than three feet, you’ll also want a telescoping pole or pond net to help position lights without wading. Keep your pond’s depth measurements handy, shallow areas under 18 inches need different placement strategies than deeper zones where lights can float freely without disturbing bottom-dwelling wildlife.
Safety Precautions Before You Begin
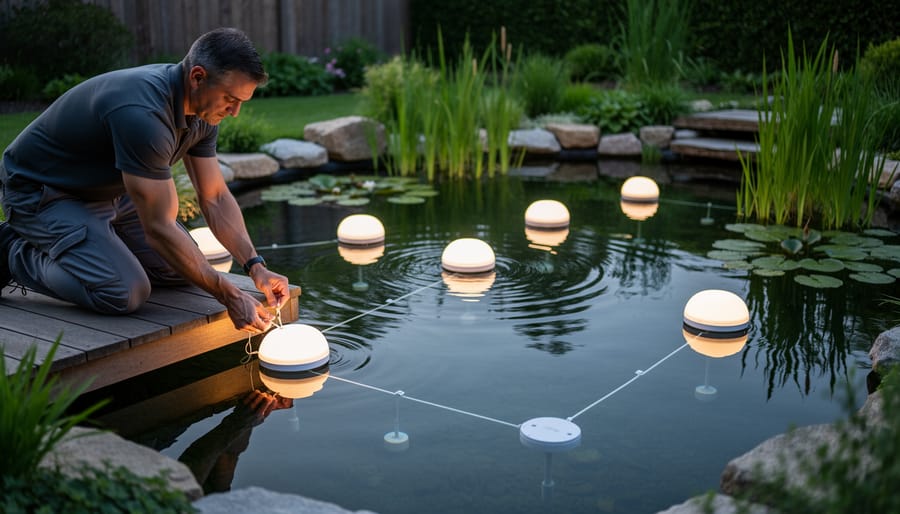
Before you install floating pond lights, address three critical safety areas: electrical hazards, wildlife protection, and proper equipment standards.
Water and electricity create a dangerous combination. Only use lights specifically designed for underwater or floating applications with an IP68 waterproof rating, which ensures complete protection against submersion. Never attempt to modify standard outdoor lights for pond use, and keep all power connections and transformers at least three feet away from the water’s edge. If you’re using low-voltage or electric lights rather than solar options, consider hiring a licensed electrician to install GFCI (ground fault circuit interrupter) outlets for added protection.
Your existing wildlife deserves careful consideration during installation. Avoid installing lights during spring breeding seasons (March through June in most regions) when amphibians are laying eggs and fish are spawning. Sudden changes in lighting can stress fish, so introduce lights gradually over several evenings rather than switching them all on at once. When you choose light colors later in the process, remember that fish don’t have eyelids and constant bright light can disrupt their rest cycles.
Wear rubber-soled boots when working around the pond perimeter, and have a helper present during installation in case of emergencies.
Step-by-Step: Installing Your Floating Pond Lights
Step 1: Map Your Lighting Zones
Grab a notebook and sketch a bird’s-eye view of your pond before you place a single light. This simple map will help you identify three critical zones where floating lights deliver the most wildlife benefit.
Start with your shallow edgesareas 6 to 12 inches deep where the water meets the bank. Mark these on your sketch. These zones are amphibian magnets where frogs and toads hunt insects and feel safe from deeper-water predators. Plan to position one or two lights here.
Next, identify your deeper sectionstypically the center or any areas over 2 feet deep. Fish patrol these zones at night, feeding on insects attracted to light above. Note these spots for your brightest fixtures.
Finally, mark any open water areas away from dense vegetation. These clear zones pull in flying insects like moths and midges, which become food for bats, birds, and fish. Leave at least one open-water light position on your map.
Add notes about existing plants, rocks, or structures near each zone. You’ll want lights positioned 2 to 3 feet from marginal plants where wildlife can easily move between lit and sheltered dark areas.
Step 2: Choose the Right Light Color and Intensity
Start with warm white lights in the 2700-3000K range. These color temperatures mimic natural moonlight and firelight, which pond creatures evolved alongside. Cool blue-white lights (5000K+) disorient amphibians and attract mosquitoes rather than beneficial insects like caddisflies and mayflies that feed your fish.
Brightness matters as much as color. Aim for 50-100 lumens per floating light. Anything brighter overwhelms the pond’s natural darkness and stresses nocturnal wildlife. If your lights offer dimming features, start at 60% intensity and adjust based on what you observe over the first week.
Here’s what different colors attract: Warm amber (2200-2700K) draws moths and beetles that frogs love. Pure white (3000-3500K) brings diverse insect activity without excessive mosquito attraction. Avoid blue, purple, or color-changing lights entirely. They attract biting insects and confuse breeding behaviors in frogs and newts.
Test your choice by observing insect activity 30 minutes after dark. You should see varied flying insects circling the lights, not clouds of one species. If mosquitoes dominate, your lights are too cool or too bright.
Step 3: Prepare Your Floating Lights
Before your lights touch water, spend a few minutes on proper preparation, it prevents headaches later. Unbox each floating light carefully and inspect the waterproof seals around battery compartments and charging ports. Look for any cracks, gaps, or damage from shipping. Press gently on rubber gaskets to ensure they’re seated correctly.
For solar units, place them in direct sunlight for a full day before installation. Most need 6-8 hours to reach full charge initially. If you’re using low-voltage electric lights, test connections on dry land first, make sure all plugs click securely and transformers work properly.
Attach any included stabilizing weights or anchor clips now while you have steady hands. Many floating lights come with small ring anchors underneath where you can tie monofilament line. If your lights didn’t include weights and your pond has current or wind exposure, add a small fishing sinker to the anchor line. This keeps lights from clustering together or drifting into shallow edges where they’re less effective for attracting wildlife.
Step 4: Position Lights for Maximum Wildlife Benefit
Lower your prepared lights into the pond one at a time, starting with the areas you identified in your lighting zone map. Place your first light in a shallow marginal zone near emergent plants like iris or cattails, these areas attract amphibians and the insects they feed on. Position the light so it’s 2-3 feet from the plant stems, close enough to illuminate them but not so near that it blocks access for frogs seeking shelter.
Space subsequent lights 6-10 feet apart, depending on your pond’s size. This spacing prevents over-illumination while creating distinct pools of light separated by darker zones. Wildlife needs these unlit corridors to move safely between feeding areas and hiding spots. If you have a 15-foot pond, three lights positioned in a triangular pattern work better than five clustered lights.
Create intentional dark zones along at least one-third of your pond’s perimeter. Leave the northern or eastern edge completely unlit, many nocturnal creatures prefer approaching water from darkness. This also gives fish a retreat area when they need rest from constant illumination.
Anchor each light using the weighted bases or tethering systems you prepared. For floating lights without built-in anchors, attach fishing line to the light’s anchor point and tie it to a clean rock (about fist-sized) or a pond stake. Keep 12-18 inches of slack in the tether, this lets lights move gently with surface ripples, creating natural light movement that attracts insects, while preventing them from drifting into plant clumps or clustering together.
Step 5: Set Timing and Intensity Schedules
Smart timing transforms your floating pond lights from pretty decorations into genuine biodiversity tools. Wildlife depends on natural day-night rhythms, so your lighting schedule matters as much as placement.
Set your lights to activate automatically at dusk, this captures peak insect activity when beneficial pollinators are most active. Program them to shut off by midnight at the latest. Many pond enthusiasts assume lights should run all night, but continuous illumination disrupts amphibian hunting patterns and prevents nocturnal wildlife from resting. Frogs, toads, and many insects need darkness to complete their natural cycles.
If your lights include dimming features, use them strategically. Start at full brightness for the first two hours after sunset to maximize insect attraction, then drop to 30-40% intensity until the lights turn off. This gradual reduction mimics natural twilight and allows wildlife to transition smoothly.
Adjust seasonally too. During spring breeding months, consider reducing your lighting hours to just one or two after dusk, amphibians are especially sensitive during mating season. In summer, you can extend to three or four hours when insect populations peak and provide abundant food for your pond’s ecosystem.
Step 6: Add Complementary Biodiversity Features
Once your lights are positioned and timed, you can amplify their biodiversity benefits by adding features that work synergistically with the illumination.
Place flat basking rocks just beyond the lit zones where they catch ambient warmth from the lights. Frogs and turtles use these spots to regulate body temperature during cooler evenings, and the nearby light attracts insects they feed on. Choose rocks with textured surfaces that provide secure footing when wet.
Add floating plants like water lettuce or dwarf water lily near your lights. These plants benefit from extended photosynthesis hours under gentle evening illumination while creating layered habitat structure. Position them at the edge of light pools rather than directly underneath to avoid overwhelming shade during daytime.
Install vertical perches, bamboo stakes or decorative metal rods, within two feet of floating lights. Dragonflies and damselflies use these elevated spots to hunt insects attracted to the light. Space perches 18-24 inches apart at varying heights to accommodate different species’ preferences.
Consider adding a shallow pebble beach adjacent to lit areas. This creates a gradient habitat where amphibians can easily enter and exit water while benefiting from insect activity around your lights.
How to Know Your Lighting Setup Is Working
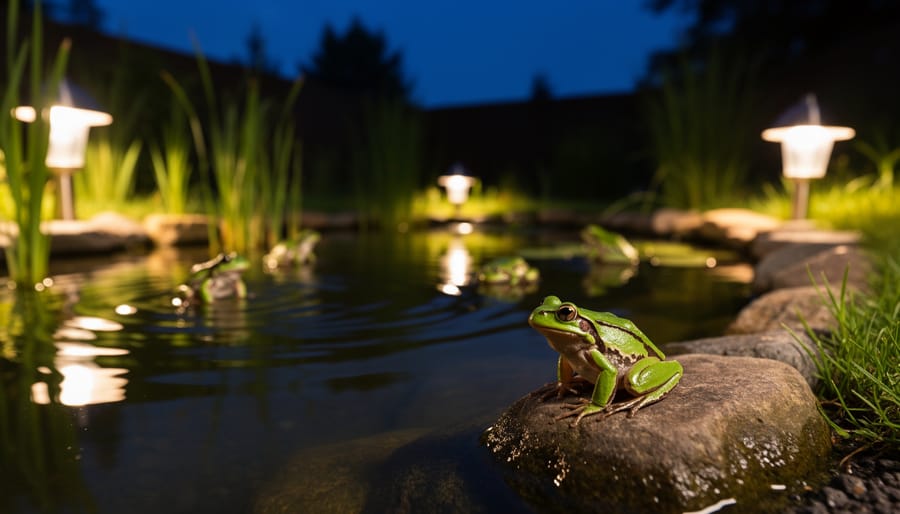
Within two to four weeks of installation, your floating pond lights should start showing clear signs they’re supporting biodiversity rather than working against it. Here’s what to watch for during evening observations:
- Insect activity increases noticeably around lights after sunset, look for mayflies, caddisflies, and non-biting midges circling 1-2 feet above the water surface within the first week.
- Fish begin surface feeding near lit zones during dusk hours, indicating they’re finding the insects attracted by your lights as a reliable food source.
- Frogs or toads appear in shallow areas adjacent to lighting within 2-3 weeks, often calling from spots where light affects zooplankton concentrations and creates feeding opportunities.
- Water clarity remains stable or improves, excessive algae growth around lights suggests too much intensity or duration.
- Wildlife activity continues in dark zones of your pond, confirming you’ve maintained essential unlit corridors for species that avoid illumination.
If you’re not seeing these results, troubleshoot by checking light intensity first. Lights brighter than 100 lumens may overwhelm the area and repel rather than attract beneficial wildlife. Poor placement is another common culprit, lights positioned too deep (below 18 inches) won’t effectively draw surface insects, while those too close to pond edges may disturb amphibian habitat.
Test adjustments one at a time: reduce brightness by 25 percent, shift a light’s position by three feet toward open water, or shorten your timer by an hour. Give each change a week before evaluating. The goal is subtle enhancement, not floodlighting your entire pond.
Next Steps: Maintaining Your Lights and Supporting Long-Term Biodiversity
Your floating pond lights are installed, but keeping them effective for wildlife means staying on top of a few simple tasks. Clean the lenses monthly with a soft cloth to remove algae and debris, dirty lights lose intensity and stop attracting insects effectively. Check solar panels every few weeks for leaf buildup or water spots that block charging.
Seasonal adjustments matter. As daylight hours shift, reprogram your timers so lights still activate at dusk. In autumn, remove floating lights before freeze-up if you live in cold climates, or switch to submersible models rated for winter use. Replace rechargeable batteries in solar units every 18-24 months, even if they still work, weak batteries cause dimming that reduces wildlife attraction.
Document what you’re seeing. Keep a simple log noting which species appear near your lights each month. Photograph dragonflies, frogs, or feeding fish at lit zones. These records help you spot patterns: maybe certain lights draw more amphibians, or specific colours attract beneficial beetles. Use that data to refine your setup.
Ready to expand? Add lights to unlit pond sections gradually, creating multiple attraction zones without overwhelming the ecosystem. Position new fixtures near different plant types or depth zones to diversify habitats. Consider connecting with other water gardeners to share observations and refine your biodiversity lighting strategy based on what works in similar ponds. Small, consistent efforts keep your lights working as wildlife magnets year after year.
Common Questions About Floating Pond Lights and Wildlife
The questions water gardeners ask most often reveal genuine concerns about balancing beautiful lighting with responsible wildlife stewardship. Here are the answers that will help you make confident decisions for your pond ecosystem.
Will my floating pond lights harm fish eyes or disrupt their natural behavior?
Fish eyes adapt well to gentle pond lighting when you use warm-spectrum bulbs at 50-100 lumens and maintain dark refuge zones. Problems only arise with excessive brightness or 24-hour lighting that prevents natural rest cycles.
Can floating lights actually cause light pollution that drives wildlife away?
Properly installed floating lights create localized illumination that attracts rather than repels wildlife, provided you turn them off by midnight and keep brightness moderate. The key is creating lit zones alongside dark areas where nocturnal creatures can retreat.
Should I use solar or electric floating lights for better biodiversity support?
Solar lights work beautifully for biodiversity because their dimming output through the evening naturally mimics twilight transitions. Electric lights offer consistent brightness but require careful timer programming to avoid over-illumination.
What’s the best practice for using floating pond lights during winter months?
Remove floating lights before ice forms to prevent damage and wildlife disturbance during dormancy periods. Most pond species benefit from natural darkness in winter, so lighting becomes unnecessary until spring thaw.
How can I use lighting to attract specific wildlife like frogs or dragonflies?
Position warm-white lights near shallow margins and emergent plants for frogs, who hunt insects drawn to the glow. Dragonflies prefer lights placed near vertical stems or rocks where they can perch while hunting the attracted prey.
These answers reflect what I’ve learned through seasons of watching how different species respond to thoughtfully placed lighting. The wildlife will tell you what’s working, increased activity around your lights after dusk means you’ve struck the right balance between illumination and natural darkness.