
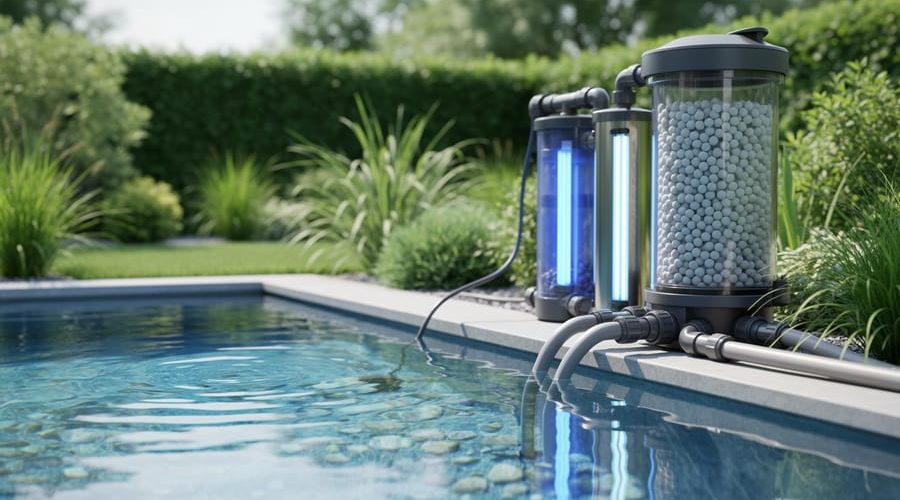
7 Natural Water Filtration Techniques Inspired by Groundwater Treatment Plants
A groundwater treatment plant purifies water drawn from underground aquifers through a carefully designed sequence of filtration, biological treatment, and disinfection before it reaches your tap. While these facilities are engineered for municipal drinking water, the core principles behind each stage translate beautifully to backyard pond filtration, and borrowing from these proven techniques can solve chronic clarity and algae problems that plague many water gardens.
Most of us don’t think about the massive infrastructure hidden beneath our feet, but groundwater plants process millions of liters daily using methods refined over decades. They strip particulates, neutralize harmful bacteria, and balance chemistry, all without relying on harsh chemicals. Your pond faces similar challenges: suspended debris clouds the water, beneficial bacteria struggle to establish, and algae blooms spiral out of control when conditions tip out of balance.
The good news? You don’t need a civil engineering degree or a six-figure budget to apply these same strategies. By understanding how treatment plants tackle contamination step by step, you can design a filtration system that works with your pond’s ecosystem instead of against it. Whether you’re battling murky water after heavy rain or dealing with persistent groundwater issues that seep into your liner, the techniques we’ll cover offer practical, field-tested solutions you can implement this season.
What follows isn’t a treatise on municipal water infrastructure. It’s a curated list of real filtration methods inspired by groundwater treatment science, each scaled down and adapted for home ponds, with clear DIY guidance and the reasons each stage matters.
Why Groundwater Treatment Principles Work for Ponds
Municipal groundwater treatment plants don’t rely on magic, they use straightforward, natural processes to transform raw aquifer water into safe drinking water. These facilities stack multiple filtration stages: mechanical screens catch sediment, biological beds host bacteria that digest contaminants, and aeration lets oxygen do the heavy lifting of oxidation. The same challenges they face, cloudy water full of suspended particles, dissolved organics that feed unwanted growth, pathogen control, and nutrient overload, are exactly what pond owners battle every spring and summer.
This overlap isn’t coincidental. Water is water, whether it’s pumped from 200 feet underground or circulating through your koi pond. Both systems benefit from the same core principles:
- Gravity-fed settlement that lets heavy particles drop out before finer filtration
- Aerobic bacterial colonies breaking down ammonia, nitrites, and organic waste
- Mechanical screening to remove debris and prevent clogging downstream
- Oxidation through aeration, which converts dissolved metals and supports beneficial microbes
- Natural media filtration using sand, gravel, or stone for physical and biological treatment
What makes these techniques so effective is their reliability over time. Treatment plants run 24/7 for decades using the same layered approach, proving these methods work at scale without constant intervention. They’re sustainable, too, no endless chemical dosing, no proprietary cartridges to replace every month.
For pond filtration, that translates to systems you can build once and maintain with basic seasonal care. You’re not chasing the latest gadget; you’re applying proven science that’s been purifying water since long before backyard ponds became a hobby. The seven techniques below borrow directly from this playbook, scaled down and adapted for fish, plants, and clear water you can actually enjoy.
1. Multi-Stage Mechanical Filtration (Settling Basins and Pre-Filters)
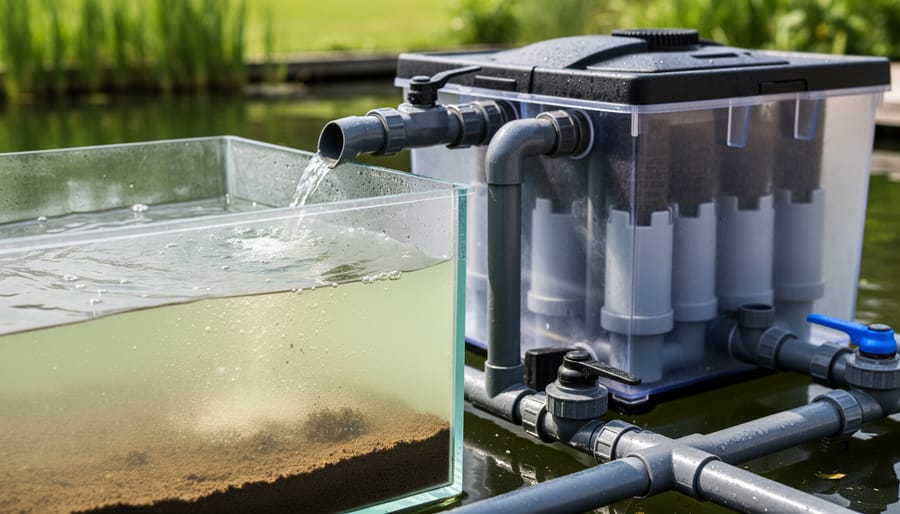
Municipal groundwater treatment facilities typically start the purification process with a simple but effective step: letting gravity do the work. Raw water from aquifers enters large settling basins or clarifiers where heavy particles, sand, silt, rust flakes, bits of organic matter, slowly sink to the bottom while cleaner water flows off the top. This mechanical separation happens before water reaches any fine filters or biological treatment stages, preventing those downstream components from clogging with coarse debris. It’s a proven, low-energy first line of defense that extends the life of more expensive filtration equipment.
You can borrow this same logic for your backyard pond by adding a pre-filter or settling chamber ahead of your main biological filter. Instead of forcing your pump and biofilter to handle every leaf fragment, twig, and clump of fish waste, a settling zone catches the bulk of solids before they get that far. The result is less frequent cleaning of your primary filter, better water flow, and a more efficient system overall.
A DIY settling chamber is surprisingly straightforward. If you have a multi-bay filter box, dedicate the first bay to settling: fill it partway with coarse gravel or pond matrix, and let water enter slowly from the pond pump. Debris drops into the gravel bed, and cleaner water spills over a weir or through a perforated pipe into the next chamber where your bio-media lives. Clean out the settling bay every few weeks by scooping out accumulated muck or backflushing with a hose.
Alternatively, use a separate pre-filter container, a plastic bin or old filter housing, installed in-line between your pump and biofilter. Position it below the biofilter if possible so gravity assists drainage during cleaning. Even a simple mesh bag filled with coarse sponge or lava rock will trap larger particles and make a noticeable difference in how often you scrub your main filter.
2. Biological Filtration with Media Beds (Mimicking Sand and Gravel Filtration)
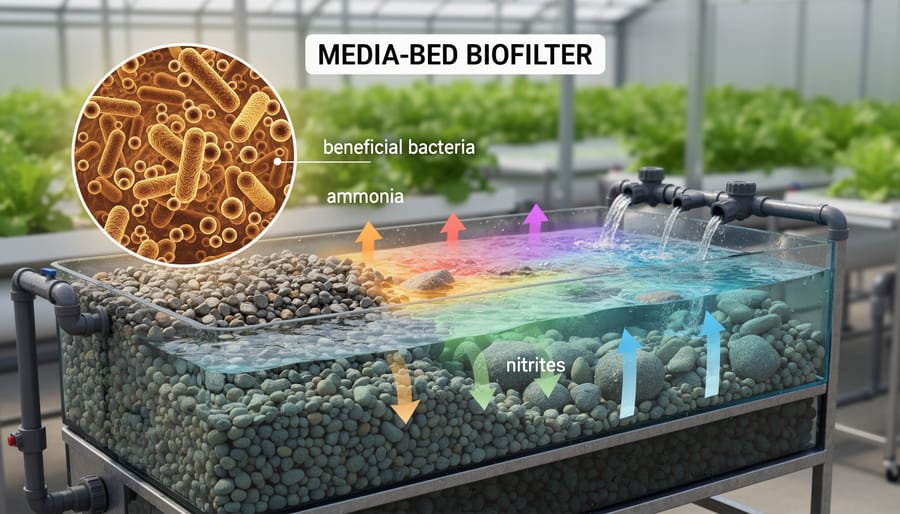
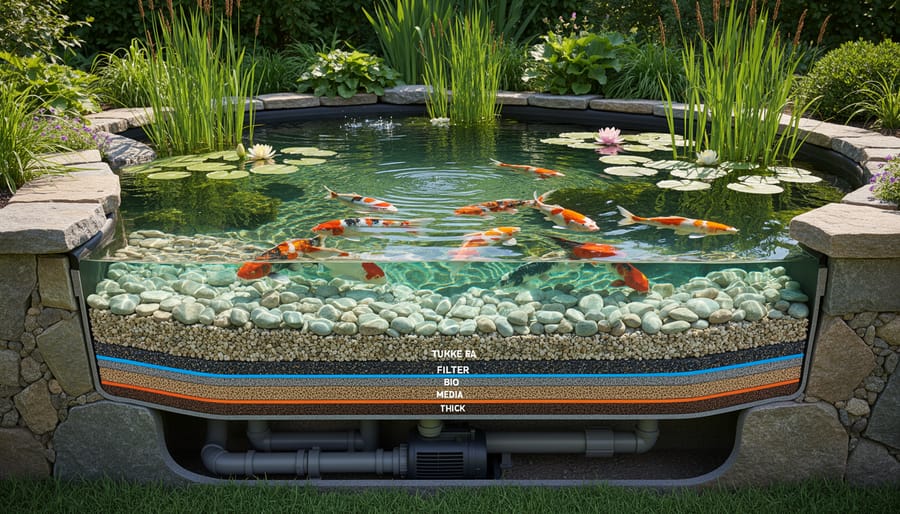
Municipal groundwater treatment plants rely on slow, gravity-fed filtration through deep beds of sand and gravel, where millions of beneficial bacteria colonize every grain. As water percolates through these layers, the bacteria digest dissolved ammonia (from organic decay) and convert it to nitrites, then nitrates, a process called nitrification that makes water safe. You can mimic this proven biological filtration in your pond by building a media bed filter, which is essentially a compact version of those industrial sand filters, scaled for backyard use.
The key is surface area. Treatment plants use tons of sand because more surface means more space for bacterial colonies. In your pond filter, swap the sand for materials like lava rock, ceramic rings, or plastic bio-balls, each offering high surface area per volume and excellent water flow. I set up a biofilter using lava rock in a large plastic tub a few years back, running pond water through it at a gentle rate. Within three weeks, the previously hazy water began to clear noticeably, and ammonia readings dropped to safe levels. The bacteria had established themselves on every porous surface, quietly processing fish waste around the clock.
Flow rate matters as much as media choice. Push water too fast and bacteria can’t keep up; too slow and you won’t turn over enough volume. Aim for a gentle trickle that allows contact time, municipal plants often run water at inches per hour through their sand beds. For a DIY pond biofilter, a flow rate of around 1-2 times your pond volume per hour strikes a good balance. If you’re chasing a murky water fix pairing mechanical pre-filtration with a well-sized media bed gives you the layered approach that groundwater facilities have refined over decades. Stack the media loosely in your filter box, ensure water flows through (not around) the bed, and let biology do the heavy lifting.
3. Aeration and Oxygenation (Air Stripping and Oxidation)
Groundwater treatment facilities force air through water to strip out dissolved gases like methane and hydrogen sulfide, and to oxidize minerals such as iron and manganese so they precipitate and can be filtered out. The process also saturates the water with oxygen, which supports aerobic bacteria essential for breaking down organic matter. You can harness this same principle in your pond with simple aeration equipment.
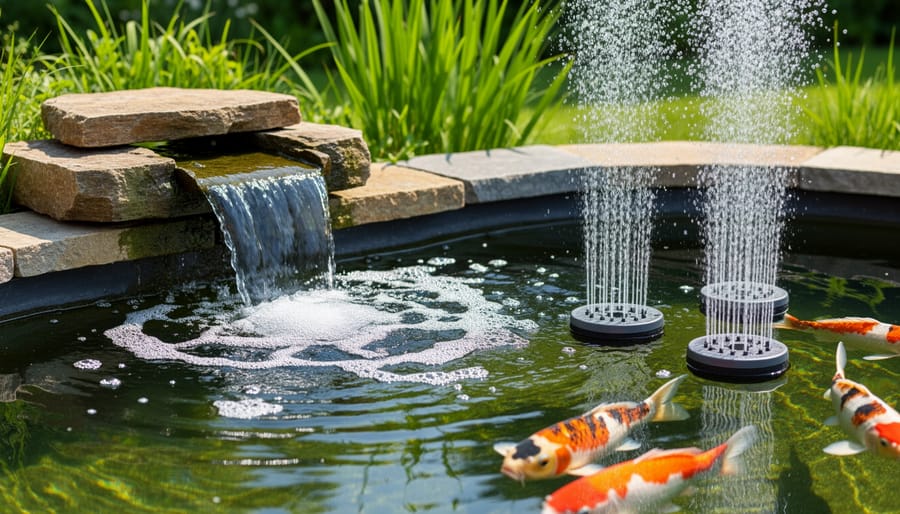
Installing an air pump with air stones is the easiest entry point. Drop one or two weighted diffusers along the pond bottom, connect them to a diaphragm pump on shore, and watch dissolved oxygen levels rise. Fish become more active, beneficial bacteria colonize faster in your biofilter, and organic sludge breaks down more efficiently. A 20-watt air pump runs about the cost of leaving a light bulb on, yet the water quality gains are immediate.
Fountains and waterfalls deliver similar benefits while adding visual appeal. A fountain spray breaks the surface tension and pulls air into the water column. A waterfall cascades over rocks, creating countless tiny bubbles. Both methods increase gas exchange, venting off carbon dioxide and ammonia while pulling in fresh oxygen. If you have the space and a modest budget, combining a waterfall for daytime aesthetics with air stones for 24-hour oxygenation works brilliantly.
Aeration also complements other filtration techniques. Better oxygen levels help bacteria in your sand or media biofilter work faster, and they reduce the conditions that favour certain algae blooms (though for persistent green water, pairing aeration with UV and greenwater control strategies gives clearer results). Start with one air stone and scale up as needed, your fish and filter will thank you.
4. UV Sterilization (Disinfection Without Chemicals)
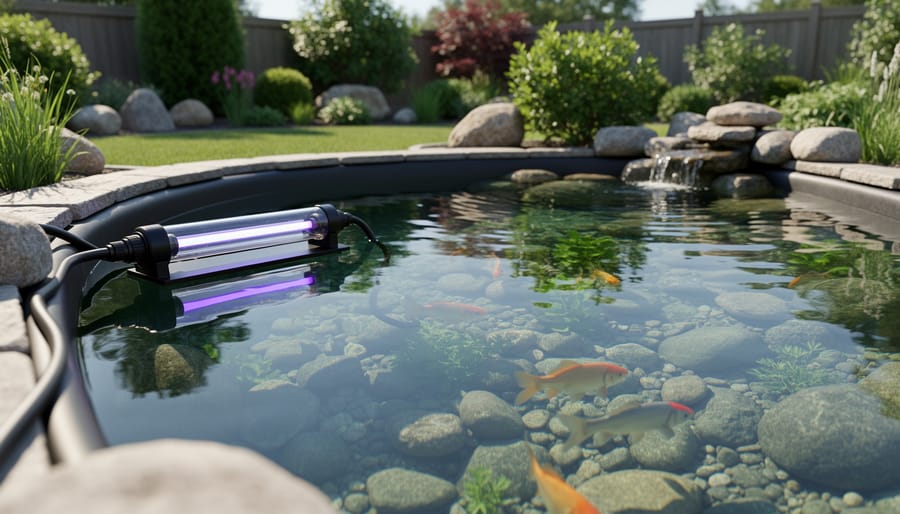
Large-scale groundwater treatment facilities have used ultraviolet disinfection for decades to kill bacteria, viruses, and other pathogens without introducing chlorine or chemical byproducts into drinking water. UV units expose water to high-intensity ultraviolet light at a specific wavelength (typically 254 nanometers), which disrupts the DNA of microorganisms and renders them unable to reproduce. For pond keepers, this same technology translates beautifully into UV clarifiers, compact inline devices that tackle green water algae and harmful bacteria without affecting fish, plants, or beneficial filter bacteria.
I fought pea-soup green water in my pond for two springs in a row. I tried water changes, added more plants, reduced feeding. Nothing worked until I installed a 36-watt UV clarifier between my pump and biofilter. Within five days the water went from opaque to crystal clear, and it stayed that way all season.
UV clarifiers work best when sized correctly. A general rule is 10 watts per 1,000 gallons for fish ponds, though heavily stocked or sun-exposed ponds may need 15 watts per 1,000 gallons. Flow rate matters too. Water must pass slowly enough through the UV chamber (usually 30 to 60 gallons per hour per watt) to receive adequate exposure. Running water too fast reduces contact time and kills fewer algae cells.
Bulbs lose effectiveness over time even if they still glow. Replace them every 12 months for consistent performance. Clean the quartz sleeve monthly by wiping off any buildup, since even a thin film blocks UV penetration. Position the unit after mechanical filtration so debris doesn’t coat the sleeve, but before the biofilter to avoid exposing beneficial bacteria colonies to unnecessary UV exposure.
5. Slow Sand Filtration for Crystal-Clear Water
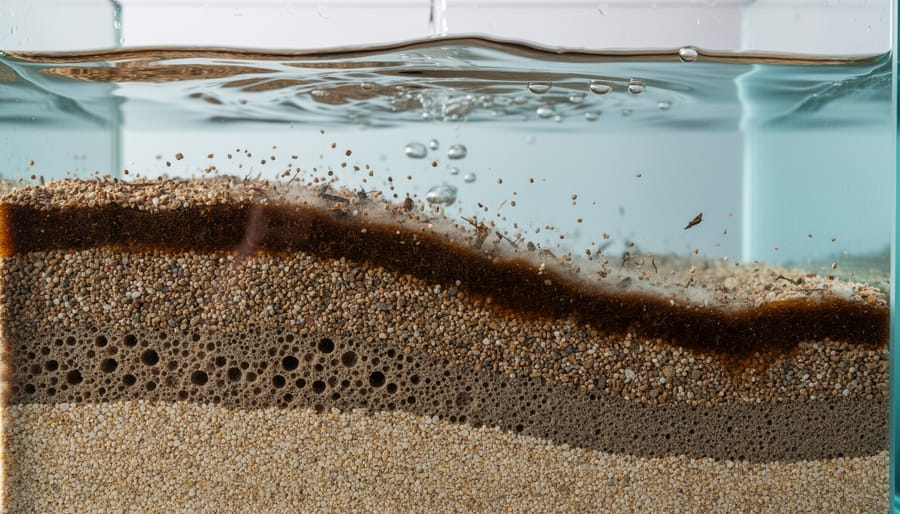
Slow sand filtration is one of the oldest and most reliable methods used in municipal groundwater treatment, and it works beautifully at backyard scale. In professional facilities, water flows slowly through deep beds of fine sand, allowing a thin biological layer, called the schmutzdecke, to develop on the surface. This biofilm traps tiny particles, breaks down organic matter, and polishes the water to crystal clarity. The same principle applies to ponds: slow, steady contact between water and sand creates a natural filter that handles both mechanical debris and dissolved organics.
Building your own slow sand filter is straightforward. Start with a food-grade plastic tub or barrel (20-30 gallons works well for a small to medium pond). Install a perforated PVC underdrain at the bottom, connected to an outlet pipe. Fill the tub with 12-18 inches of pool filter sand (0.2-0.5 mm grain size), topped with a thin layer of pea gravel to protect the sand when you add water. Pump pond water in from the top using a small fountain pump or gravity-feed from an elevated source. The key is flow rate: aim for 2-6 gallons per hour. Slow is non-negotiable. If water rushes through, the biofilm won’t form and you lose most of the filtration benefit.
Once the schmutzdecke establishes (usually 2-4 weeks), you’ll notice clearer water and fewer suspended particles. Maintenance is minimal. Every few months, or when flow slows noticeably, scrape off the top half-inch of sand, rinse it, and return it to the tub. This regenerates the filter without disrupting the deeper biological layers. Slow sand filtration pairs well with other techniques, and while it’s not as high-tech as some smart pond filters its simplicity and effectiveness make it ideal for gardeners who prefer low-maintenance, proven solutions.
6. Wetland Filtration (Constructed Wetlands for Nutrient Removal)
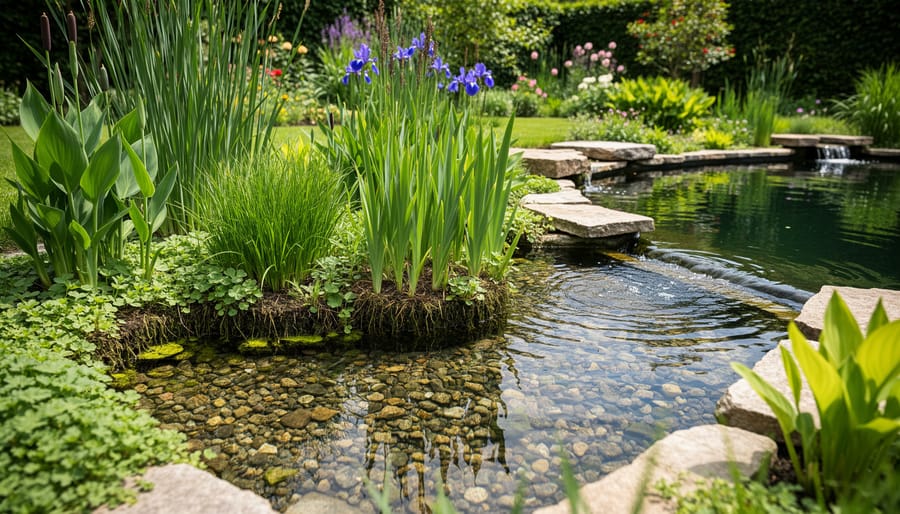
Municipalities and large-scale water utilities discovered decades ago that wetlands are remarkably efficient at removing nitrates, phosphates, and other dissolved nutrients from water. Some groundwater treatment facilities route partially treated water through constructed wetlands, engineered areas planted with cattails, rushes, and other marginal species, before final discharge. The plants absorb nitrogen and phosphorus as they grow, and their dense root systems create a maze of surface area where beneficial bacteria colonize and break down organic compounds. It works so well at full scale that you can borrow the same principle for your backyard pond.
A bog filter or planted edge zone is the pond version of a constructed wetland. Dig a shallow area adjacent to your pond or build a dedicated filter chamber filled with pea gravel, then plant water iris, pickerelweed, rushes, and cattails. As pond water flows slowly through this planted zone, the roots pull nutrients out of the water column, nutrients that would otherwise feed string algae and green water blooms. At the same time, the gravel and root mass host colonies of nitrifying bacteria that convert ammonia and nitrites into less harmful nitrates, which the plants then consume. It’s a closed loop that mimics nature’s own purification process.
I added a small bog filter to my pond three years ago after battling persistent pea soup green water every spring. Within six weeks of planting a mix of iris and rushes, the water cleared to the point where I could see the bottom for the first time in months. The plants grew fast, the algae disappeared, and I cut my partial water changes in half. Maintenance is minimal, trim back overgrown plants once or twice a season and top up the gravel if it settles.
Size the bog area to roughly twenty percent of your pond’s surface for best results, and make sure water flows through it slowly, giving plants time to do their work.
7. Periodic Backflushing and System Maintenance (Filter Regeneration)
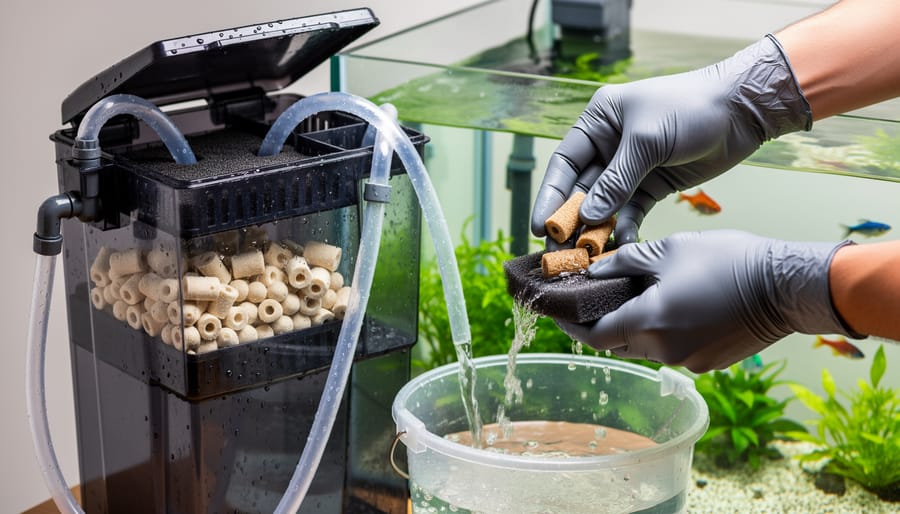
Municipal groundwater treatment facilities backflush their filters regularly, reversing water flow to dislodge trapped sediment and restore efficiency. Your pond filtration system, no matter how natural, accumulates the same kinds of debris: leaves, fish waste, biofilm buildup. Without periodic cleaning, flow slows, oxygen levels drop, and water clarity suffers. The good news is that routine maintenance keeps everything running smoothly and can actually save money with filtration by extending equipment life and reducing chemical interventions.
For mechanical pre-filters, rinse sponges or brush out mesh screens every few weeks during active seasons. If you run a bead filter or pressurized unit, backwash it monthly or whenever pressure gauges indicate resistance. Partial water changes, 10 to 20 percent every couple of weeks, flush dissolved organics that biofilters can’t capture. Even a well-colonized biofilter benefits from a gentle rinse in pond water (never tap water, which kills beneficial bacteria) once or twice a season to remove sludge without crashing your bacterial colony.
A simple seasonal checklist keeps your system in top shape:
- Spring: restart pumps, check biofilter media, clear debris from skimmers
- Summer: inspect filter foam weekly, backwash bead filters, top up evaporation losses
- Fall: install leaf netting, backflush systems before leaves clog them, reduce feeding as water cools
- Winter: replace UV bulbs annually, clean pump intakes, pause heavy maintenance in cold months
Treating maintenance as part of the rhythm, not a chore, means your natural filtration methods stay effective year-round, just like the scheduled regeneration cycles that keep municipal treatment plants performing reliably.
Frequently Asked Questions
Can I combine multiple filtration techniques in one pond?
Yes, layering methods works best. A settling pre-filter paired with a biofilter and aeration covers mechanical, biological, and oxygenation needs without redundancy. Start with two or three complementary approaches rather than trying all seven at once.
Do I need to use all seven techniques?
Not at all. Choose the methods that match your pond size, budget, and water quality goals. A small pond might thrive with just mechanical filtration and aeration, while larger systems benefit from adding UV or wetland zones.
Are these methods safe for fish and plants?
Yes, all these techniques rely on natural processes and are non-toxic. Mechanical filters remove debris, beneficial bacteria break down waste, and UV targets only waterborne pathogens without altering water chemistry or harming pond life.
How long before I see results?
Mechanical filtration and UV clarification improve water clarity within days. Biological systems need three to six weeks to establish bacterial colonies, and wetland plants take a full growing season to show measurable nutrient reduction.
Keep in mind that every pond is different. Water volume, fish load, sunlight exposure, and local climate all affect how quickly filtration systems reach full capacity. Test your water weekly during the first month to track ammonia, nitrite, and nitrate levels as biological filters mature. If you’re not seeing progress after a reasonable timeframe, check that your pump flow rate matches your filter capacity and that you’re not overfeeding fish. Patience pays off, and once these systems stabilize, maintenance becomes straightforward.
You’re not building a municipal drinking water facility in your backyard, that’s clear. But borrowing proven filtration strategies from groundwater treatment plants gives you a science-backed toolkit for healthier, clearer pond water. Multi-stage mechanical filtration, beneficial bacteria colonizing media beds, strategic aeration, and UV disinfection all solve the same core challenges you face: suspended solids, organic waste buildup, nutrient overload, and algae blooms. These aren’t metaphors or vague analogies; they’re adaptable methods refined by decades of professional water treatment engineering.
Start with one or two techniques that fit your pond size and budget. A simple settling pre-filter or an air stone can deliver visible improvements within days. Biological filters and bog plantings take a few weeks to establish, but the results, stable water chemistry, thriving fish, naturally balanced ecosystems, are worth the patience. Observe what works, tweak as needed, and layer in additional methods over time.
Your pond is your laboratory. Experiment, learn from each adjustment, and share your wins (and lessons) with fellow water gardeners. Clean, vibrant water isn’t magic, it’s the reward for applying solid filtration principles consistently. Now get out there and put these techniques to work.