
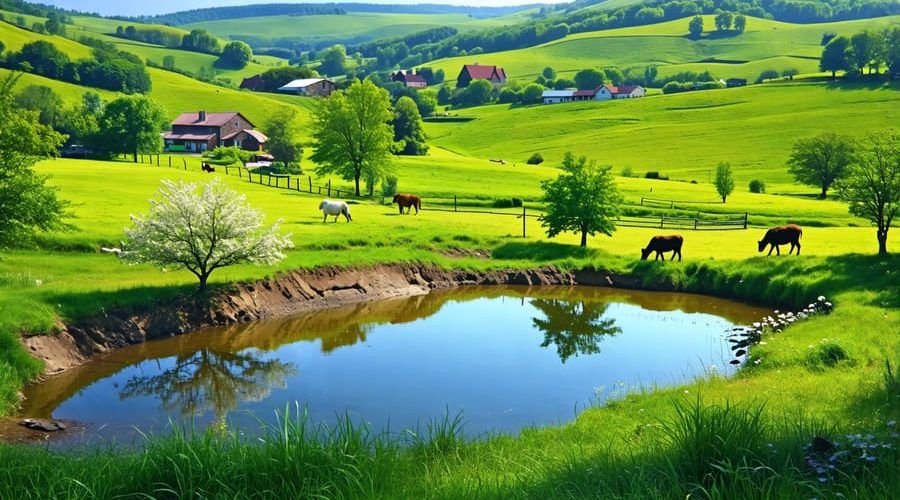
Build Your Dream Farm Pond: 3 Proven Construction Methods
Choose the optimal location for your farm pond, considering factors like terrain, water sources, and accessibility. Excavate the pond using heavy equipment, shaping the bottom and sides to desired dimensions. Install a liner to prevent water loss if needed, and add features like shelves, steps, or backyard pond ideas to enhance functionality and aesthetics. Establish the surrounding landscape by grading, adding topsoil, and planting vegetation to stabilize banks and create a thriving pond ecosystem.
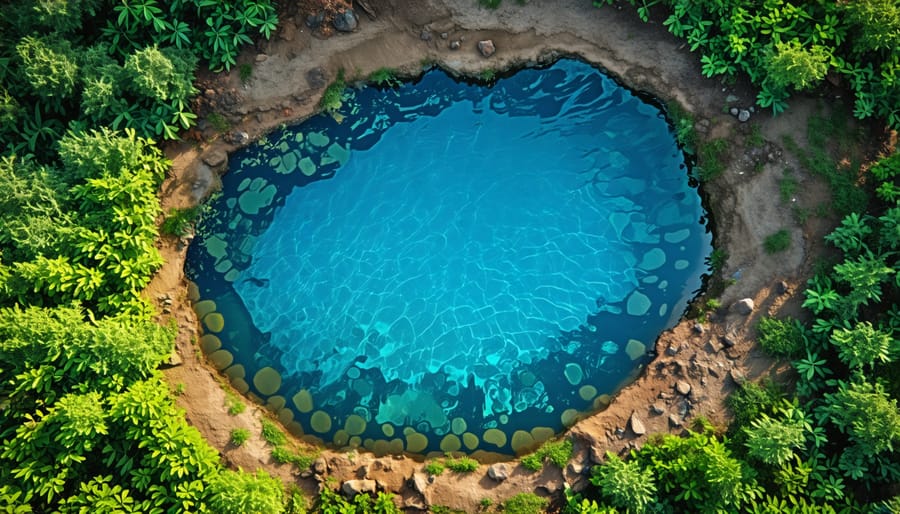
Excavated Ponds
Site Selection
Selecting the perfect site for your excavated farm pond is crucial for its success and longevity. Start by surveying your property for a suitable location that naturally holds water, such as a low-lying area or natural depression. Consider the pond’s distance from your home, as a spot too far away may be inconvenient to maintain, while one too close could attract unwanted insects. Avoid areas with porous soil or high water tables, which can lead to excessive water loss. Look for a site with a slight slope to allow for proper drainage and prevent flooding. Ensure the area receives ample sunlight for aquatic plants to thrive, but some shade is beneficial to prevent excessive water evaporation. Steer clear of large trees, as falling leaves can clog the pond and roots may damage the liner. Lastly, check local zoning laws and utility lines before breaking ground on your dream pond oasis.
Excavation Process
Here are step-by-step instructions for excavating your farm pond basin:
1. Mark the outline of your pond using stakes and string. Remove the string once you’ve dug a shallow trench around the perimeter.
2. If you’re using a tractor or excavator, start digging out the center of the pond area to the desired depth. For a more natural look, vary the depth throughout with a deeper section in the middle. If digging by hand, use a shovel to create the main pond basin.
3. As you dig, pile the excavated soil around the pond perimeter to create a raised bank or berm. This will help contain the water and provide a natural border. Compact the soil periodically for stability.
4. Slope the sides of the pond at a ratio of 2:1 or 3:1, meaning for every 2 or 3 feet of horizontal distance, dig down 1 foot vertically. This prevents collapse and makes it easier to get in and out of the pond.
5. Create shelves or plant ledges around the inside perimeter, about 1 foot deep and 1-2 feet wide. These provide space for aquatic plants and help naturalize the pond edge.
6. Remove any rocks, roots or debris from the excavated pond basin and smooth out the soil. Compact the soil at the bottom for an even base.
With your pond basin excavated, you’re ready to install the liner and any additional features before filling it with water. The size and depth are up to you, but these steps will help guide the process for a structurally sound, natural-looking pond.
Lining Options
When it comes to lining your farm pond, you have a few options to consider. Clay is a natural and affordable choice that can be compacted to create an impermeable layer, but it may require more maintenance over time. Synthetic liners like EPDM rubber or PVC are durable and long-lasting, but they can be more expensive upfront. Concrete is another option that provides a solid, low-maintenance lining, but it requires more skill to install properly. Ultimately, the best lining choice depends on your budget, soil conditions, and desired aesthetic. Whichever lining you choose, be sure to follow proper installation techniques and stay on top of regular pond maintenance to ensure your farm pond remains a beautiful and functional feature of your property for years to come.
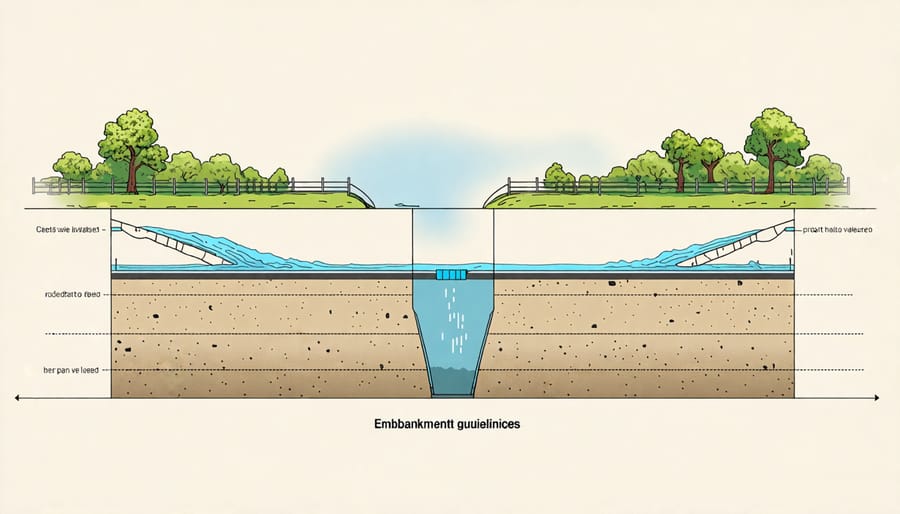
Embankment Ponds
Embankment Design
When designing a pond embankment, stability is paramount. The embankment should be constructed with a slope ratio of at least 3:1, meaning the base is three times wider than the height. This gradual slope helps prevent erosion and allows for easier maintenance. Compact the soil in layers as you build up the embankment, ensuring a solid foundation. Consider incorporating a core trench filled with clay or other impermeable material to prevent seepage and strengthen the embankment.
The embankment’s top width should be at least 10 feet to accommodate maintenance equipment and provide a walking surface. Protect the embankment from wave action and erosion by lining the interior slope with riprap, such as gravel or stone. On the exterior slope, establish a dense grass cover to stabilize the soil and create an attractive appearance. Include an emergency spillway to safely direct excess water away from the embankment during heavy rainfall events.
Regularly inspect the embankment for signs of erosion, animal burrows, or tree growth, addressing any issues promptly to maintain its integrity. By carefully designing and constructing your pond embankment with these considerations in mind, you’ll create a stable and long-lasting structure that enhances your farm pond’s functionality and aesthetic appeal.
Construction Techniques
To construct a sturdy embankment for your farm pond, start by clearing the site of vegetation and topsoil. Excavate a core trench along the centerline of the dam, extending it into impervious subsoil or bedrock. Fill the trench with well-compacted clay or other impervious material to create a watertight seal.
Next, begin building the embankment in layers, using clean, well-graded fill material such as clay or a mixture of clay, silt, and sand. Spread the fill in thin, even layers (6-8 inches) and compact each layer thoroughly using a sheepsfoot roller or similar equipment. Maintain proper moisture content for optimal compaction.
As you build the embankment, ensure that it has a broad base and tapers towards the top, with side slopes no steeper than 3:1 (horizontal to vertical). Incorporate a pipe spillway or other drainage system to safely handle overflow and maintain the pond’s water level.
Regularly monitor the embankment for signs of erosion, seepage, or settlement, and make repairs as needed. To protect the embankment from wave action and erosion, consider armoring the upstream face with riprap or other erosion-resistant materials.
By following these best practices and paying close attention to proper compaction and erosion control, you can construct a farm pond embankment that will provide years of reliable service and enjoyment.
Spillway Installation
To incorporate a spillway for water level control and overflow management in your farm pond, first determine the ideal spillway location based on the pond’s contours and natural drainage. Excavate a channel wide and deep enough to handle anticipated water flow. Line the spillway with erosion-resistant materials like concrete, large rocks, or geotextile fabric. Ensure the spillway directs excess water away from the pond and into a safe discharge area. Consider installing a pipe or culvert system for more controlled water release. Regularly inspect the spillway for signs of erosion or blockage, and make repairs as needed to maintain proper function and pond health.
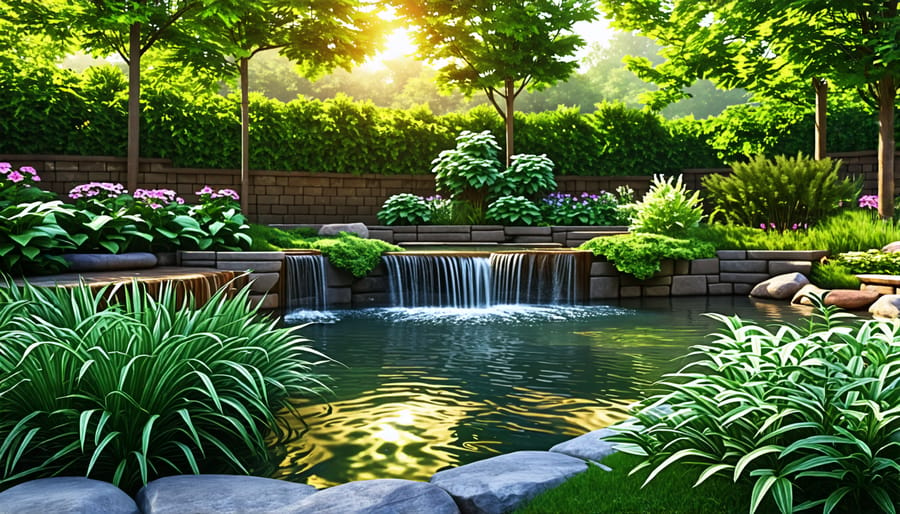
Combination Ponds
Advantages of Combination Ponds
Combining excavation and embankment techniques offers the best of both worlds when constructing a farm pond. By excavating a portion of the pond area and using the excavated material to build up embankments, you can create a deeper pond with more volume while still having shallow areas for aquatic plants and wildlife habitat. This approach allows for greater flexibility in pond design, enabling you to customize the depth, shape, and features to suit your specific needs and preferences. Combination ponds also tend to have a more natural appearance, as the gradual slope of the embankments blends seamlessly with the surrounding landscape. Additionally, the embankments provide stability and help prevent erosion, ensuring the long-term durability of your pond. With a combination pond, you can enjoy the benefits of both deeper water for fish and irrigation, as well as shallow areas for aesthetic appeal and ecological diversity.
Design Considerations
When planning a combination pond that incorporates both excavated and embankment construction methods, there are several special factors to consider. First, carefully assess your site’s topography, soil composition, and water table level to determine the most suitable layout for your combination pond. Look for a location with stable soil that can support the embankment while also allowing for efficient excavation.
Next, design your combination pond to optimize both the excavated and embankment sections. The excavated portion should be deep enough to maintain water levels during dry periods, while the embankment should be properly compacted and reinforced to prevent leaks and erosion. Consider the placement of the embankment in relation to the excavated area to create a seamless and aesthetically pleasing transition between the two sections.
Water management is another crucial aspect of combination pond planning. Ensure that your design includes adequate spillways, overflow structures, and drainage systems to handle excess water during heavy rainfall or snowmelt. Plan for the installation of water control structures, such as valves or gates, to regulate water levels and maintain the desired balance between the excavated and embankment portions of your pond.
Finally, think about the long-term maintenance requirements of your combination pond. Plan for regular inspections, repairs, and sediment removal to keep your pond in top condition. By carefully considering these factors and incorporating them into your combination pond design, you’ll be well on your way to creating a beautiful and functional water feature that seamlessly blends excavated and embankment construction methods.
Conclusion
In summary, the three main farm pond construction methods—excavated, embankment, and combination ponds—each offer unique advantages and suit different landscapes and purposes. Excavated ponds work well in flat areas with high water tables, while embankment ponds are ideal for hilly terrain or sites with limited water supply. Combination ponds merge the best of both worlds, providing greater flexibility in design and placement.
As you embark on your farm pond journey, remember that proper planning, site preparation, and maintenance are key to long-term success. Don’t forget to equip your pond with essential components like a reliable pond pump to keep the water circulating and healthy.
With the right approach and a bit of dedication, you’ll soon be enjoying the many benefits of your very own farm pond. Whether you’re creating a haven for wildlife, a source of irrigation, or simply a beautiful addition to your property, the effort you put into building your pond will be richly rewarded.
So, roll up your sleeves, grab your tools, and let your pond-building adventure begin! For more inspiration and guidance, be sure to explore our other articles and resources on water gardening and pond care. Happy building!