

Fix Your Leaking Pond: Expert Solutions That Actually Work
A leaking pond drains both your water and your patience, but finding and fixing the problem is entirely possible with the right approach. Start by marking your pond’s water level with a stake and monitoring it for 24 hours – if it drops faster than 1/4 inch per day (accounting for normal evaporation), you’re dealing with a leak. Common culprits include tears in the liner, damage from tree roots, or faulty plumbing connections at skimmers and waterfalls. The good news? Whether you’re working with a small decorative feature or a larger landscape pond, most leaks can be fixed without draining the entire pond or calling in expensive specialists. This guide will walk you through proven methods to locate, repair, and prevent pond leaks, helping you restore your water feature to its full, leak-free glory.
Why Your Pond Is Losing Water
Natural vs. Problematic Water Loss
Before jumping to conclusions about a leak, it’s important to understand that some water loss in your pond is completely normal. On average, ponds can lose about 1 inch of water per week through natural evaporation, which increases during hot or windy weather. Proper water circulation and regional climate play significant roles in evaporation rates.
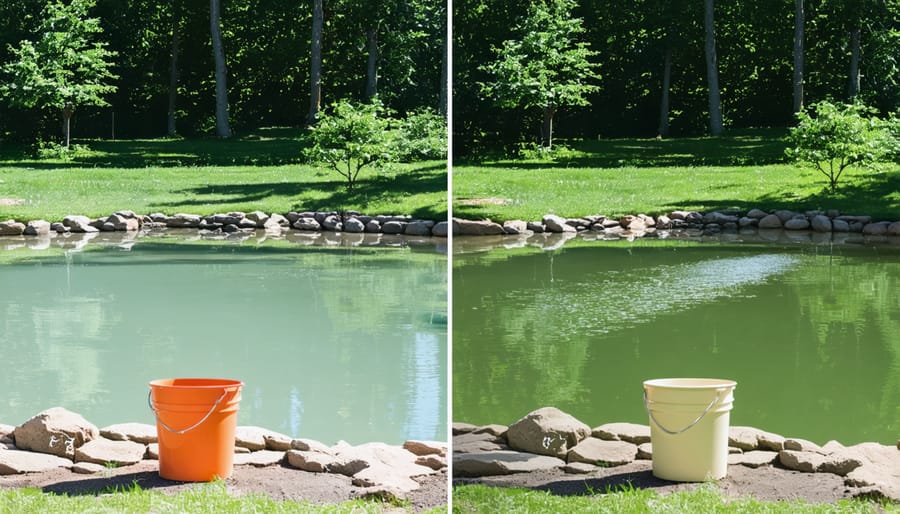
To determine if you’re dealing with natural water loss or a leak, try the bucket test: Place a bucket on a stable step in your pond, fill it with pond water to match the pond’s level, and mark both water levels. Check back in 24 hours – if the pond level has dropped more than the bucket’s water level, you likely have a leak. Also, watch for other tell-tale signs of leaks, such as soggy areas around the pond, unexplained algae growth in nearby grass, or water loss that continues even during cool, humid weather.
Remember that water splash from fountains or waterfalls can also contribute to water loss, so consider adjusting these features if they’re causing excessive splash-out.
Common Leak Sources
When your pond is losing water, several common trouble spots typically deserve your attention first. Liner damage is one of the most frequent culprits – look for tears, punctures, or worn areas, especially if you’ve recently added rocks or plants. Tree roots can be particularly sneaky, growing underneath and gradually creating holes in your liner.
Plumbing connections are another usual suspect. Check around your pump, filter, and waterfall areas, where fittings can loosen over time. Pay special attention to pipe joints and seals, as these can deteriorate and create slow leaks that might not be immediately obvious.
Edge problems are surprisingly common too. Sometimes liners can settle or shift, creating low spots where water escapes over the edge. Wildlife can also pull down liner edges while drinking or entering the pond. The area where your liner meets the ground, called the capillary edge, can actually wick water out of your pond if it’s not properly installed.
Look for wet spots around your pond’s perimeter – they’re often your best clues to finding these common leak sources.
Finding the Leak
The Bucket Test
The bucket test is a simple yet effective way to determine whether your pond is losing water through evaporation or a leak. Fill two containers with water – one bucket placed next to your pond and another container inside your pond on a stable shelf or stack of bricks, with its rim just above the water level.
Mark the water levels in both containers and your pond, then check them after 24 hours. If the water level in your pond drops more than the levels in the containers, you likely have a leak. This is because evaporation will affect all three water sources equally.
For the most accurate results, perform this test over 2-3 days during dry weather. If possible, avoid running pumps or fountains during the test, as they can increase evaporation rates. Remember that evaporation rates vary by season – you’ll typically see more water loss during hot, windy summer days than in cooler months.
If the water levels drop equally, natural evaporation is the culprit. However, if your pond level drops noticeably more than the test containers, it’s time to start looking for leaks.
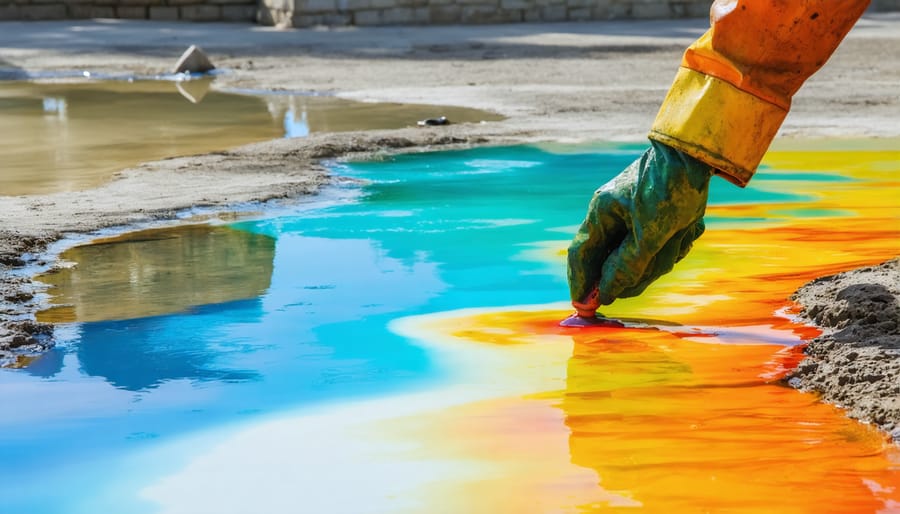
Dye Testing
Dye testing is one of the most effective ways to track down sneaky pond leaks. Start by adding a few drops of non-toxic pond dye or food coloring near suspected leak areas. The dye will follow the water’s movement, helping you pinpoint exactly where water is escaping. For best results, turn off your pump and let the water settle before testing.
Begin at the edges of your pond, working in sections. Add small amounts of dye near the water’s surface and watch carefully. If there’s a leak, you’ll see the dye being pulled toward it. Pay special attention to areas around fittings, rocks, and plant shelves, as these are common leak spots.
Remember to be patient during this process – sometimes it takes several minutes for the dye movement to become visible. If you don’t see movement in one area, move on to the next section until you find your leak.
Visual Inspection Techniques
Start by draining your pond to a level where you can easily inspect the liner. Walk carefully around the edges, looking for obvious tears, punctures, or separations at the seams. Pay special attention to areas where the liner meets rocks or other features, as these are common trouble spots. Run your hands along the liner surface to feel for any small holes that might be hard to see.
For plumbing connections, check all pipe joints, skimmer boxes, and pump fittings. Look for signs of separation, cracks, or loose connections. A helpful trick is to use food coloring near suspected leak areas – the dye will show you the water’s movement and help pinpoint problems.
Don’t forget to inspect the pond’s edges for signs of liner slippage or areas where the water level extends above the liner. Sometimes, what appears to be a leak is actually water escaping over or under improperly installed edging materials. If you have waterfalls or streams, check these features thoroughly, as they’re often sources of water loss.
Fixing Pond Leaks
Liner Repairs
Once you’ve identified a tear or hole in your pond liner, you’ll need to act quickly to prevent further water loss. For small punctures and tears, a pond liner patch kit is your best friend. Start by thoroughly cleaning and drying the damaged area – this is crucial for the patch to stick properly. Remove any algae, dirt, or debris using a clean cloth and let it dry completely.
For PVC or EPDM liners, apply the patch according to the manufacturer’s instructions, typically extending at least 2-3 inches beyond the damaged area on all sides. Some patches are self-adhesive, while others require special adhesive. Press firmly and smooth out any air bubbles to create a watertight seal.
For larger tears or extensive damage, you might need to consider a more substantial repair. You can create a larger patch using a piece of the same liner material, securing it with pond liner seam tape and adhesive. In cases of multiple tears or aging liners, sometimes the most cost-effective long-term solution is replacing the entire liner.
When working with patches, remember that underwater repairs rarely last. It’s best to drain the pond to the level below the damage before attempting any fixes. After applying your patch, wait at least 24 hours before refilling that section of the pond to ensure proper adhesion.
Pro tip: Keep a repair kit on hand for emergency fixes, and always test your patch by filling the pond gradually while monitoring the repair area. For peace of mind, consider adding a small amount of non-toxic pond dye to help spot any remaining leaks.
Edge and Settling Issues
Edge settling and erosion are common culprits behind pond water loss, but they’re usually straightforward to fix. Start by inspecting your pond’s perimeter for any spots where the liner has pulled away from the edges or where the ground has sunk. This often happens after heavy rains or during seasonal ground shifts.
To address edge issues, carefully pull back any rocks or decorative elements along the problem area. If you notice the liner has slipped, gently lift it and add a layer of sand or soil underneath to restore the proper height. Make sure the liner extends at least 12 inches beyond the pond’s edge and is anchored securely with heavy rocks or pond edging materials.
For settling problems, you’ll need to lift the affected area and add compacted fill material underneath. Use a mixture of sand and clay-based soil for best results. Work in small sections to maintain the pond’s integrity while making repairs. Once you’ve built up the area, tamp it down firmly before replacing the liner.
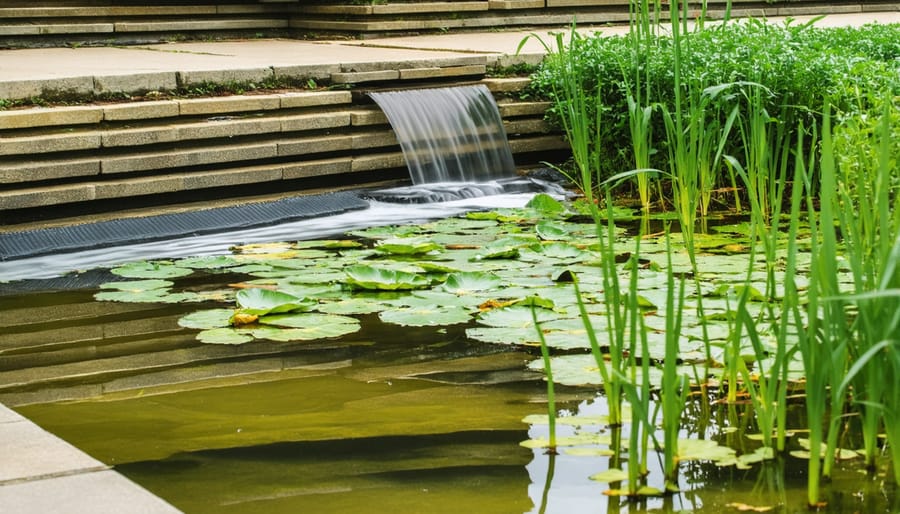
Pay special attention to areas around waterfalls and streams, as these features are particularly prone to settling. Consider installing pond underlayment or rubber matting in high-risk areas to provide extra protection against future settling issues. Regular inspections of your pond’s edges, especially after severe weather, can help you catch and fix these problems before they lead to significant water loss.
Plumbing Repairs
When it comes to plumbing issues, even small leaks can cause significant water loss in your pond. Start by inspecting all visible pipes and connections, paying special attention to joints and fittings where leaks commonly occur. Look for obvious signs like dripping water, wet spots, or green algae growth around connections.
Check your pump system thoroughly, as this is often a prime suspect in water loss issues. Regular pump maintenance is crucial for preventing leaks and ensuring optimal performance. Don’t forget to examine the seals around the pump housing and any connection points where the pump attaches to filtration systems.
For a thorough inspection, turn off your pump system and dry all connections. Once dry, run the system again and watch carefully for any water seepage. Use plumber’s tape on threaded connections to create a better seal, and replace any cracked or damaged pipes immediately. If you find leaking joints, disassemble them, clean thoroughly, and apply new plumber’s putty or silicone sealant before reassembling.
Remember to check skimmer boxes and waterfall spillways, as these areas often develop leaks where they connect to plumbing. Sometimes, simply tightening connection points with a wrench can resolve minor leaks. For PVC pipes, ensure you’re using the correct PVC cement and primer when making repairs.
If you’re still having trouble locating a leak, try adding food coloring near suspected problem areas while the system is running. The dye will help reveal even small leaks that might otherwise go unnoticed. For persistent issues, consider replacing older plumbing sections entirely, as aging pipes can develop multiple small leaks over time.
Preventing Future Leaks
Once you’ve fixed your pond leak, taking preventive measures is crucial to avoid future issues. Start by implementing a regular maintenance routine that includes inspecting liner edges, checking for root intrusion, and monitoring water levels weekly. Remove debris regularly and trim nearby plants to prevent their roots from damaging the liner.
Consider installing protective underlayment if you haven’t already, and place rubber matting in high-traffic areas where people might walk near the pond. Keep fish populations at appropriate levels to prevent overcrowding, which can stress liner materials. Regular water testing helps maintain a healthy pond environment and alerts you to potential issues before they become serious problems.
Watch for signs of aging in your liner and plan for replacement before it fails completely. During winter, ensure your pond doesn’t completely freeze over, as ice expansion can damage the liner. By following these preventive measures, you’ll significantly extend your pond’s lifespan and reduce the likelihood of future leaks.
Fixing a leaking pond doesn’t have to be a daunting task. By following the steps we’ve covered – from identifying the leak location to choosing the right repair method – you can restore your pond to its former glory. Remember that prevention is just as important as repair, so regular maintenance and inspections will help avoid future leaks. Whether you’ve used a liner patch, bentonite clay, or opted for a complete liner replacement, your efforts will pay off with a beautiful, leak-free water feature. Don’t let a leaking pond discourage you – with the right approach and materials, you can tackle this project successfully and get back to enjoying your peaceful water garden. If you’re still unsure about any step, consider consulting a professional for guidance, but rest assured that most pond leaks are fixable with some patience and dedication.