
Transform Your Backyard With These Stunning Water Garden Combinations
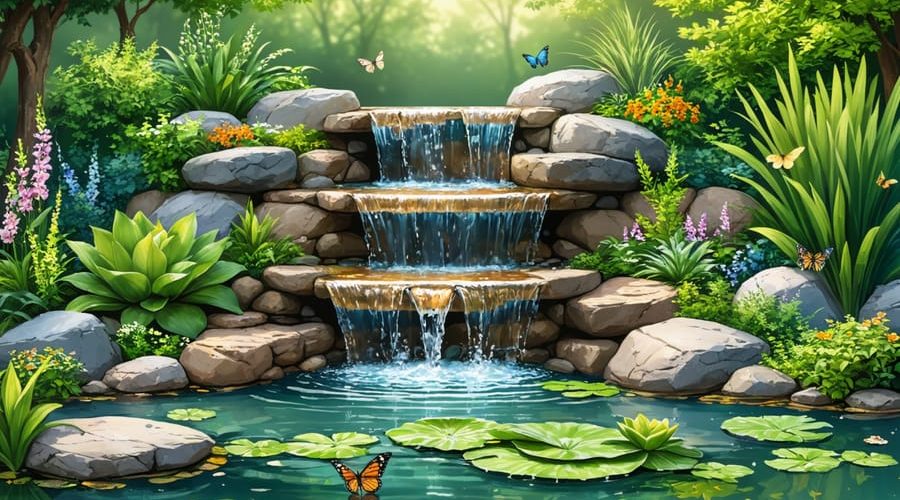
Transform your backyard into a serene oasis with a thoughtfully designed water garden that blends natural elements with artistic vision. From the gentle cascade of a waterfall to the tranquil reflections on a pond’s surface, water gardens create a living landscape that engages all the senses. These dynamic outdoor spaces not only provide a peaceful retreat but also support local wildlife and add significant value to your property.
Whether you’re envisioning a modest fountain surrounded by lush aquatic plants or dreaming of an elaborate ecosystem with interconnected pools and streams, successful water garden design begins with understanding the fundamental principles of balance, scale, and flow. The key lies in harmonizing water features with your existing landscape while creating sustainable environments that thrive throughout the seasons.
Modern water gardens combine time-tested design principles with innovative materials and techniques, allowing homeowners to create low-maintenance aquatic sanctuaries that serve as focal points for outdoor entertaining, meditation spaces, or natural swimming areas. By carefully considering elements like depth variations, plant zones, and circulation systems, you can design a water garden that not only captivates visitors but also maintains its beauty with minimal upkeep.
Let’s explore the essential components and creative possibilities that will help you bring your water garden vision to life.
Natural Stream and Waterfall Designs
Selecting the Right Drop Heights
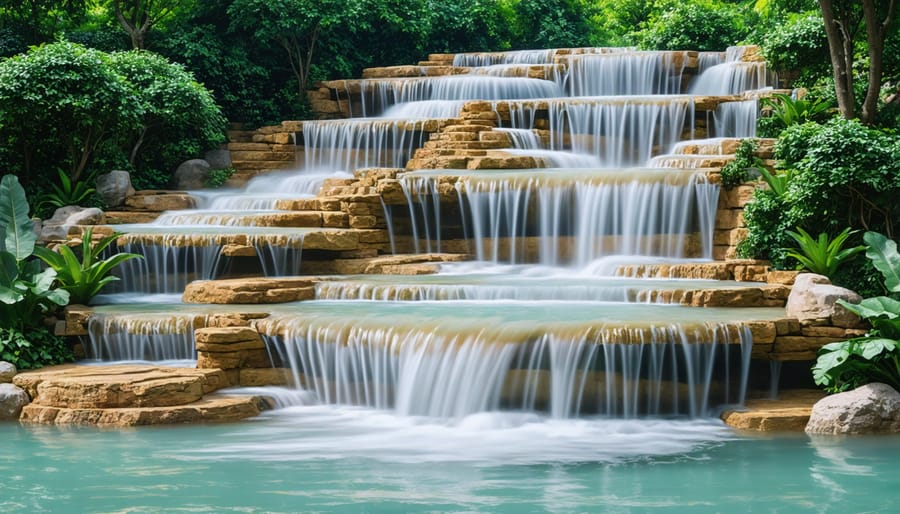
Creating stunning waterfall designs requires careful attention to drop heights. For a natural look, follow the rule of thirds: divide your total height into three sections, with the largest drop at the bottom. A good starting point is making the bottom drop about 12-18 inches, the middle 8-12 inches, and the top 4-6 inches.
Remember that water flows differently depending on height. Shorter drops create gentle ripples perfect for meditation areas, while taller drops produce more dramatic white water and sound. For every foot of drop, plan about two feet of horizontal distance to maintain a natural appearance.
To avoid an artificial look, vary your drop heights slightly within these guidelines. Consider adding smaller intermediate drops between the main falls, just as you’d find in nature. If you’re working with a steep slope, break up the descent into multiple smaller falls rather than one large drop.
For smaller gardens, keep total height under three feet to maintain proper scale. Larger landscapes can accommodate falls up to six feet or more, provided they’re properly structured with multiple drops.
Rock Placement Techniques
Creating natural-looking stream edges and waterfalls starts with strategic rock placement. Begin by laying larger rocks along the stream’s edge, positioning them at slightly different angles to mimic nature’s random patterns. Avoid perfectly straight lines or uniform spacing, as these can make your water feature look artificial.
For stream edges, partially bury some rocks so they appear to have been there naturally. Overlap rocks slightly, creating small crevices where plants can take root. Use a mix of rock sizes, with larger stones anchoring key points and smaller ones filling gaps. This variety helps create a more authentic appearance and provides different water flow patterns.
When building waterfalls, start with the largest rocks at the base to create a stable foundation. Layer rocks to create multiple drops, ensuring each stone directs water flow naturally. Position flat rocks at slight angles to create gentle cascades rather than straight drops. Remember to place rocks so that water flows over them in sheets or multiple streams, creating pleasing sounds and visual effects.
A helpful trick is to study natural streams and waterfalls in your area. Notice how rocks are positioned and try to recreate similar patterns in your garden. Don’t forget to add smaller stones and gravel between larger rocks to fill gaps and create a seamless look. This attention to detail will result in a water feature that looks like it’s always been part of your landscape.
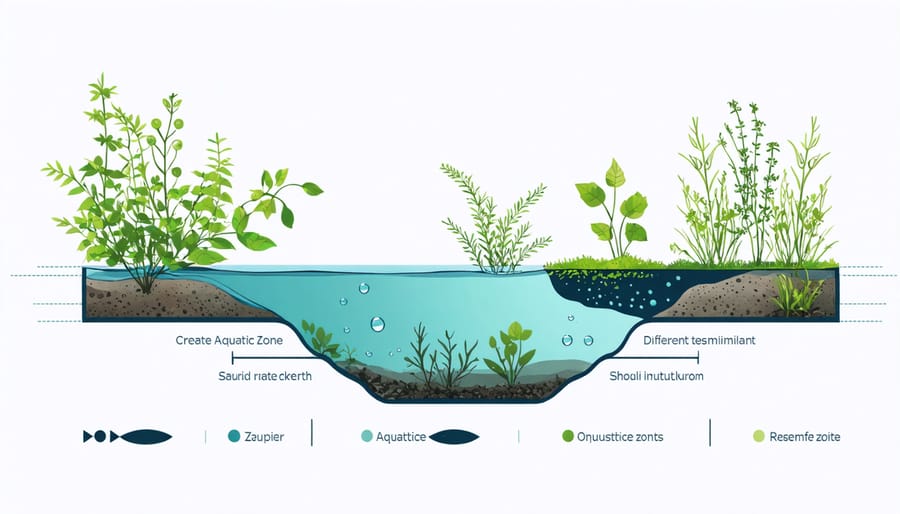
Aquatic Plant Zones
Shallow Marginal Shelves
Shallow marginal shelves are essential features in any water garden, creating the perfect transition zone between dry land and deeper water. These shelves, typically 6-12 inches deep, provide an ideal habitat for a variety of beautiful marginal plants that add color, texture, and natural beauty to your water garden.
When designing your marginal shelves, consider creating different depth levels to accommodate various plant species. Some marginals, like iris and rushes, prefer shallow water around 4-6 inches deep, while others, such as cattails and pickerelweed, thrive in slightly deeper areas of 8-12 inches.
To construct effective shelves, plan for a width of at least 12-18 inches to provide adequate space for plants to establish themselves. Use flat stones or specially designed planting baskets to position your plants at the correct depth. Remember to slope the shelves slightly toward deeper water to prevent soil from washing away during heavy rains.
For a natural look, arrange plants in groups of odd numbers and vary their heights. Taller plants like bulrushes can provide background structure, while lower-growing varieties like marsh marigolds create attractive foreground interest. Consider incorporating stepping stones or natural rock formations along the shelves to create easy access for maintenance and add visual appeal.
Be sure to leave some open areas between plant groupings to maintain water circulation and create viewing spaces for observing any fish you might keep.
Deep Water Areas
Deep water areas are essential features in any water garden, providing the perfect habitat for stunning water lilies and other aquatic plants that thrive in deeper conditions. The ideal depth for these zones ranges from 18 to 30 inches, allowing enough space for plant roots while maintaining proper water temperature and stability.
When planning your deep water areas, consider creating stepped shelves at different depths. Start with a shelf at about 12 inches for marginal plants, then step down to 18-24 inches for standard water lilies, and finally a deeper section of 30 inches for tropical varieties. This tiered approach not only accommodates different plant species but also adds visual interest to your water garden.
Remember to incorporate planting pockets or containers in these deeper zones. Use heavy-duty mesh baskets or specialized aquatic pots filled with aquatic soil to anchor your water lilies and submerged plants. Position these containers so that the crown of the plant sits 6-12 inches below the water’s surface, allowing leaves and flowers to reach up toward the sunlight.
For maintenance purposes, include enough space between plants to allow for growth and easy access. A good rule of thumb is to cover about 60% of the water’s surface with vegetation, leaving open areas for fish movement and visual balance. This arrangement also helps maintain healthy oxygen levels and provides natural filtration for your water garden.
Fish-Friendly Features
Depth Variations
Creating varying depths in your water garden is crucial for supporting different aquatic life and maintaining a healthy ecosystem. The general rule of thumb is to include shallow shelves (6-12 inches) for marginal plants, medium depths (2-3 feet) for water lilies and other deep-water plants, and deeper zones (3-4 feet) for fish. When designing for koi fish, aim for at least 4 feet in depth to give them adequate swimming space and protection from predators.
Start by creating a shallow shelf around the perimeter of your pond, which acts as a safety ledge and provides a perfect spot for bog plants. Step down gradually to create different planting zones, ensuring each level is wide enough to accommodate potted plants. The deepest part should be in the center, taking up about 30% of the total pond area.
Remember to consider your local climate when determining depths. In colder regions, deeper sections help protect fish during winter, while warmer climates may allow for slightly shallower designs. Always include gentle slopes between different depths to prevent liner stress and make maintenance easier.
Safe Hideaways
Creating safe hideaways is essential for protecting fish from predators and harsh weather conditions in your water garden. Start by incorporating underwater caves and overhangs using carefully positioned rocks and stones. These natural-looking shelters provide excellent refuge spots where fish can retreat when they feel threatened.
Consider adding floating plants like water lilies, which not only add beauty but also create shaded areas underneath their leaves where fish can hide. Submerged pottery or purpose-built fish shelters work well too – just ensure they’re made from non-toxic materials and have smooth edges to prevent injury.
For deeper ponds, installing a shelf or ledge at varying depths creates multiple hiding spots. Position these shelters around the perimeter of your pond, making sure there are enough spaces for all your fish. During winter, these hideaways become particularly important as they provide warmer, more stable environments when temperatures drop.
Don’t forget to include some tall aquatic plants around the edges of your pond. These create natural barriers against predators like herons while maintaining the garden’s aesthetic appeal. Remember to space shelters throughout your water garden to prevent territorial disputes among fish.
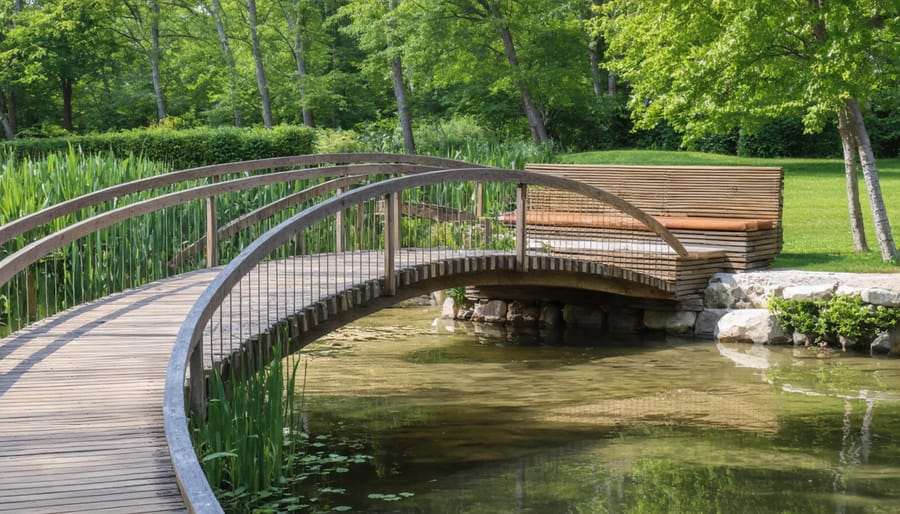
Bridging Elements
Walkways and Viewing Areas
Creating accessible pathways around your water garden isn’t just about functionality – it’s about crafting an immersive experience that lets you enjoy your aquatic paradise from every angle. Start by planning wide, stable paths that allow comfortable walking and wheelchair access, ideally at least 4 feet wide. Natural materials like flagstone, gravel, or decomposed granite create a seamless look while providing sure footing in wet conditions.
Strategic viewing areas are essential for maximizing enjoyment of your water feature. Consider building a deck that extends slightly over the water’s edge, or installing flat stepping stones that create natural pause points. These observation spots become even more magical when lighting your water garden for evening enjoyment.
Don’t forget to incorporate seating areas along your pathways. A well-placed bench or cluster of weather-resistant chairs creates an inviting spot to pause and take in the sights and sounds of flowing water. For added interest, design your paths to meander rather than taking straight routes – this creates a sense of discovery and makes your garden feel larger.
Remember to keep safety in mind by ensuring all walking surfaces have slight texture for grip when wet, and consider adding subtle railings near deeper water features.
Transitional Plantings
Creating a seamless transition between your water garden and the surrounding landscape is key to achieving a natural, harmonious look. Start by incorporating marginal plants along the edges of your pond or water feature, using species that can thrive in both wet and dry conditions. Plants like Japanese iris, marsh marigolds, and rushes work beautifully in these transition zones.
Layer your plantings by height, with taller plants like ornamental grasses and joe-pye weed in the background, gradually stepping down to lower-growing specimens near the water’s edge. This creates a visual flow that draws the eye naturally between different areas of your garden.
Consider using similar plants or color schemes in both your water garden and terrestrial beds to create unity. For example, if you have purple lotus flowers in your pond, echo that color in your garden with purple coneflowers or salvia. Rocks and boulders placed strategically around the water feature can also help blur the lines between wet and dry areas.
Don’t forget about seasonal interest – include plants that provide color and texture throughout the year, such as deciduous shrubs for fall color and evergreens for winter structure. This thoughtful integration will make your water garden feel like a natural part of your landscape rather than an isolated feature.
Creating a water garden is a rewarding journey that brings life, movement, and tranquility to your outdoor space. As we’ve explored throughout this guide, successful water garden design combines careful planning with creative vision. Remember to start with a clear plan that considers your space, budget, and maintenance capabilities. Whether you choose a simple fountain, a serene pond, or an elaborate stream system, the key is to create a design that feels natural and harmonious with your existing landscape.
Don’t be afraid to experiment with different elements – from various water plants and fish to lighting and stone arrangements. The beauty of water gardening lies in its flexibility and the opportunity to create something uniquely yours. Start small if you’re new to water gardening, and expand your design as you gain confidence and experience.
Pay special attention to essential factors like proper filtration, appropriate depth zones, and plant selection for your climate zone. These foundational elements will ensure your water garden thrives for years to come. Remember that your water garden will evolve over time as plants grow and ecosystems establish themselves.
Take the plunge and begin your water garden project today. With proper planning and the design principles we’ve discussed, you’ll soon have a stunning water feature that provides endless enjoyment and transforms your outdoor space into a peaceful retreat.