

Build Your Dream Koi Pond: A Professional’s Blueprint for Success
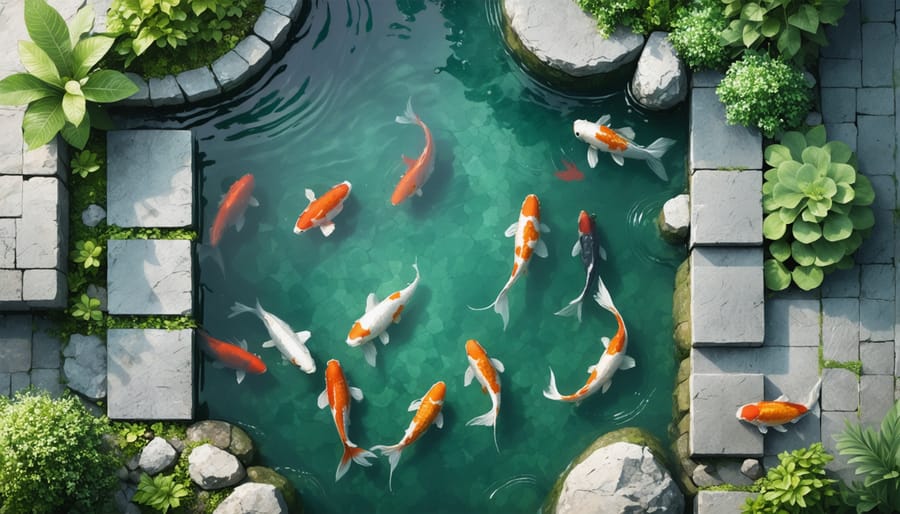
Transform your backyard into a serene oasis by constructing a koi pond that perfectly balances beauty and functionality. A well-designed koi pond isn’t just a water feature—it’s a living ecosystem that creates a mesmerizing focal point while providing a healthy habitat for these magnificent Japanese carp. From selecting the ideal location to incorporating essential filtration systems, proper construction forms the foundation for years of successful koi keeping.
Before breaking ground, careful planning ensures your pond will thrive for decades. Consider factors like sunlight exposure, ground slope, proximity to trees, and accessibility for maintenance. The standard depth of 4-6 feet protects koi from predators and temperature fluctuations, while a minimum surface area of 200 square feet gives these graceful swimmers ample space to develop their full potential.
Building a koi pond requires more than just digging a hole and adding water. Professional-grade filtration, proper underlayment, quality liner installation, and strategic plumbing design work together to create a sustainable environment. Whether you’re a seasoned DIY enthusiast or working with a contractor, understanding these fundamental elements ensures your koi pond becomes the stunning aquatic sanctuary you envision.
Planning Your Koi Pond
Site Selection and Size Requirements
Selecting the perfect spot for your koi pond is crucial for both the health of your fish and your enjoyment of the water feature. Choose a relatively level area that receives partial sunlight – about 4-6 hours daily is ideal. Avoid placing the pond directly under trees to prevent excess leaves from falling in and maintain better water quality. However, some afternoon shade can help prevent algae growth and keep water temperatures stable.
For a thriving koi environment, size matters significantly. Plan for at least 1,000 gallons (about 3.8 cubic meters) of water volume to start, which typically translates to dimensions of roughly 12 feet long by 8 feet wide with a depth of 4 feet. Remember that koi can grow quite large, so bigger is usually better. A deeper pond also helps protect fish from predators and provides stable water temperatures.
When measuring your space, add an extra 2-3 feet around the perimeter for landscaping and maintenance access. Consider visibility from your home’s main viewing areas, like patios or living room windows. The pond should be easily accessible for feeding and maintenance but positioned away from low spots where runoff could contaminate the water.
If you’re working with a sloped area, you can incorporate the natural gradient into your design, creating beautiful waterfall features. Just ensure the bottom of your pond remains level for proper filtration and circulation.
Design Elements and Layout
A well-designed koi pond seamlessly blends functionality with visual appeal. Before breaking ground, explore various backyard pond design ideas to find inspiration that matches your space and style preferences.
The ideal shape for a koi pond is typically irregular or kidney-shaped, which creates a more natural appearance and provides different zones for fish to explore. Your pond should include both shallow and deep areas, with the deepest point reaching at least 4-5 feet to protect koi from predators and extreme weather conditions.
Consider incorporating multiple levels within your pond using shelves or terraces. These varying depths not only add visual interest but also create perfect spots for different types of aquatic plants. Include a beach-style entry point where rocks gradually slope into the water, making maintenance easier and providing a more natural transition from land to water.
When planning the layout, factor in viewing areas where you’ll spend time watching your koi. Position larger rocks and water features to be visible from these spots, and ensure the pond is visible from frequently used areas of your yard or home. Remember to integrate features like waterfalls or streams not just for aesthetics, but also to provide necessary water movement and oxygenation for your koi’s health.
Essential Construction Components
Excavation and Base Preparation
The excavation phase is where your koi pond dream starts taking physical shape. Begin by marking your pond’s outline using spray paint or rope, following your finalized design. Before digging, call your local utility companies to check for underground pipes or cables – this crucial step can prevent costly accidents.
When excavating, work in stages, creating distinct depth zones. The deepest part should be at least 4-5 feet to give your koi adequate space during winter months. Slope the sides gradually at a 20-30 degree angle to prevent cave-ins and make maintenance easier. Remember to include shelves around the perimeter for placing marginal plants and stones.
Once you’ve reached your desired depth, remove any rocks, roots, or sharp objects from the hole. Then, level the bottom using a spirit level and wooden plank. Compact the soil thoroughly using a plate compactor or hand tamper – this prevents future settling issues that could damage your pond liner.
Add a 2-inch layer of sand as a cushioning base, followed by an underlayment material. This double protection helps prevent rocks and roots from puncturing your pond liner. Pay special attention to the edges and corners, ensuring they’re smooth and well-padded.
Finally, check your measurements one last time. The excavation should be slightly larger than your planned pond size to account for the liner and edging materials. Taking time during this preparation phase will save you headaches later and ensure your pond’s long-term success.
Liner Selection and Installation
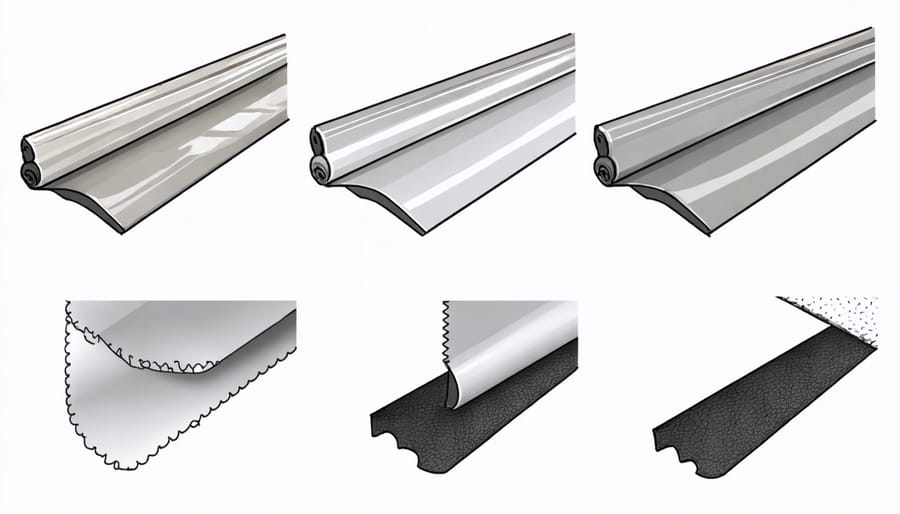
Selecting the right liner is crucial for your koi pond’s longevity and success. EPDM rubber liners are highly recommended due to their durability, flexibility, and UV resistance. While PVC liners are more affordable, they typically don’t last as long and can become brittle over time. Aim for a liner thickness of at least 45 mil (1.14mm) for adequate protection.
Before installing the liner, thoroughly clean the excavated area of sharp rocks and roots. Lay a protective underlayment fabric across the entire pond surface – this crucial step prevents punctures and extends your liner’s life. When measuring for your liner, use this formula: length/width of pond (at its widest points) + (2 × maximum depth) + 2 feet for overlap.
Installation day should be warm but not hot, as this makes the liner more pliable. Start by draping the liner over the pond, allowing it to warm up in the sun for about 30 minutes. Begin at the deepest point and work your way outward, gently pushing the liner into all corners and folds. Avoid stretching the material; instead, create pleats in corners to prevent tension.
Secure the edges by digging a small trench around the pond’s perimeter and tucking in the excess liner. This prevents water from seeping underneath and keeps the edges hidden from view. If you plan to add rocks around the edges, leave enough excess liner to accommodate them.
Filtration System Setup
A proper filtration system is crucial for maintaining healthy koi and crystal-clear water. For most koi ponds, you’ll need both mechanical and biological filtration working together. Start by installing a bottom drain that connects to your pump vault or skimmer box. This helps remove solid waste and surface debris effectively.
Position your pump vault at the pond’s lowest point to ensure optimal water flow. Choose a pump that can cycle your entire pond volume at least once every hour – for example, a 2,000-gallon pond needs a minimum 2,000 GPH pump. Connect the pump to your mechanical filter first, which removes larger particles and debris.
Next, install your biological filter, typically a bead filter or moving bed filter, which houses beneficial bacteria that break down harmful ammonia and nitrites. Make sure to position it higher than the pond surface to allow for gravity return flow. Don’t forget to include UV clarification to control algae growth.
Install check valves on your plumbing lines to prevent backflow, and use flexible PVC connections where possible to reduce stress on joints. Remember to create easy access points for regular maintenance – you’ll thank yourself later! Finally, test your system thoroughly before adding fish, running it for at least a week to establish beneficial bacteria colonies.
Water Features and Circulation
Pump Selection and Placement
Selecting the right pump for your koi pond is crucial for maintaining healthy water circulation and happy fish. As a general rule, your pump should cycle the entire pond volume at least once every hour. To calculate the right size, multiply your pond’s volume in gallons by 1.5 to determine the minimum GPH (gallons per hour) rating needed.
For most koi ponds, you’ll want to choose between two main types of pumps: submersible and external. Submersible pumps are easier to install and maintain, making them perfect for smaller ponds and beginners. External pumps, while more powerful and energy-efficient, require additional plumbing and a dry housing area.
When it comes to placement, submersible pumps should sit at the pond’s deepest point, preferably in a pump vault or skimmer box to prevent clogging. Position the pump away from areas where koi typically rest to avoid stressing the fish. If using an external pump, install it below the water level to ensure proper priming, and create a dedicated weatherproof housing unit.
Consider installing a backup pump system for larger ponds or in regions with extreme weather conditions. This redundancy can be a lifesaver if your main pump fails, especially during summer when oxygen levels are critical.
Remember to factor in your climate when selecting pump placement. In colder regions, you might need to adjust the pump’s depth seasonally to maintain proper circulation without disturbing the warmer bottom layers where koi rest during winter.
Waterfall and Stream Construction
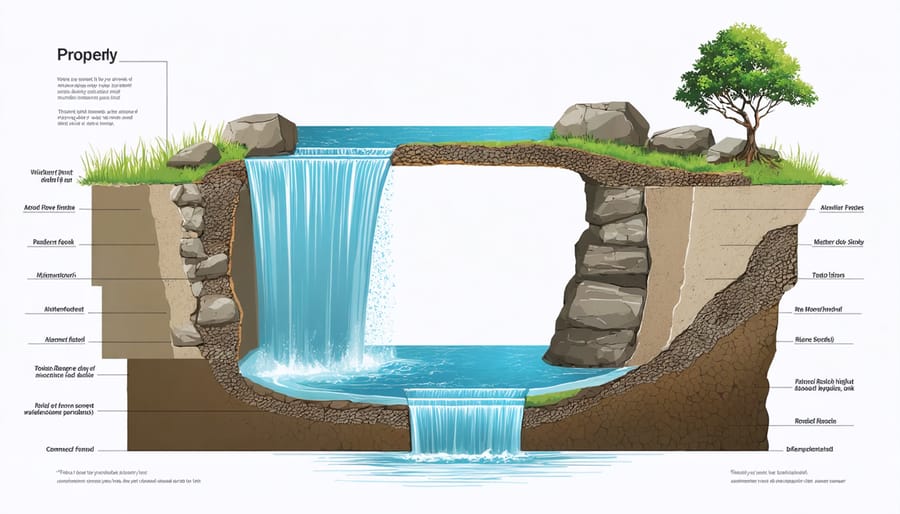
Adding a waterfall or stream to your koi pond not only creates a stunning visual focal point but also serves essential practical purposes. These moving water features help maintain optimal oxygen levels for your koi and contribute to better water circulation throughout the pond. When planning your waterfall construction techniques, start by determining the height and width that will complement your pond’s size.
Begin by building a stable foundation using concrete blocks or natural stones, ensuring each layer is level and secure. Create a spillway at the top where water will begin its descent, using a waterproof liner to prevent leakage. The key to a natural-looking waterfall is varying the rock sizes and creating multiple tiers or drops, which helps break up the water flow and creates that sought-after bubbling sound.
For stream construction, dig a channel that’s slightly deeper in the middle than at the edges, maintaining a gentle slope of about 1 inch per linear foot. Line the stream bed with underlayment and pond liner, extending it well beyond the edges to prevent water loss. Place larger rocks along the sides to hide the liner and create natural-looking banks.
When positioning pumps, aim for a flow rate that matches your design – typically 1,500 to 2,000 gallons per hour for each foot of waterfall width. Remember to incorporate shallow areas and small pools within your stream design, as these create additional habitats for beneficial organisms and add visual interest to your water feature.
Finishing Touches
Edge Treatment and Landscaping
The edge treatment of your koi pond plays a crucial role in both aesthetics and functionality. Natural-looking edges not only create a seamless transition between your pond and the surrounding landscape but also provide essential protection for your pond liner.
Start by laying flat stones or pavers along the pond’s perimeter, overlapping the liner by at least 2-3 inches. These stones should be level or slightly tilted toward the pond to ensure rainwater flows inward. Consider using irregular-shaped stones for a more organic look, and vary their sizes to create visual interest.
Creating shelves or terraces along the edges provides perfect spots for marginal plants and helps disguise the liner. Plant water-loving species like iris, rushes, or water lilies in these areas to soften the transition between water and land. When maintaining pond edges, these plants will also help prevent erosion and provide natural filtration.
For the surrounding landscape, incorporate a mix of heights and textures using native plants that complement your pond. Consider adding decorative gravel or river rocks between plantings to create a natural-looking border. Small boulders strategically placed around the edges can serve as focal points while helping to secure the liner.
Remember to leave adequate access points for pond maintenance and feeding your koi. A few flat stones can serve as stepping areas without compromising the natural appearance of your pond’s edge.
Water Quality Management
Proper water quality is essential for the health and happiness of your koi fish. Start by filling your pond with dechlorinated water – you can use a water conditioner to remove harmful chlorine and chloramines. The ideal pH level for koi should be between 7.0 and 8.6, with 7.4 being optimal. Test your water regularly using a reliable testing kit that measures pH, ammonia, nitrites, and nitrates.
Your filtration system needs time to establish beneficial bacteria, a process known as cycling. This typically takes 4-6 weeks. During this period, monitor ammonia levels closely, as they should remain at 0 ppm (parts per million). Nitrites should also be at 0 ppm, while nitrates should stay below 20 ppm.
Install a pump that circulates the entire pond volume at least once every hour to maintain proper oxygen levels. Adding air stones or waterfalls will help increase oxygen content, which is crucial for koi health. Keep water temperature stable between 59-77°F (15-25°C) for optimal koi activity.
Consider using beneficial bacteria supplements to jump-start your biological filtration. These helpful microorganisms break down fish waste and maintain the nitrogen cycle. Remember to perform regular water changes, typically 10-15% every two weeks, to remove accumulated pollutants and maintain pristine water conditions for your koi.
Testing and Maintenance Setup
Before introducing koi to your new pond, it’s crucial to perform thorough testing of all systems and establish proper maintenance routines. Start by running your filtration system for at least 48 hours to ensure everything functions correctly. Test the water parameters, including pH, ammonia, nitrite, and nitrate levels, using a reliable testing kit.
Check that your pond’s water temperature remains stable and your aeration system provides adequate oxygen throughout the pond. Monitor the pump’s performance and verify that all plumbing connections are secure with no leaks. Run your UV clarifier if installed, and ensure the water flow through your biological filter is optimal.
Once your testing confirms all systems are working properly, develop a regular maintenance schedule. This should include weekly water testing, filter cleaning, debris removal, and checking equipment functionality. Keep a log of your water parameters and any maintenance performed – this will help you spot potential issues before they become problems.
Remember to inspect your pond’s edges for settling or shifting that might have occurred during construction. Make any necessary adjustments to ensure your pond remains level and stable. Additionally, test your lighting system if installed, and verify that all electrical connections are properly protected from the elements.
Building a koi pond is an exciting and rewarding project that can transform your outdoor space into a peaceful oasis. Throughout this guide, we’ve covered all the essential aspects of constructing your dream pond, from initial planning and location selection to the final touches of installing filtration systems and introducing your first koi fish.
Remember that successful pond construction relies on careful planning, proper materials, and attention to detail. Take your time with each step, particularly with excavation and liner installation, as these foundational elements are crucial for long-term success. Don’t forget the importance of adequate filtration, appropriate depth, and proper water circulation – these factors will ensure your koi thrive in their new home.
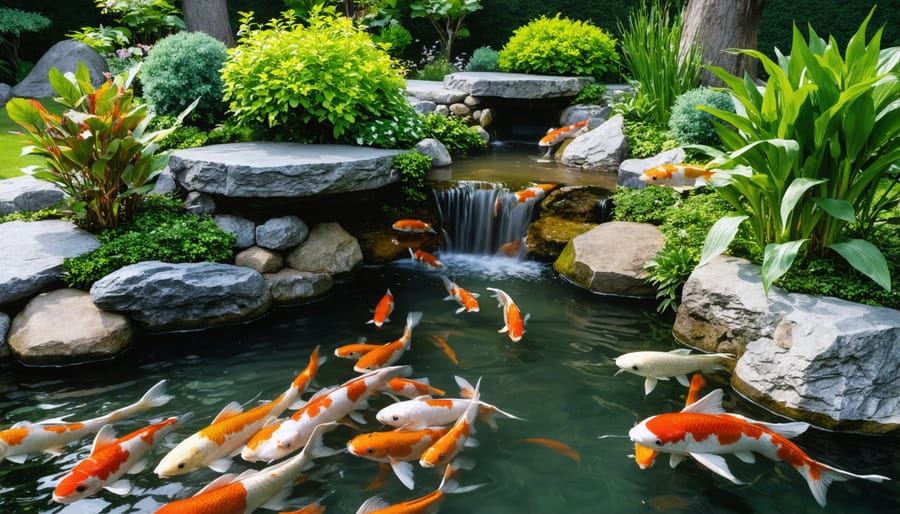
While building a koi pond requires significant effort and investment, the end result is well worth it. The sight and sound of water, combined with the graceful movement of koi, creates a stunning focal point in any garden. Whether you’re a seasoned DIY enthusiast or tackling your first major outdoor project, you now have the knowledge needed to create a beautiful and functional koi pond.
Ready to begin your koi pond journey? Start with a detailed plan, gather your materials, and take it one step at a time. Before you know it, you’ll be enjoying the tranquil atmosphere of your very own koi pond. Happy building!