
How to Use Thermal Zoning to Keep Your Pond Fish Healthy Year-Round
You can create effective thermal zones in your pond by combining shade structures, strategic water circulation, and cool-water refuges to give fish safe havens when temperatures spike. This isn’t complicated pond engineering. It’s about understanding that different areas of your water feature can serve different purposes, especially during those brutal summer stretches we’re all facing more often now.
Thermal zoning works because fish are smart. When part of your pond stays cooler, they’ll naturally migrate there during heat stress, just like you’d move to the shade on a scorching afternoon. The technique relies on manipulating three elements: sunlight exposure, water movement, and depth variation.
I started experimenting with this approach after losing several koi during a particularly harsh summer a few years back. The whole pond had turned into one uniform warm bath, and the fish had nowhere to go. Now, my pond has distinct temperature zones, sometimes with differences of up to 5 degrees Celsius between the shallowest sun-baked edges and the deeper, shaded sections. That variation saves lives.
With climate resilience becoming essential rather than optional, thermal zoning deserves a spot in every pond keeper’s toolkit. The setup requires basic materials you might already own, takes a weekend to implement, and delivers protection that lasts season after season.
Why Thermal Zoning Matters for Your Pond
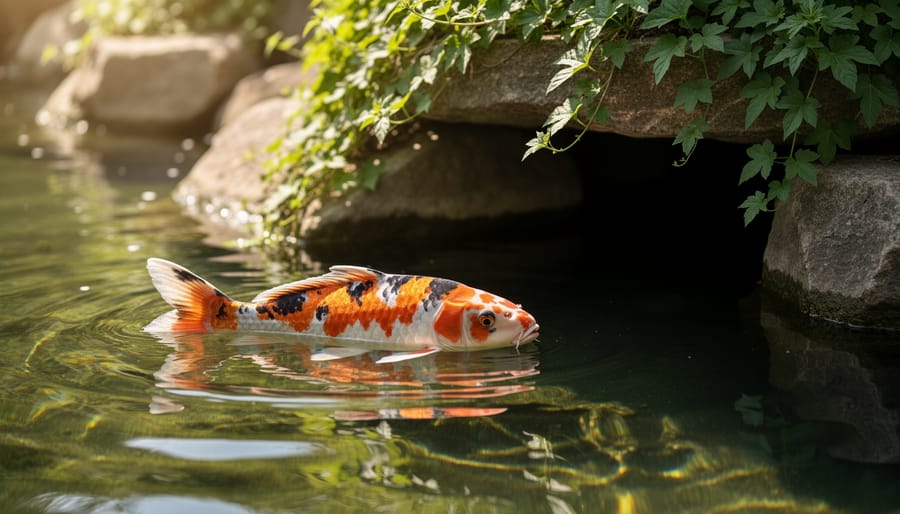
Your fish are far more sensitive to temperature shifts than you might realize. During a particularly brutal heatwave last July, I watched my koi abandon their usual feeding spot and crowd into the northeast corner of my pond, huddled beneath the overhanging willow. They weren’t being lazy, they were surviving. That shaded corner was nearly eight degrees cooler than the shallow, sun-baked south end, and those few degrees meant the difference between comfort and distress.
Fish aren’t warm-blooded creatures that can regulate their internal temperature. When pond water heats up during summer or plunges in winter, their metabolism, oxygen needs, and stress levels change dramatically. Goldfish and koi thrive between 65-75°F, but struggle above 80°F when oxygen levels drop and harmful bacteria multiply. During spawning season, many species seek specific temperature ranges, cooler water for eggs, slightly warmer shallows for fry development. Without access to these varied conditions, breeding fails and fish weaken.
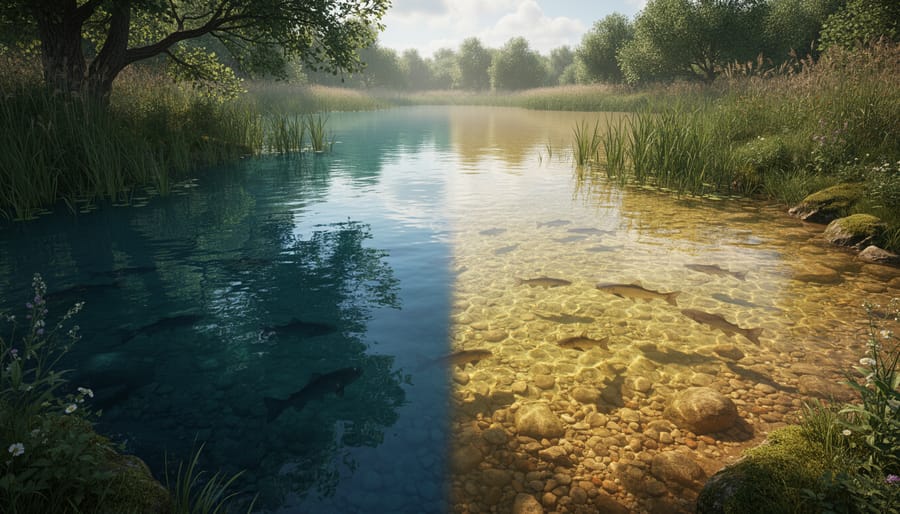
Natural lakes create this temperature diversity through depth and pond and lake climate patterns. Deep water stays cooler and holds more oxygen, while shallows warm faster for plant growth and insect activity. This vertical layering, called thermal stratification, happens naturally in ponds deeper than three feet, but only if you design conditions that preserve it. A well-planned zone system mimics what fish would find in a healthy wild environment, letting them choose the temperature that matches their current needs rather than forcing them to endure whatever single condition your entire pond provides.
What You’ll Need to Create Thermal Zones
Creating thermal zones doesn’t require a massive budget or specialized equipment, but you’ll need a few key items to pull it off successfully. Think of this as assembling your temperature management toolkit, some pieces are absolute essentials, while others give you extra control as you fine-tune your zones.
Essential Equipment and Materials:
- Accurate pond thermometer (digital models with multiple probes work best for tracking different depths and zones simultaneously)
- Depth variation of at least 24-36 inches in your pond (the deeper, the better for stable cool zones)
- Shade-creating elements like floating plants, shade cloth structures, or strategically placed pergolas
- Variety of aquatic plants suited to different depths and temperature preferences
- Pond aerator or air pump with diffuser stones for maintaining oxygen without destroying stratification
- Water quality test kit to monitor conditions as you make changes
- Optional: directional circulation pump for gentle water movement between zones
- Optional: pond liner repair materials if you need to modify depth or create shelves
The thermometer is your most important diagnostic tool. You can’t manage what you can’t measure, and understanding your current temperature profile tells you where to focus your efforts. I learned this the hard way after installing shade structures in the wrong spots, turns out my coolest natural area was already in the northeast corner, not where I’d guessed.
Depth variation is non-negotiable. Without a deeper zone of at least 24 inches (though 36 inches or more is ideal), water temperatures will fluctuate too rapidly with air temperature changes. Deep water maintains stable, cooler temperatures even during heat waves because it’s insulated by the layers above it.
Your shade structures and plants work together to block solar radiation from heating specific zones. Meanwhile, aeration keeps deep zones from becoming stagnant oxygen-depleted traps, which would defeat the whole purpose of creating a refuge area. The key is using gentle aeration that maintains oxygen levels without churning the water so vigorously that it mixes your carefully created temperature layers.
Important Considerations Before You Start
Before diving into thermal zone creation, consider whether your pond is actually suited for this approach. Thermal zoning works best in ponds holding at least 500 gallons with sufficient depth variation, if your pond is smaller than this or uniformly shallow (under 18 inches throughout), you won’t achieve meaningful temperature differences. Small container ponds with just a few goldfish typically don’t need zones; standard shade and aeration will suffice.
Electrical safety is paramount when working with pumps and aerators near water. Always use GFCI-protected outlets, keep power connections well above the waterline, and never work on electrical equipment with wet hands. Route cables away from foot traffic and secure them properly to prevent tripping hazards or accidental submersion.
Check your local building codes before excavating deeper areas or significantly altering your existing pond zones. Some municipalities have regulations about maximum pond depth (often related to safety fencing requirements) or restrictions on water features near property lines. Homeowners’ associations may also have specific rules about pond modifications.
Finally, understand your fish species’ needs. If you keep only cold-water fish like goldfish in a temperate climate, extensive thermal zoning may be overkill. Conversely, ponds housing sensitive koi or tropical species in areas with extreme heat waves will benefit significantly from well-planned temperature refuges.
Step-by-Step: Building Thermal Zones in Your Pond
Step 1: Map Your Pond’s Current Temperature Profile
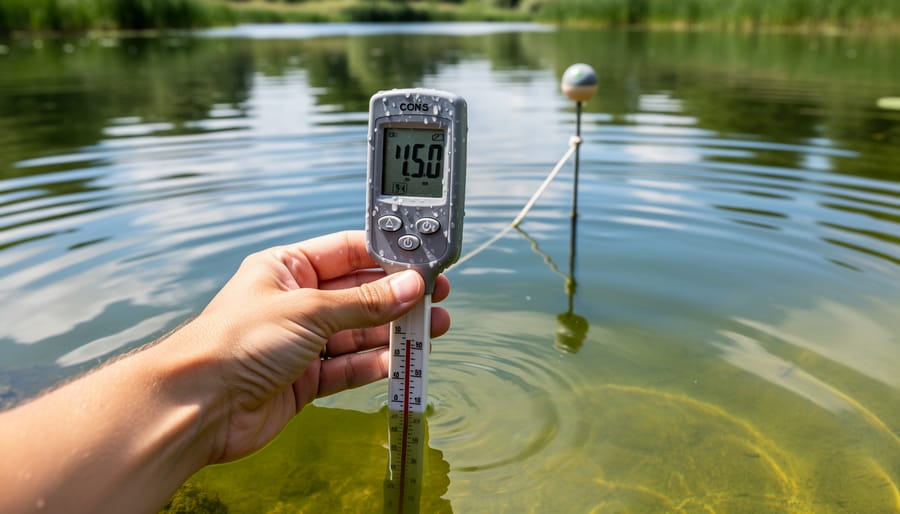
Before you can design effective thermal zones, you need to understand your pond’s existing temperature patterns. Start by taking readings at multiple depths and locations using a basic pond thermometer, you’ll want measurements from the surface, mid-depth, and bottom in at least three different areas of your pond.
The best time to map temperatures is during a typical summer day when stratification is most pronounced. Take your first round of readings early morning around 7 AM, then again at midday (1-2 PM when the sun is strongest), and finally in early evening around 6 PM. This gives you a complete picture of how temperatures shift throughout the day.
Pay special attention to spots that stay consistently cooler, these are your natural cold refuges, often found in deeper areas or beneath overhanging plants. Also note where the water gets warmest, typically shallow sun-exposed sections. Record everything in a simple sketch or notebook, marking actual temperatures next to each location.
Repeat this process over two or three days to confirm patterns. You’re looking for consistent cool pockets that remain 5-8 degrees Fahrenheit below the warmest areas, these become the foundation of your thermal zoning strategy.
Step 2: Design Your Zone Layout
Now that you’ve measured your pond’s temperature profile, it’s time to design a zone layout that works for your specific setup.
Start by planning three distinct depth ranges. Your cool refuge zone should be 36 inches deep or more, this is where fish retreat during heat waves. The mid-depth transition zone at 18-24 inches offers comfortable spring and fall temperatures. Shallow warm zones of 6-12 inches create breeding areas and morning basking spots for beneficial bacteria.
How many zones do you actually need? For ponds under 1,000 gallons, one deep cool zone and one shallow warm zone usually suffice. Larger ponds (1,000-3,000 gallons) benefit from two cool zones on opposite ends plus transitional areas between them. If you keep koi or goldfish exclusively, focus on maximizing cool zones since they prefer 65-75°F. Mixed species ponds need more variety, native fish like bluegill appreciate those warm shallows.
Grab paper and sketch your pond from above. Mark existing depth variations first, then outline where you’ll add or modify zones. I keep my sketches simple: circles for deep zones, wavy lines for transitions, and shaded areas where I’ll add cover. This rough map becomes your reference when you start moving rocks and soil.
Step 3: Create Depth Variation
Creating different depths is the foundation of effective thermal zoning. If you’re working with an existing pond, you have several options that don’t require draining everything and starting over.
For ponds with flexible liners, carefully excavate deeper pockets in strategic locations, aim for at least 36 inches in your designated cool zone. Remove fish temporarily and work in sections to minimize disruption. I learned this the hard way when I tried excavating with fish present and created a muddy disaster they weren’t happy about.
Stacked rocks offer a simpler alternative. Build underwater shelves or ledges using flat stones or cinder blocks to create elevated platforms in deeper areas, forming your mid-depth transition zones. Ensure stacks are stable and won’t shift under fish activity.
Sunken plant shelves serve double duty, they create depth variation while providing ideal planting spots. Position them at 18-24 inches deep around your pond’s perimeter, leaving the center deeper for your cool zone.
For new pond construction, design depth changes from the start. Excavate a graduated profile: shallow warming shelf, mid-depth shelf, then a deep sump area. This natural bowl shape creates distinct thermal layers without additional structures.
Whichever method you choose, avoid sharp drop-offs. Gentle slopes between zones feel more natural and give fish easier access to their preferred temperatures.
Step 4: Add Strategic Shade and Cover
Shade is your most powerful tool for keeping designated cool zones actually cool. Start with floating plants, water lilies and lotus are ideal because their broad leaves block direct sunlight while their roots stay anchored in deeper water. Position clusters in your planned cool zones, aiming to cover 40-60% of the surface area there. Don’t spread them evenly across the pond; concentrate coverage where you need temperature relief.
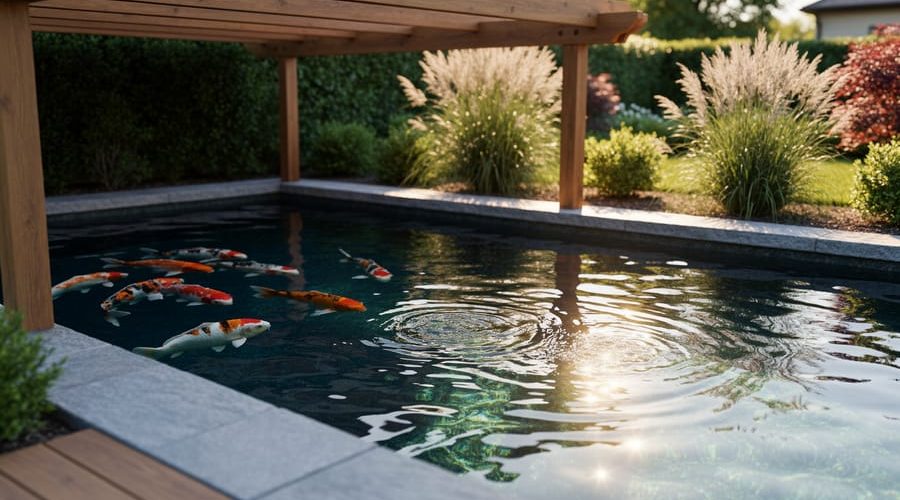
Overhead structures work brilliantly for edges and corners. A simple pergola or shade sail positioned 3-4 feet above the water casts consistent shadow without blocking airflow. I installed a basic wooden frame with shade cloth over my pond’s deepest section, and the temperature difference was noticeable within days, fish gathered there during afternoon heat.
Underwater cover matters too. Stack flat rocks to create cave-like overhangs in your cool zones, or position large pieces of driftwood at angles that form shaded pockets beneath. These structures serve double duty: they block light penetration and give fish actual retreats where they feel secure while cooling down.
Avoid shading your entire pond. Warm zones need full sun exposure to maintain their purpose in the thermal system.
Step 5: Install Circulation and Aeration
The trick to effective circulation is keeping water moving without erasing the temperature differences you’ve worked so hard to create. Think of it as gentle stirring, not vigorous blending.
Position aerators at the bottom of your deep cool zones, where they’ll prevent oxygen depletion and stagnation while respecting thermal layers. A bottom diffuser releases small bubbles that rise slowly, enriching the water column without aggressive mixing. Avoid powerful fountain-style aerators that churn the entire pond, they’ll destroy stratification in minutes.
For circulation between zones, directional pumps work best. Place them to push water horizontally along the pond bottom or mid-depth, creating a lazy current that connects zones without forcing warm surface water downward. Aim for subtle movement, you should barely notice the flow at the surface. Research on pond shade and temperature confirms that maintaining stratification is crucial during heat events.
Run equipment on timers if needed: continuous aeration in deep zones, but perhaps only morning circulation to gently redistribute oxygen without flattening your temperature gradient. Test the setup during a hot afternoon, if your cool zone warms by more than 3-4°F, dial back the circulation intensity.
Step 6: Plant Each Zone Appropriately
Plants aren’t just decoration, they’re active components of your thermal zones, reinforcing the temperature boundaries you’ve created while giving fish crucial shelter. The right species in each zone can drop water temperature by several degrees through shade and transpiration, making the difference between a stressed fish and a comfortable one.
For your warm shallow zones (6-12 inches), choose heat-tolerant marginals that thrive in warmer water. Pickerel rush handles temperatures up to 85°F while providing vertical structure. Blue flag iris and sweet flag add dense foliage that creates pockets of cooler water beneath their leaves. These plants don’t mind the heat and won’t suffer during peak summer.
In your cool deep zones (24-36 inches), install large-leaved floating plants that shade the surface. Lotus and hardy water lilies excel here, with leaves that can cover several square feet each. Position them so their shade overlaps during midday sun, creating a dark refuge beneath. Their deep root systems don’t interfere with the pond’s thermal layering because they draw from the cooler bottom water.
The transition zone (18-24 inches) benefits from flexible species like dwarf cattails or water cannas that tolerate temperature swings. Plant densely enough to create visual and thermal barriers between zones, think of them as living walls that slow water mixing between your warm and cool areas.
Space plants 18-24 inches apart initially; they’ll fill in within one season. This density provides immediate shade while allowing enough water circulation to prevent stagnation, which matters for aeration and stratification balance.
Testing and Fine-Tuning Your Thermal Zones
Once you’ve built your thermal zones, the real work begins: making sure they actually function as intended. I learned this the hard way after installing what I thought was a perfect zone layout, only to discover my fish still huddling in one spot because my “cool zone” was barely two degrees cooler than the rest of the pond.
Start by taking detailed temperature readings across your pond over three to five consecutive days, including both morning (around 7 AM) and late afternoon (3-4 PM) when temperature differences peak. Use your pond thermometer to record temps at each zone at the surface, mid-depth, and bottom. You’re looking for at least a 5-7°F differential between your coolest and warmest zones during summer heat. Aim for cool zones holding steady between 65-72°F while warm zones reach 75-82°F in peak summer conditions.
Watch your fish closely during the hottest part of the day. Are they actively moving between zones, or are they all crammed into one area? Healthy thermal zoning means you’ll see fish distributed across different zones based on their preferences and activity levels. Some will bask in warm shallows after feeding, while others retreat to cooler depths during midday heat.
Run through this verification checklist to confirm your zones are working properly:
- Temperature differential of at least 5-7°F between coolest and warmest zones has been achieved and holds steady throughout the day
- Fish are actively using all zones at different times rather than clustering in one area constantly
- No stagnant pockets have formed where water sits motionless and debris accumulates
- Oxygen levels remain adequate in all zones, especially the deepest cool areas where stratification can reduce oxygen availability
If your zones aren’t performing as expected, make incremental adjustments. Add more shade if cool zones are warming too much, or increase circulation slightly if deep areas show low oxygen. Give each change three to four days to stabilize before tweaking further, patience beats rapid corrections every time.
Maintaining Your Zones Through the Seasons
Your thermal zones need different management as the seasons shift. In spring and fall, you can reduce shade coverage by trimming back overgrown plants and removing portable shade structures that blocked summer sun. Increase circulation slightly during these transition periods to prevent stagnant pockets without eliminating helpful temperature differences, fish still appreciate having choices, just less extreme ones.
When summer arrives and temperatures soar maximize your cool zones by restoring full shade coverage and checking that deep-water plants are flourishing. Monitor your aerators closely during heat waves; they work harder in warm conditions and may need cleaning or adjustment. Watch fish behavior carefully, if you see them gasping at the surface even near aerated areas, your cool zones need more shade or deeper water.
Winter brings a different challenge: thermal stratification still occurs under ice, with the warmest water (around 39°F) settling at the bottom where fish overwinter. Don’t break up this natural layering by running powerful pumps. Keep a small aerator or de-icer running gently at mid-depth to maintain oxygen without churning the pond completely. Check your zones monthly throughout the year, taking temperature readings in the same spots you mapped initially. You’ll spot problems, like a formerly cool zone warming up due to plant die-back or sediment buildup, before they stress your fish.
Common Questions About Pond Thermal Zoning
Can I add thermal zones to an existing pond?
Yes, most existing ponds can be retrofitted with thermal zones by adding shade structures, strategic plantings, and adjusting circulation patterns. You may need to excavate one deeper area if your pond is uniformly shallow, but many improvements work with your current depth profile.
How many zones do I need?
A minimum of two zones, one cool retreat and one warmer area, works for most backyard ponds. Larger ponds (1,500+ gallons) benefit from three zones including a mid-depth transition area that fish can move through comfortably.
Will zones work in small ponds under 500 gallons?
Thermal zoning becomes difficult in very small ponds because water volume heats and cools too quickly to maintain stable temperature differences. Focus instead on overall shade coverage and consistent pond water treatment to keep your fish comfortable.
Do I need special equipment?
Basic thermal zoning requires only a pond thermometer, shade materials, and plants, no specialized gear necessary. Aerators and circulation pumps help refine your zones but aren’t essential for creating temperature variation through depth and shade alone.
How do I know if my fish are using the zones?
Watch where your fish gather during the hottest part of the day. If they’re congregating in shaded, deeper areas rather than gasping at the surface, your cool zones are working. You’ll also notice them moving to shallower areas during cooler morning hours.
Beyond these common questions, remember that thermal zoning is forgiving. Your fish will tell you what’s working through their behavior. If they’re active, feeding well, and using different areas throughout the day rather than hiding in one spot, you’ve created effective zones. Don’t overthink the process, start with one good deep refuge and some strategic shade, then observe and adjust based on what your fish prefer during heat waves.
Creating thermal zones in your pond doesn’t require a massive renovation or expensive equipment. You’ve learned that even simple depth variations, strategic shade placement, and thoughtful plant selection can give your fish temperature refuges when they need them most. Start small, maybe add some floating plants to create a cool spot or stack rocks to build a deeper pocket. Watch where your fish congregate during hot afternoons or chilly mornings. That observation tells you what’s working and where adjustments make sense.
The beauty of thermal zoning is that it grows with your experience. Begin with one or two basic zones this season, then expand as you learn your pond’s patterns. Your fish will show their appreciation by staying active, healthy, and visible year-round instead of hiding during temperature extremes. Grab your thermometer and sketch out where your first zone could go, your pond ecosystem will thank you.