
How to Dig a Perfect Pond with Your Tractor (Without Getting Stuck)
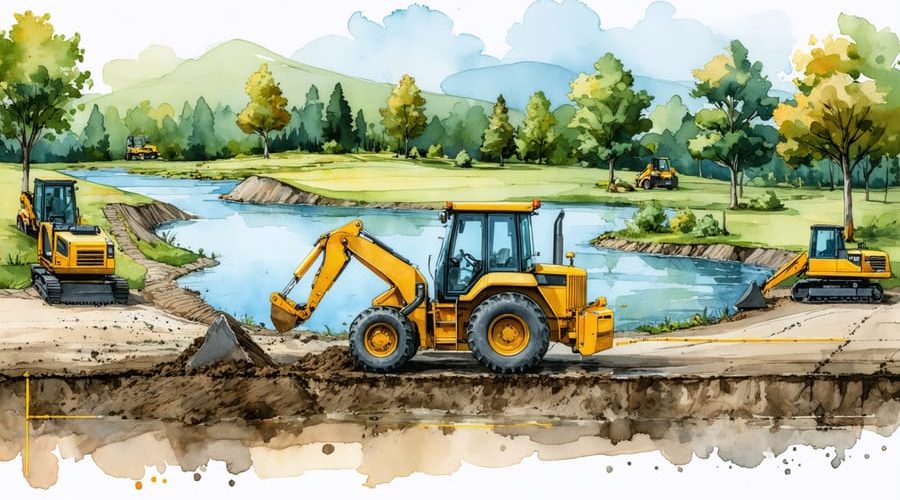
Transform your property into a thriving ecosystem by mastering the art of pond excavation with your tractor. Before breaking ground on planning your backyard pond, survey the land’s natural contours and drainage patterns to maximize water retention and minimize erosion risks. Modern tractors equipped with backhoe attachments can efficiently carve out depths of 4-8 feet, creating essential depth variations that support diverse aquatic life while maintaining structural integrity.
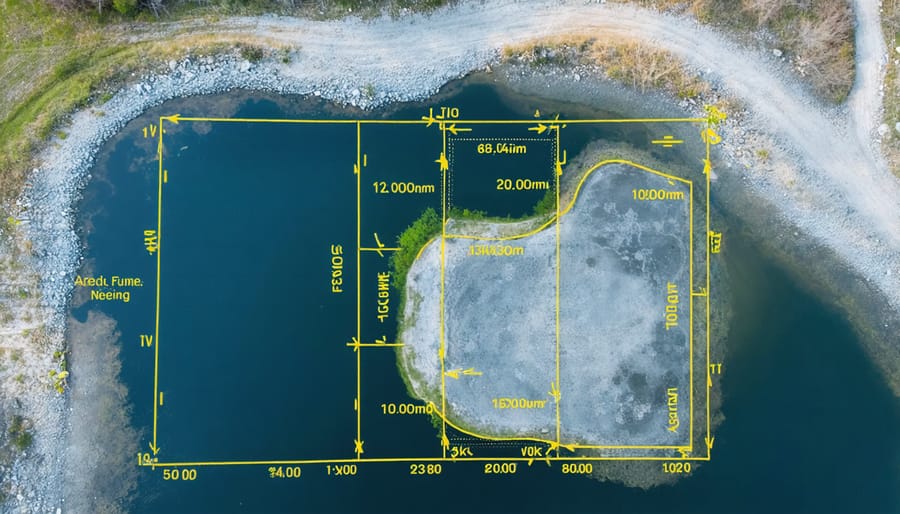
Calculate your pond’s dimensions based on your property’s watershed characteristics and local regulations, typically allowing 1/4 acre of drainage area per acre-foot of pond volume. Strategic bench cutting at different depths creates essential safety zones and habitat shelves, while proper slope grading (typically 3:1 ratio) ensures long-term stability and easy maintenance access.
Position your excavation staging area uphill from the dig site to prevent soil runoff, and maintain precise depth control by establishing clear reference points. Remember: successful pond construction hinges on methodical planning, proper equipment selection, and attention to structural fundamentals.
Essential Pre-Digging Planning
Site Assessment and Marking
Before starting any excavation work, proper site assessment and marking are crucial steps to ensure safety and success. Begin by contacting your local utility companies or dialing 811 to have underground utilities marked. This service is typically free and can help you avoid dangerous and costly accidents.
Once utilities are marked, outline your pond’s shape using spray paint or marking flags. Consider using a rope or garden hose to create smooth curves and visualize the final design. Take time to walk around your marked area and ensure it’s positioned correctly relative to your property’s features and natural drainage patterns.
Test your soil by digging several small test holes within the marked area. This helps identify potential challenges like rocky soil or high clay content, which could affect how you approach the dig and what measures you’ll need to take to prevent pond leaks. Mark your planned depth levels with stakes at different points, accounting for both shallow and deep areas of your pond design.
Remember to check local regulations regarding pond construction and obtain any necessary permits before proceeding with the excavation.
Equipment Requirements
To dig a pond successfully with a tractor, you’ll need the right equipment for the job. A compact or utility tractor with at least 25 horsepower is recommended for small to medium-sized ponds. For larger projects, consider a tractor with 45-75 horsepower for better performance and efficiency.
Essential attachments include a front-end loader, which helps with initial soil removal and material handling. The most crucial attachment is a backhoe, which does the primary digging work. Make sure your backhoe has a bucket width between 12-24 inches for precise digging control.
Additional helpful equipment includes:
– Box blade for leveling and grading
– Rear blade for spreading soil
– Chain or tow straps for safety
– Measuring tools and marking stakes
– Drainage pipes (if needed)
Your tractor should be in good working condition with properly maintained hydraulics. Check that all attachment connections are secure and working smoothly before starting. Having spare hydraulic fluid and basic tools on hand is also recommended for any quick fixes needed during the project.
Remember that rental equipment is available if you don’t own these items, making pond creation accessible even without owning all the equipment.
Preparing Your Tractor for the Job
Attachment Selection and Setup
Selecting the right attachment for your tractor is crucial for successful pond excavation. The backhoe attachment is typically the most efficient choice, offering excellent digging depth and precision control. It’s particularly useful for creating varying depths and sculpting pond edges. A front-end loader, while not ideal for deep digging, proves invaluable for moving soil and final grading work.
For smaller ponds, a box blade or rear blade attachment can help with initial ground breaking and leveling. If your tractor has a PTO (Power Take-Off), consider using a rotary tiller first to break up hard soil, making the excavation process easier.
Before mounting any attachment, ensure it’s compatible with your tractor’s size and power rating. Check that all hydraulic connections are secure and properly fitted. Most attachments require a three-point hitch system or dedicated mounting bracket. Take time to familiarize yourself with the attachment’s controls in an open area before starting the actual pond work.
Remember to factor in rental costs if you don’t own these attachments – sometimes renting specialized equipment makes more economic sense than purchasing.
Safety Measures
Safety should always be your top priority when operating a tractor for pond excavation. Before starting, inspect your tractor thoroughly and ensure all safety features are working properly. Always wear appropriate personal protective equipment (PPE), including a hard hat, safety glasses, steel-toed boots, and hearing protection.
Never work alone when operating heavy machinery – have someone nearby who can help in case of emergency. Keep children and pets away from the work area, and mark off the excavation site with safety tape or barriers. Be especially careful when working on slopes, as tractors can become unstable on uneven ground.
Stay alert for underground utilities and obtain necessary permits before digging. Monitor weather conditions, as wet soil can create hazardous situations for tractor operation. Take regular breaks to avoid fatigue, which can lead to accidents. Keep a first aid kit and emergency contact numbers readily available.
If you’re not confident in operating the tractor, consider getting professional training or hiring an experienced operator. Remember, it’s better to take extra precautions than risk personal injury or equipment damage.
The Digging Process
Starting the Excavation
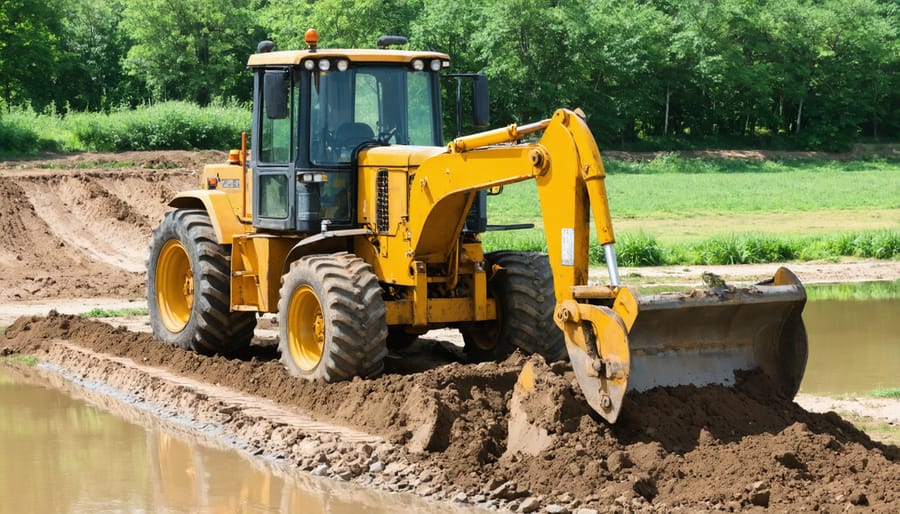
Once your pond outline is marked and you’re ready to dig, begin with the shallow end first. Position your tractor at the edge of your marked area, keeping the bucket level with the ground. Take small bites of soil – about 6-8 inches deep per pass – rather than trying to dig too deep at once, which can strain your equipment and create uneven results.
Work in a systematic pattern, moving from one end to the other in parallel lines. Think of it like mowing a lawn, but you’re removing soil instead of grass. As you dig, create a gentle slope from the shallow end toward the deeper section. This gradual transition is important for both safety and aesthetics.
Keep track of your depth using a measuring stick or laser level. For most garden ponds, aim for about 18 inches at the shallow end, gradually deepening to 3-4 feet at the deepest point. Remember to periodically check your progress from different angles to ensure you’re maintaining even slopes.
Store the excavated soil in a designated area away from the dig site but close enough for easy access. You’ll likely need some of this soil later for creating berms or landscaping around your pond. If you hit any large rocks or tree roots, remove them carefully to prevent damage to your pond liner later.
Pro tip: Take breaks to step back and assess your progress. It’s much easier to make adjustments while you’re digging than to fix issues after the fact.
Slope Creation
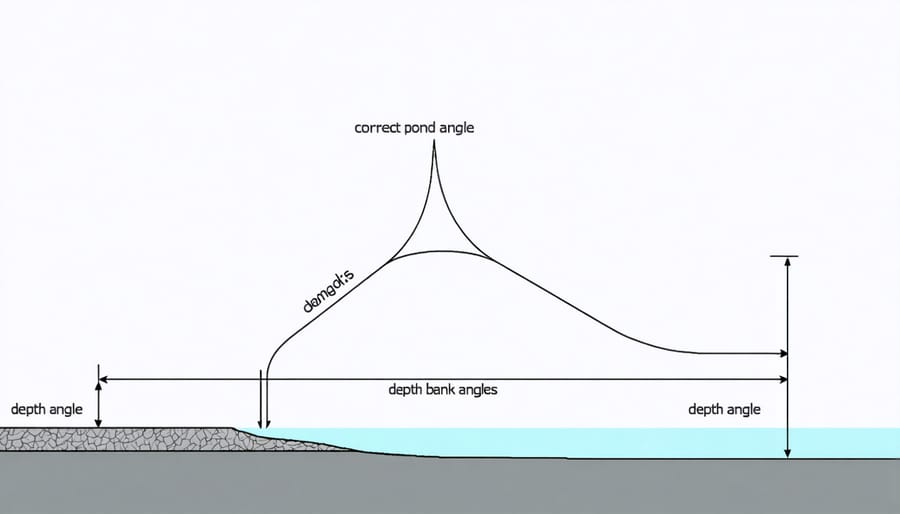
Creating the right slope angles for your pond banks is crucial when you transform your garden with a pond. The ideal slope ratio is typically 3:1 (horizontal:vertical), which means for every 3 feet you move horizontally, the bank should rise 1 foot vertically. This gentle grade ensures stability and safety while creating a natural-looking transition from land to water.
When using your tractor to shape the slopes, work from the bottom up, gradually building the desired angle. Start by marking your slope lines with stakes and string to maintain consistency throughout the excavation. Make several passes with your tractor, removing small amounts of soil each time rather than trying to achieve the perfect angle in one go.
Pay special attention to the different zones of your pond. The shallow shelf area should have a gradual slope of about 15 degrees for the first few feet, creating a safe entry point and natural-looking shoreline. For deeper sections, maintain the 3:1 ratio but ensure the transitions between different depths remain smooth and natural-looking.
Remember to compact the soil as you go to prevent future erosion. If you notice any areas that seem too steep or unstable, take the time to adjust them now – it’s much harder to fix slope issues once the pond is filled with water.
Soil Management
Proper soil management during pond excavation is crucial for both practical and aesthetic reasons. As you dig, you’ll need a clear plan for where to place the excavated soil. Create designated areas around your property for soil storage, ensuring they’re away from the pond site to prevent any backfill.
The excavated soil can be incredibly useful for other landscaping projects. Consider using it to create berms or raised garden beds around your pond, which can add visual interest and provide natural planting areas. You can also use the soil to build up the pond banks, creating gentle slopes that will prevent erosion and make maintenance easier.
When relocating the soil, work in layers rather than large piles. This makes it easier to spread and compact later. If you’re planning to reuse the topsoil, separate it from the subsoil during excavation. Topsoil is valuable for future plantings around your pond area.
Keep in mind that soil expands when excavated – typically by about 10-20%. Plan your storage areas accordingly, and consider whether you’ll need to haul away excess soil. If possible, coordinate with neighbors or local landscaping projects that might need fill dirt.
For areas where you’ll be storing soil temporarily, lay down tarps or create temporary barriers to prevent erosion during rain. This will help keep your work site clean and protect the surrounding landscape from runoff.
Common Challenges and Solutions
Dealing with Difficult Soil
When you encounter challenging soil conditions, don’t let them discourage you from your pond-digging project. Rocky soil often requires extra attention and possibly different equipment. If you’re dealing with numerous rocks, consider using a rock rake attachment for your tractor to clear larger stones before digging. For especially large rocks, you might need to bring in a mini excavator with a thumb attachment for precise removal.
Clay-heavy soil presents its own set of challenges. While clay can actually be beneficial for pond construction due to its water-retention properties, it can be incredibly difficult to dig through. Working with clay soil when it’s slightly damp rather than completely dry or wet makes the job easier. Consider using a ripper attachment first to break up the compacted clay before switching to your digging bucket.
For both rocky and clay soils, taking frequent breaks can prevent overtaxing your tractor. This also gives you a chance to clear away debris and assess your progress. If the soil is particularly stubborn, you might need to work in layers, removing 6-12 inches at a time rather than attempting to dig too deep at once.
Remember that difficult soil conditions might require more time than initially planned. It’s better to work steadily and safely than to rush and risk damaging your equipment or creating an unstable pond base.
Tractor Troubleshooting
When working with a tractor for pond digging, you might encounter some common issues that can slow down your progress. If your tractor seems to lack power while digging, first check the fuel filter and air cleaner – these often get clogged with dust during excavation work. Clean or replace them as needed to restore proper engine performance.
Traction problems are another frequent challenge, especially in wet conditions. If your tractor’s wheels are spinning, try reducing the bucket load and ensuring proper tire pressure. Adding wheel weights or tire chains can significantly improve grip in challenging conditions.
Watch out for hydraulic system issues, which often manifest as slow or jerky bucket movements. Check the hydraulic fluid level and condition – dirty or low fluid is a common culprit. If you notice any leaks around hydraulic lines or fittings, address them immediately to prevent system failure.
Overheating can occur during extended digging sessions. Keep the radiator clean and free of debris, and take regular breaks to let the engine cool down. If temperature problems persist, check the coolant level and thermostat functionality.
For attachment issues, ensure all pins and bushings are properly lubricated and not excessively worn. Loose or worn connections can cause dangerous situations and reduce digging efficiency. If you hear unusual noises or feel excessive vibration, stop work immediately and inspect all connection points.
Remember, regular maintenance checks before starting work can prevent most of these issues and keep your pond-digging project running smoothly.
Congratulations on completing your pond excavation project! With the hard work of digging behind you, it’s time to focus on the finishing touches that will bring your water feature to life. Start by carefully removing any remaining debris and smoothing out the edges of your pond. This is also the perfect time to install your liner, filtration system, and any decorative elements you’ve planned for.
Remember to grade the surrounding area to ensure proper drainage away from the pond, preventing erosion during heavy rains. Plant native vegetation around the edges to help stabilize the soil and create a natural-looking transition between your pond and the landscape. Consider adding underwater shelves for aquatic plants and creating varying depths for different types of pond life.
Maintaining your new pond will be crucial for its long-term success. Establish a regular maintenance schedule that includes checking water quality, managing plant growth, and ensuring your filtration system operates efficiently.
With proper care and attention, your tractor-dug pond will become a thriving ecosystem and a beautiful focal point in your outdoor space. Don’t forget to take some time to enjoy your creation – set up a comfortable seating area nearby where you can relax and watch your pond mature into a natural paradise.