
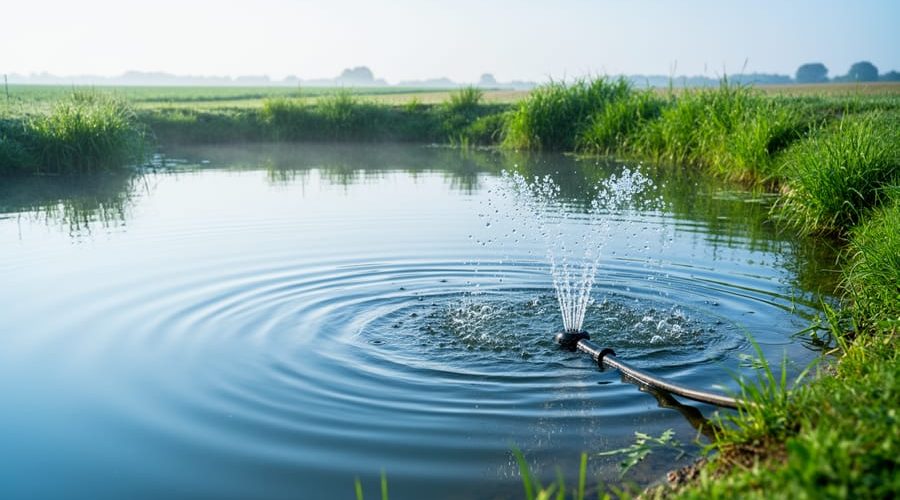
How to Aerate Your Farm Pond in 5 Simple Steps
Installing a farm pond aeration system transforms stagnant, oxygen-depleted water into a thriving habitat by circulating fresh oxygen throughout the pond column, preventing fish kills, reducing algae growth, and breaking up thermal stratification. Most farm pond owners can complete a basic diffuser-based aeration installation in 4 to 6 hours with minimal technical knowledge, though sizing the system correctly for your pond’s volume is the critical first step.
If you’ve noticed fish gasping at the surface on summer mornings, thick algae blooms clouding your water, or foul odors rising from your pond, you’re dealing with classic signs of low dissolved oxygen. Unlike ornamental backyard ponds that might need a simple fountain or waterfall, farm ponds spanning half an acre to several acres require more powerful, strategically designed systems capable of aerating millions of gallons. The good news? Modern aeration equipment has become more affordable and easier to manage than ever, making it accessible for farmers, ranchers, and rural property owners who want healthier livestock water sources, better fishing, and cleaner-looking ponds.
Your pond is a living ecosystem, and oxygen is the foundation that supports everything from beneficial bacteria breaking down organic waste to the fish you’re hoping to catch. Without adequate circulation, bottom layers turn anoxic, creating dead zones where nothing survives and nutrient buildup accelerates. Proper aeration flips this pattern, creating a balanced environment where problems solve themselves naturally. This guide walks you through selecting the right equipment for your pond size, preparing your site, and installing a system that delivers results you’ll see within weeks.
Why Your Farm Pond Needs Aeration
Without proper aeration, your farm pond becomes a ticking time bomb for water quality problems and fish health disasters. Farm ponds naturally stratify during warm months, trapping oxygen-depleted water at the bottom where decomposing organic matter consumes what little oxygen remains. This creates a deadly environment that can wipe out your entire fish population overnight.
The aeration benefits for farm ponds are substantial and immediately noticeable. First, you’ll see improved dissolved oxygen levels throughout the water column, not just at the surface. This means healthier fish that grow faster and resist disease better. Second, constant water circulation prevents thermal stratification and breaks up stagnant zones where harmful bacteria thrive. Third, aerobic bacteria outcompete algae for nutrients when oxygen levels stay high, dramatically reducing those ugly green blooms that choke your pond every summer.
Moving water also keeps mosquitoes from breeding and eliminates the musty odors that come from anaerobic decomposition. Farm ponds with aeration maintain stable pH levels and support beneficial bacteria that naturally break down fish waste, uneaten feed, and decaying plants. Perhaps most importantly, proper aeration systems excel at reducing low oxygen events during critical periods like summer afternoons and early mornings when oxygen demand peaks.
Without aeration, you’re fighting an uphill battle against nature. With it, your pond becomes a thriving, balanced ecosystem that requires far less intervention and provides better fishing, clearer water, and peace of mind year-round.
What You’ll Need to Aerate Your Farm Pond
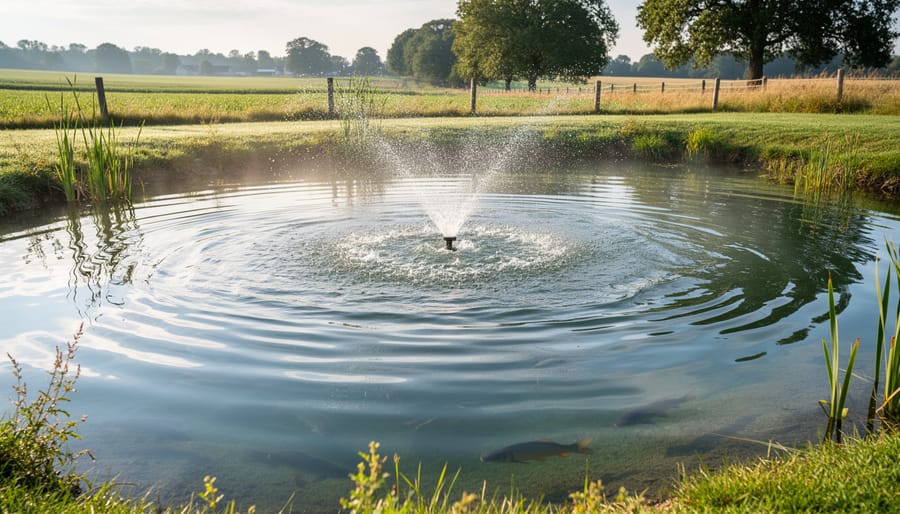
Choosing the Right Aeration System for Your Pond Size
Figuring out what size aerator you need doesn’t have to be complicated. I learned this the hard way after buying an undersized system for my first farm pond, the fish were still gasping at the surface come July!
Start with your pond’s surface area in acres. A basic rule: you need about 1 to 2 horsepower of aeration per surface acre. A half-acre pond typically does well with a 1 HP aerator, while a 3-acre pond usually needs at least 2 to 3 HP. Deeper ponds (over 8 feet) benefit from diffused aeration systems that push air from the bottom up, creating better circulation than surface units alone.
Pond depth matters too. Shallow ponds under 6 feet often work fine with fountain-style surface aerators. But if your pond is 10 feet deep or more, you’ll want a bottom diffusion system that lifts oxygen-poor water from the depths.
Fish stocking density is your third factor. If you’re raising catfish or running a heavy fish load, bump up your aeration capacity by 50 percent. A pond with just a few bass and bluegill needs less horsepower than one stocked for commercial production.
Here’s a quick calculation: multiply your surface acres by 1.5 HP, then add 0.5 HP for every 1,000 pounds of fish you’re carrying. Round up rather than down, you can always run your aerator less, but you can’t create more oxygen when you’re short on power.
Safety Considerations Before You Start
Before you start installing your farm pond aeration system, let’s talk about keeping yourself safe. Working around water and electricity requires extra caution, and a few simple precautions will help you avoid serious injury.
If you’re not comfortable working with outdoor electrical installations, hire a licensed electrician to handle the power supply setup. This isn’t the place to cut corners. Your electrician should install a dedicated GFCI-protected outlet rated for outdoor use, positioned at least six feet from the water’s edge and elevated above potential flood levels.
When handling aeration equipment, remember that compressors and larger aerators can be heavy and awkward to move. Get help lifting anything over 50 pounds, and use a hand truck or dolly when possible. Carrying heavy gear across uneven ground near your pond increases your risk of slipping into the water.
Speaking of water, always wear a life jacket when working from a boat or dock during installation. Farm ponds often have soft, muddy bottoms and steep drop-offs that can surprise you. Keep children and pets away from the work area.
Check the weather forecast before starting your installation. Never work with electrical equipment in rain, and avoid windy days that make handling long airline tubing difficult. If a storm approaches while you’re working, stop immediately and secure your equipment. The installation can wait. Your safety cannot.
Step-by-Step: Installing Your Farm Pond Aeration System
Installing your farm pond aeration system is easier than you might think, especially if you break it down into manageable steps. I remember the first time I tackled DIY aeration on my own property, I was intimidated at first, but once I got started, the process flowed naturally. Here’s exactly how to get your system up and running:
- Assess Your Pond and Choose Placement. Walk around your entire pond and identify the deepest area, which is typically the ideal spot for diffuser placement in a bottom-aeration system. For surface aerators or fountains, look for a central location that allows water circulation to reach the entire pond. Check for any obstacles like submerged logs, rocks, or heavy weed beds that might interfere with installation. Mark your chosen spot with a buoy or float so you can find it easily when you’re ready to place equipment. This step matters because proper placement determines how effectively oxygen distributes throughout the water column.
- Set Up Your Power Supply Safely. Work with a licensed electrician if you’re not experienced with outdoor electrical installations. Your power source should be at least 10 feet from the water’s edge and protected by a GFCI outlet rated for outdoor use. If your aerator location is far from existing power, you’ll need to trench a line using UF-rated cable buried at least 18 inches deep, following local electrical codes. I learned the hard way that skimping on proper electrical setup isn’t worth the risk, always use weatherproof connections and conduit where required. Test the outlet with a GFCI tester before connecting any equipment.
- Install the Aerator or Diffuser System. For diffused aeration, attach your air stones or diffuser discs to weighted bases so they’ll stay on the pond bottom. Connect the tubing, making sure all clamps are tight to prevent air leaks. Use a small boat or waders to position diffusers in your marked location. For surface aerators, follow the manufacturer’s instructions for assembling the float and motor unit. Most systems come with anchor ropes, attach these to stakes or weights on shore to prevent the unit from drifting. Don’t rush this step; taking time to position everything correctly now saves headaches later.
- Connect and Secure All Components. Run your airline tubing from the diffusers back to shore, keeping it several inches below the surface to protect it from UV damage and boat traffic. Secure the tubing to the pond bank with landscape staples or rocks. Connect it to your air compressor or pump, double-checking that all fittings are snug. For electric aerators, plug the power cord into your GFCI outlet. Make sure all equipment sits on stable, level ground, I once had a compressor vibrate itself halfway across the shed because I’d set it on uneven ground.
- Test and Adjust Settings. Turn on your system and watch for bubbles or water movement. You should see consistent activity within seconds. Walk around the pond perimeter to observe circulation patterns. If you notice dead zones where water isn’t moving, you may need to reposition your aerator or add a second unit for larger ponds. Listen for unusual noises like rattling or grinding, which might indicate loose parts. Run the system for at least an hour during your first test, checking periodically to ensure everything operates smoothly and no leaks develop.
After completing these steps, let your aerator run continuously for the first few days so you can monitor its performance under different conditions. You’ll quickly develop a feel for how your specific system sounds and operates, which makes it easier to spot problems early. The effort you put into careful installation pays off with years of reliable operation and a healthier pond ecosystem.
Testing Your System and What to Expect
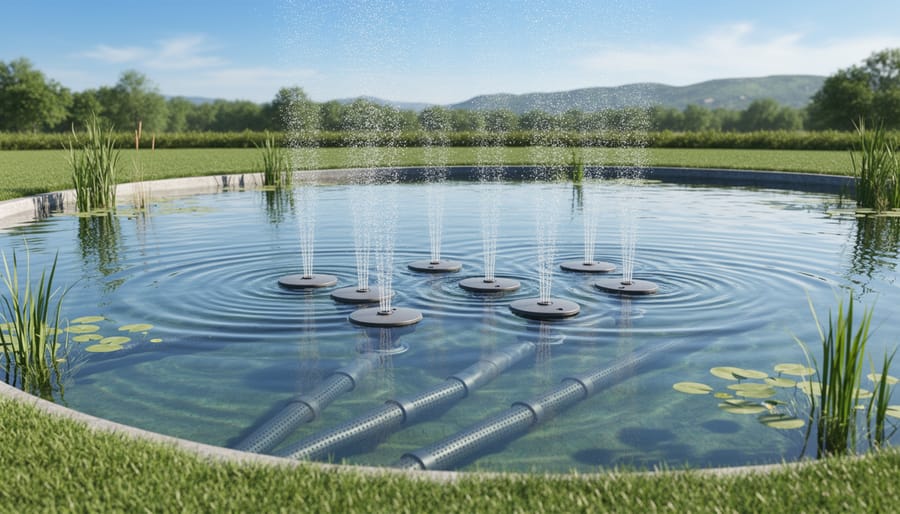
Once your aeration system is running, give it about thirty minutes to reach full operation, then check that everything’s working as intended. Walk around the pond to observe the bubbling pattern, you should see a steady stream of bubbles breaking the surface, creating circular ripples that spread outward. If you’ve installed multiple diffusers, each one should produce a consistent bubble column without sputtering or weak spots.
Here’s what successful aeration looks like in action:
- Strong, consistent bubbling pattern at each diffuser location with visible surface disturbance
- Water circulation that moves debris and foam outward from the aeration points
- Dissolved oxygen levels above 5 mg/L when measured with a test kit (ideal range is 5-8 mg/L)
- Fish spending less time gasping at the surface, especially during early morning hours
- Noticeable reduction in algae blooms and murky water within two to four weeks of continuous operation
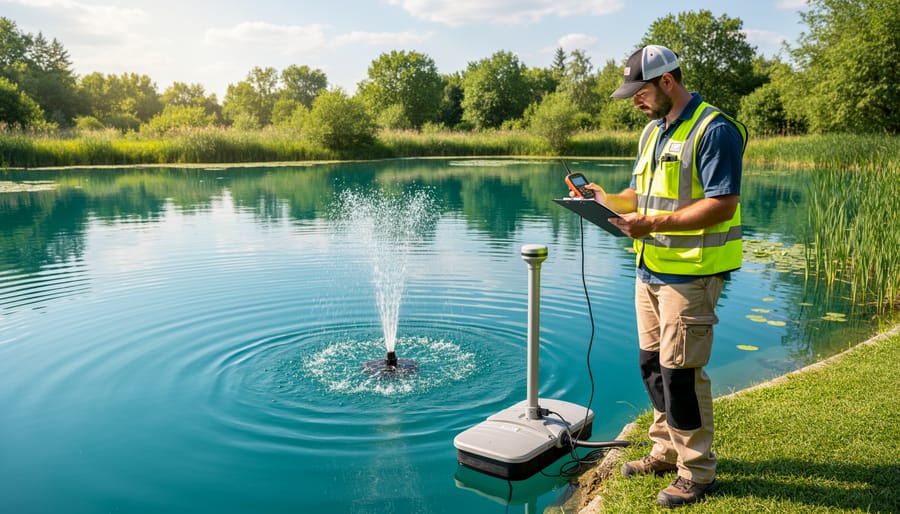
For precise monitoring, invest in water quality testing equipment to track dissolved oxygen levels throughout the day. Test in the early morning before sunrise, that’s when oxygen dips lowest, and again in late afternoon. If readings stay consistently below 4 mg/L, you may need to reposition diffusers toward deeper water or add another unit to cover more area. Most farm pond owners notice their fish becoming more active and feeding better within the first week, though significant water clarity improvements take three to six weeks as beneficial bacteria populations stabilize and consume excess nutrients.
Seasonal Maintenance and Operation Tips
Your aeration system needs different care through the seasons to stay efficient and effective. In summer, run your aerator around the clock when fish are most active and oxygen demand peaks, especially during hot spells above 80°F. The constant circulation prevents stratification layers that trap warm, oxygen-poor water at the bottom. Come fall, you can scale back to 12-16 hours per day as water temperatures drop and fish metabolism slows, which cuts your electricity bill without compromising pond health.
Winter operation depends on your climate and whether you keep fish year-round. In regions with mild winters, continue running the aerator intermittently to maintain circulation beneath any ice. If your pond freezes solid for months, shut the system down completely and pull diffusers or aerator heads to prevent ice damage. Store them indoors after a thorough rinse to remove algae and sediment.
Check diffusers monthly during heavy-use periods for clogs caused by algae buildup or mineral deposits. A quick scrub with a stiff brush and a vinegar soak restores airflow without needing replacement parts. Inspect air lines for cracks or leaks where fittings connect, and tighten hose clamps if you notice reduced bubbling. Timer switches let you automate seasonal schedules and pair nicely with natural pond aeration methods like adding more plants in spring.
If your system loses power or stops bubbling unexpectedly, check the breaker first, then clean the air intake filter on the compressor. Most issues trace back to simple blockages rather than mechanical failure.
Common Farm Pond Aeration Questions
How much does it cost to run a pond aerator?
Most farm pond aerators cost between $15 and $40 per month to operate, depending on the system size and local electricity rates. Running a typical half-horsepower aerator 24/7 uses roughly the same power as leaving two light bulbs on continuously.
Will my aerator be noisy?
Subsurface diffused aeration systems are nearly silent, with only a gentle bubbling sound at the water’s surface. Surface aerators and fountains produce a splashing noise similar to a small waterfall, which most pond owners find pleasant rather than disruptive.
Do I need to run my aerator all the time?
During summer months when oxygen demand peaks, continuous operation is best for fish health and preventing algae blooms. In cooler seasons, you can often reduce runtime to 12-16 hours daily, though many pond owners simply leave their systems running year-round for simplicity.
Should I keep aerating through winter?
Yes, winter aeration prevents dangerous ice-over and maintains an opening for toxic gases to escape. However, position diffusers away from the deepest areas where fish overwinter, as circulating the coldest water can stress them.
Can I install an aeration system myself?
Most pond owners successfully install their own systems following manufacturer instructions, especially for plug-and-play models. You’ll want an electrician to handle any permanent wiring or GFCI installation, but placing diffusers and running airline is straightforward DIY work.
Beyond these common concerns, many pond owners wonder about alternatives to mechanical aeration. While natural methods like adding aquatic plants or creating waterfalls help, they rarely provide sufficient oxygen for larger farm ponds with significant fish populations. If you’re battling persistent water quality issues, combining aeration with proper algae solutions creates the most balanced ecosystem. Remember that aeration addresses the root cause of many pond problems by maintaining healthy oxygen levels, making it the foundation of good water management rather than just another treatment option.
Aerating your farm pond transforms it from a struggling ecosystem into a thriving aquatic environment. You’ve now got the knowledge to boost oxygen levels, prevent fish kills, reduce algae, and create the kind of clear, healthy water your fish deserve. The five steps we’ve covered aren’t complicated, they’re just consistent action that pays off every single day.
Start by choosing the right system for your pond’s size, follow the installation steps carefully, and commit to seasonal maintenance. Monitor your dissolved oxygen levels regularly, especially during hot summer months and winter ice cover. Watch how your fish become more active and your water clarity improves over the coming weeks.
Ready to connect with other pond enthusiasts? Join our water gardening community to share your aeration success stories and learn from experienced pond keepers who’ve already made the leap to better water quality.