
How to Perform a 2 Point Calibration on Your Pond Sensors (Step-by-Step)
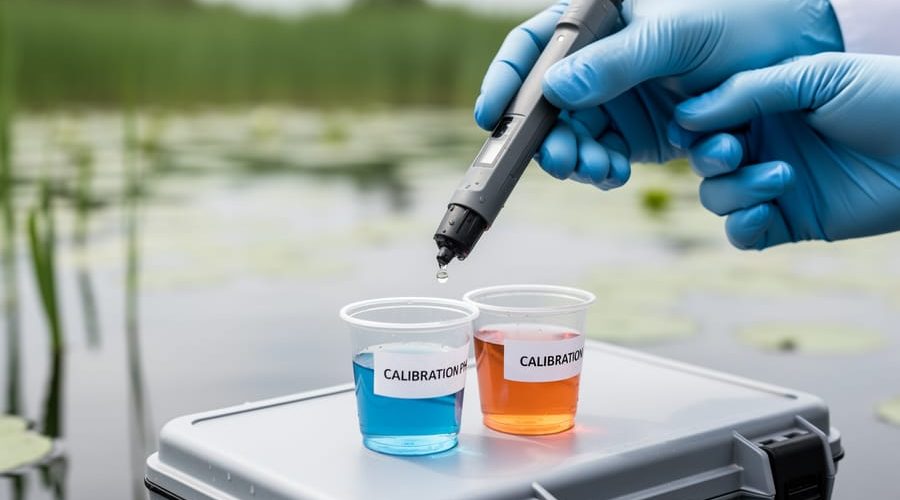
Two point calibration is the process of adjusting your pond sensor using two known reference solutions (typically pH 7.0 and pH 4.0, or pH 10.0) to ensure accurate readings across the measurement range. This straightforward procedure takes about 10-15 minutes and dramatically improves the reliability of your pond water testing giving you the confidence that your pH, dissolved oxygen, or conductivity readings truly reflect what’s happening in your pond.
If you’ve ever tested your water and wondered whether that pH 8.2 reading was accurate or just a rough guess, calibration is your answer. Most digital sensors drift over time due to algae buildup, temperature swings, and simple wear. A sensor that reads correctly at neutral pH might be wildly off at the acidic or alkaline extremes where fish health problems actually show up. Two point calibration corrects this drift at both ends of the scale, so whether your pond runs slightly acidic from tannins or alkaline from limestone, you’ll catch problems before they stress your koi or goldfish. The good news? You don’t need a chemistry degree or expensive lab equipment, just two small bottles of calibration solution and a few minutes of focus.
What Is 2 Point Calibration and Why Your Pond Sensors Need It
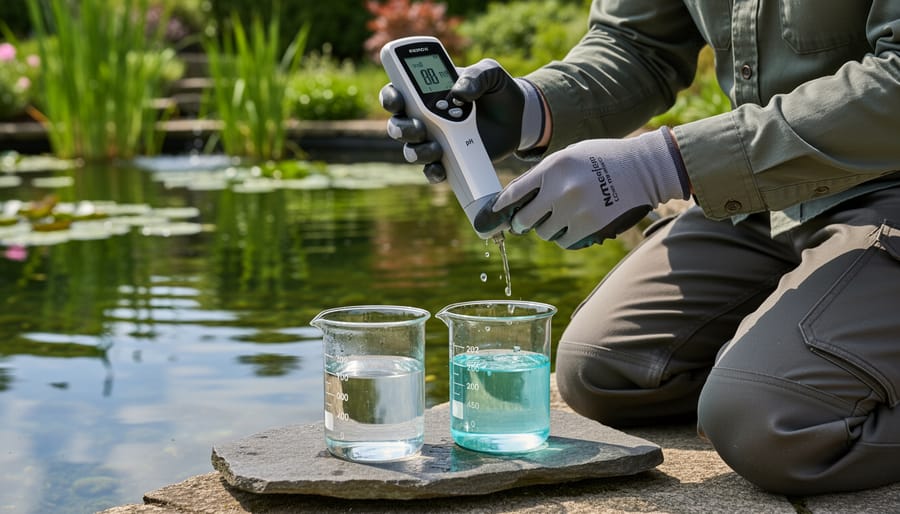
Two point calibration is a simple process where you adjust your sensor at two known reference values to ensure it reads accurately across the range you care about. For example, if you’re calibrating a pH sensor, you might use pH 4.0 and pH 7.0 buffer solutions. The sensor learns these two fixed points, then interpolates correctly for any measurement in between. Think of it like setting the zero and the scale on a ruler, once those two marks are right, everything else falls into place.
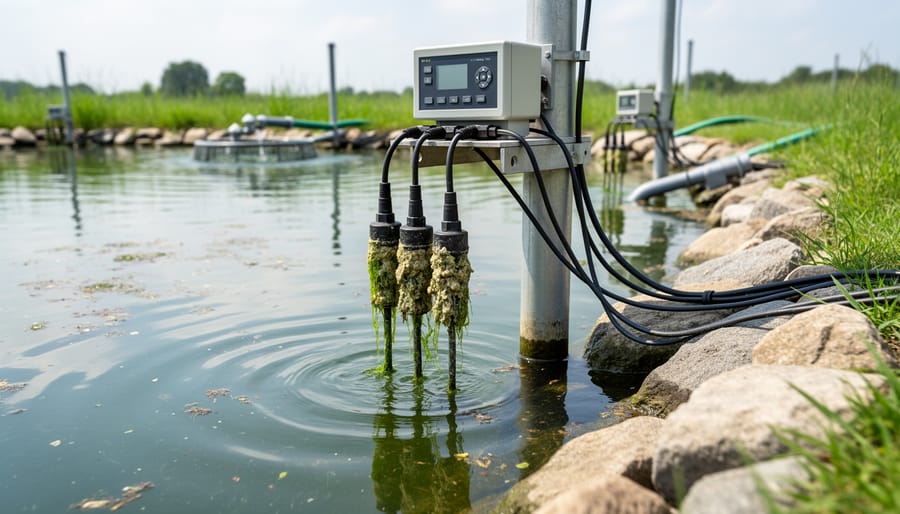
Your pond sensors need this regular tuning because they don’t stay perfectly accurate forever. Algae buildup, biofilm, mineral deposits, and chemical exposure gradually throw off their readings. Even natural factors like how temperature affects sensors can cause drift over weeks or months. A pH probe that was spot-on in spring might read 0.3 units too high by midsummer, which could make you think your water is fine when it’s actually stressing your fish.
Regular calibration isn’t just about numbers on a screen. It’s about confidence. When you check your sensor and it says your dissolved oxygen is at a safe 7 mg/L, you want to trust that reading completely. Calibrating every month or two means you catch drift early, before it leads to bad decisions like overfeeding, missing an oxygen crisis, or adding unnecessary chemicals. Reliable data keeps your pond ecosystem balanced and your fish thriving.
Which Pond Sensors Require 2 Point Calibration
Not all pond sensors need calibration, but three key types definitely benefit from regular 2 point calibration to keep your readings accurate. If you’re monitoring water quality with any of these devices, you’ll want to build calibration into your pond care routine.
pH meters are the most common sensors pond keepers calibrate. These measure how acidic or alkaline your water is, which directly affects fish health and plant growth. You’ll typically calibrate at two points that bracket your pond’s normal range:
- pH meters: calibrated at pH 4.0 (acidic) and pH 7.0 (neutral) to cover the range most ponds fall into
- Dissolved oxygen probes: calibrated at 0% saturation (zero oxygen) and 100% saturation (air-saturated water)
- Conductivity/EC sensors: calibrated using low-range and high-range standard solutions that match your expected water conditions
Dissolved oxygen (DO) probes measure how much oxygen is available for fish to breathe. The two calibration points here are zero oxygen (often using a special chemical solution) and full saturation at atmospheric pressure. This range ensures accuracy whether your pond is well-aerated or experiencing oxygen depletion.
Conductivity or EC (electrical conductivity) sensors measure dissolved minerals and salts in your water. You’ll calibrate these with two standard solutions, typically a low-range and high-range reference that spans the conductivity levels you expect in your pond. This matters for tracking nutrient buildup, salt treatments, or water changes.
Tools and Materials You’ll Need
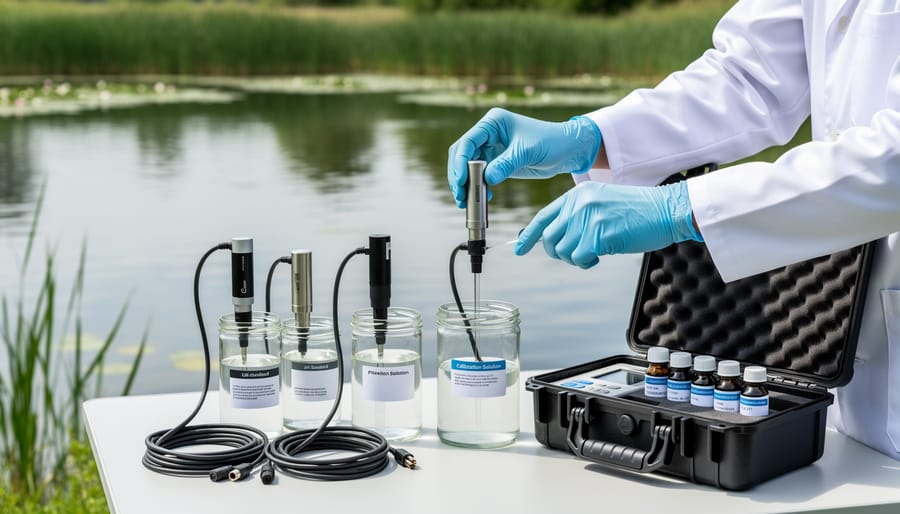
Before you start calibrating your pond sensor, gather everything in one spot to make the process smooth and frustration-free. Having the right tools on hand means you won’t be scrambling mid-calibration, which can compromise accuracy.
Here’s what you’ll need:
- Calibration solutions: two reference standards matched to your sensor type (pH 4.0 and 7.0 buffers for pH meters, or 0% and 100% saturation solutions for dissolved oxygen probes)
- Distilled or deionized water for rinsing between calibration points
- Soft, lint-free cloths or lens paper to gently dry the sensor without scratching
- Small calibration cups or clean beakers to hold your reference solutions
- Your sensor’s user manual for model-specific instructions and calibration mode access
- Optional: a reliable thermometer if your sensor requires temperature compensation
- Optional: a notebook or calibration log to record dates and any drift patterns you notice
Check that your calibration solutions haven’t expired, old buffers lose accuracy and will throw off your readings. Most come with expiration dates printed on the bottle, and once opened, they typically stay good for six months to a year if stored properly. Keep them sealed tight and away from direct sunlight between uses. With everything ready, you’re all set to move on to the actual calibration steps with confidence.
Safety and Preparation Tips
Before you start calibrating, a little prep work goes a long way toward accurate results and your own safety. Calibration solutions are formulated chemicals, and while most are mild, some pH buffers and conductivity standards can irritate skin or eyes. Wear gloves if you have sensitive skin, and avoid splashing the solutions. If you do get any on your hands, rinse with plenty of water.
Set up in a clean, well-lit space away from your pond. Debris, algae, or dirt can throw off your readings, so wipe down your work surface and use fresh containers for each calibration standard. Never pour solution back into its original bottle once it’s been exposed to air or a sensor, these standards are single-use. Once opened, they degrade over time, so check the expiration date on every bottle before you begin. Expired solutions give false reference points, which defeats the entire purpose of calibrating.
Keep your calibration cups or beakers spotless, and use distilled or deionized water for rinsing, tap water contains minerals that can skew sensitive probes. Store your calibration solutions in a cool, dark place, tightly sealed, and label them clearly so you don’t mix up pH 4 with pH 7. A little care upfront ensures your sensor gives you trustworthy data every time you check your pond.
Step-by-Step: How to Calibrate Your Pond Sensor in 2 Points
Ready to calibrate? Don’t worry, this process is straightforward once you’ve done it a couple of times. Follow these steps in order, and you’ll have accurate sensor readings protecting your pond in no time.
- Remove your sensor from the pond and give it a gentle rinse with distilled water to wash away any algae, debris, or biofilm. Pat it dry carefully with a soft cloth, but don’t scrub the sensing element, you don’t want to damage the delicate membrane or electrode surface.
- Pour your first calibration standard into a clean cup or beaker, enough to fully submerge the sensor tip (usually about an inch of solution will do). Check the solution’s label for the exact reference value, pH 7.0 or 4.0 for pH sensors, 0 µS/cm for conductivity probes, or your specified dissolved oxygen concentration.
- Lower the sensor into the first standard and hold it still or secure it so the tip stays submerged. Wait patiently for the reading to stabilize, this can take anywhere from 30 seconds to a few minutes depending on your sensor model. You’ll know it’s stable when the numbers stop jumping around. A gentle swirl can speed things up, but avoid vigorous stirring that introduces air bubbles.
- Once stable, adjust your sensor to match the reference value. Most digital meters have a calibration mode: press the “cal” button, confirm the standard you’re using, and the device will lock in that point. Consult your manual if the button sequence isn’t obvious, every brand does this slightly differently.
- Remove the sensor and rinse it thoroughly with distilled water, letting the water run over the tip for several seconds. This step is critical. Any traces of the first solution will contaminate your second standard and throw off the entire calibration. Shake off excess water gently.
- Prepare your second calibration standard in a fresh, clean cup. Never reuse the same container without washing it first, and never dip a sensor that’s been in one solution directly into another. For pH meters, if you started with 7.0, you’ll typically use 4.0 or 10.0 now, bracketing the range you’ll measure in your pond.
- Immerse the sensor in the second standard and repeat the waiting process. Stability is just as important here. Resist the urge to rush, a few extra seconds now saves you from unreliable data later.
- Adjust the sensor to the second reference value using your meter’s calibration function. The device will now use both points to calculate accurate readings across the full range between them. You should see a confirmation message or calibration success indicator on the screen.
- Give the sensor a final rinse with distilled water and verify that your calibration is saved. Some meters auto-save, others require you to press “enter” or “confirm.” Check the display or menu to confirm the calibration date and slope values look reasonable (your manual will list acceptable ranges). If everything checks out, your sensor is ready to go back in the pond.
If your sensor has a storage cap with solution, replace it now. If not, keep the probe moist according to the manufacturer’s guidelines, some pH electrodes dry out and lose sensitivity if stored dry. Take a moment to jot down the calibration date in your pond journal or on a piece of tape stuck to the meter. You’ll thank yourself later when you’re trying to remember if it’s been six weeks or six months.
The whole process typically takes 10 to 15 minutes once you get the hang of it. The first time might feel a bit fiddly, but by your third calibration you’ll breeze through it. Your pond (and your fish) will appreciate the effort every time you check those readings and know they’re spot-on.
Verifying Your Calibration and Troubleshooting Common Issues
Once you’ve completed the calibration steps, it’s smart to verify everything worked before returning the sensor to your pond. Dip the probe back into one of the calibration solutions you just used, it should read the exact reference value (or within the sensor’s accuracy spec, typically ±0.1 for pH). If it matches, you’re good to go. For extra confidence, especially if you’ve had trouble in the past, use a third standard solution at a different value to cross-check. This quick test catches any mistakes before you rely on the data.
If your sensor won’t stabilize during calibration, start by rinsing the probe more thoroughly with distilled water, leftover residue or cross-contamination between solutions throws readings off. Check for air bubbles clinging to the probe surface; a gentle swirl usually dislodges them. Still seeing drift? Your probe may have a buildup of biofilm or mineral deposits. Most pH and DO sensors can be cleaned with a soft cloth or a manufacturer-recommended cleaning solution. Consult your manual for the safe method, as some probes have delicate membranes you can damage with rough handling.
Repeated calibration failures despite fresh solutions often point to a deeper issue. Double-check that your calibration standards haven’t expired and that the sensor and solutions are at similar temperatures, a 10°C difference can skew results. If the probe is old or heavily used, the sensing element may be worn out. When cleaning doesn’t restore performance and calibration keeps failing, it’s time to replace the probe to keep your pond monitoring accurate.
How Often Should You Calibrate Your Pond Sensors?
Calibration frequency depends on how hard your sensors work and what’s at stake. For koi ponds, aquaculture setups, or any application where precise water quality protects valuable fish, calibrate monthly. Recreational garden ponds with lighter monitoring demands can stretch to every two to three months.
Beyond the calendar, recalibrate after cleaning your probe, storing it for more than a few weeks, or whenever readings feel suspicious. Seasonal shifts matter too. Spring algae blooms coat probes faster, accelerating drift, while winter pond care routines often mean sensors sit idle and need verification before spring startup.
Keep a simple calibration log noting the date, which solutions you used, and any adjustments made. Over time, patterns emerge. If your pH probe drifts noticeably every three weeks, you know to tighten the schedule. A log also flags failing sensors early, when a probe that used to hold calibration for eight weeks suddenly needs attention every fortnight, replacement is likely overdue. Regular tracking turns guesswork into informed maintenance.
Maintaining Your Sensors Between Calibrations
Calibration only gets you halfway to reliable data, the rest depends on how you treat your sensors between those monthly or quarterly checks. A few simple habits will keep your probes reading true and extend their lifespan, saving you money and frustration.
Make these practices part of your regular pond maintenance basics:
- Rinse probes with distilled water after every use to remove algae, biofilm, and mineral deposits
- Store sensors in their recommended storage solution, not distilled water, which can damage some electrode membranes
- Keep probes out of direct sunlight and bring them indoors before freezing temperatures arrive
- Inspect cables and connectors monthly for corrosion, cracks, or loose fittings that could affect readings
- Replace protective caps promptly and check that sensor tips stay moist during storage
Treat your sensors like the precision tools they are, and they’ll reward you with consistent accuracy all season long. A quick rinse and proper storage take less than a minute but make all the difference in reducing drift and protecting your investment.
Frequently Asked Questions About 2 Point Calibration
Can I use tap water to rinse my sensor between calibration solutions?
No, always use distilled or deionized water. Tap water contains minerals, chlorine, and other dissolved substances that can contaminate your calibration solutions and throw off your readings. A quick rinse with distilled water between the two calibration points prevents cross-contamination and ensures your sensor adjusts accurately. Keep a dedicated bottle of distilled water in your pond maintenance kit just for this purpose.
Do I need to calibrate a brand-new sensor right out of the box?
Yes, even new sensors benefit from calibration before first use. Factory settings are generic and may not match your specific pond conditions or the particular chemistry of your water. Taking ten minutes to calibrate confirms accuracy from day one.
What if I only have one calibration solution on hand?
You can perform a single-point calibration, which is less accurate but better than skipping calibration entirely. Your sensor will be precise at that one reference point but may drift at values further away. Order the second solution soon to complete a proper 2 point calibration.
Can I just dip the sensor in the pond and calibrate it there?
No, calibrate in clean containers away from the pond. Pond water contains algae, fish waste, and debris that interfere with the calibration process and prevent stable readings. Use small cups or beakers filled with fresh calibration standards for reliable results.
These questions come up often, and the answers all point back to the same principle: cleanliness and proper technique make all the difference. When you respect the process and use the right materials, your sensors reward you with trustworthy data season after season.
Calibrating your pond sensors in two points isn’t complicated, and the confidence it brings is worth every minute. With accurate readings, you’ll catch water quality issues early, keep your fish thriving, and enjoy your pond without constant worry. Add calibration to your seasonal routine, spring startup, midsummer check, fall prep, and it’ll soon feel as natural as testing your water or cleaning your filter. The first few times might feel fiddly, but you’ll quickly get the hang of rinsing, dipping, and adjusting. Before long, you’ll breeze through the process and trust your data completely. That peace of mind, knowing your sensors are spot-on and your pond is truly healthy, makes calibration one of the easiest wins in pond care.