
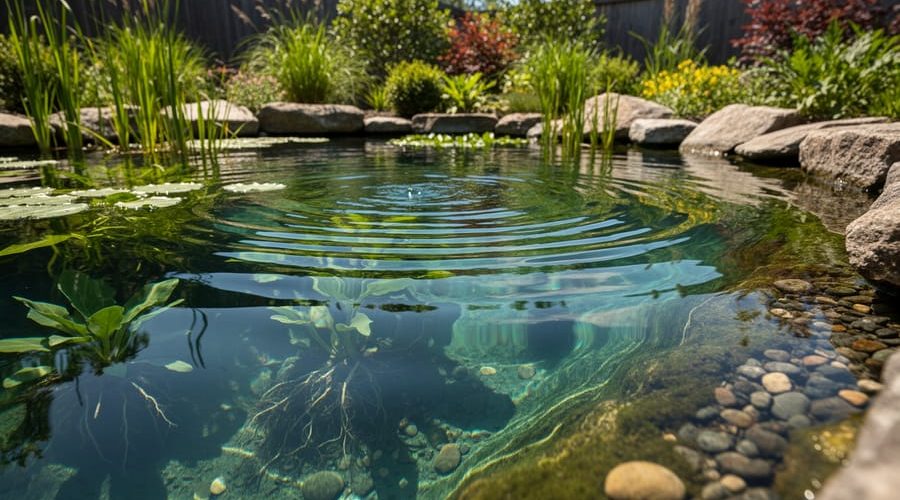
How to Build an Organic Pond: A Natural, Chemical-Free Approach
Creating an organic pond means building and maintaining a healthy aquatic ecosystem without relying on chemicals, synthetic algaecides, or artificial filtration systems. Instead, you’ll harness natural biological processes like beneficial bacteria colonies, oxygenating plants, and balanced nutrient cycles to keep the water clear and thriving. Most beginners can establish a functional organic pond in a weekend, though achieving full biological balance typically takes 6 to 8 weeks as the ecosystem matures.
The shift to organic pond care isn’t just about avoiding chemicals. It’s about understanding that a pond is a living system where every element, from microscopic bacteria to fish waste to plant roots, plays a role in maintaining water quality. When you get the ratios right, the pond essentially takes care of itself. You’ll spend less time fighting algae blooms and more time enjoying dragonflies skimming the surface.
This approach works because healthy ponds in nature don’t need human intervention. They rely on nitrogen-cycling bacteria to break down waste, submerged plants to absorb excess nutrients before algae can claim them, and a balanced fish load that doesn’t overwhelm the system. Your job is to replicate these conditions at a smaller scale. That means choosing the right pond size for your space, installing plenty of oxygenating plants from day one, avoiding overstocking with fish, and resisting the urge to reach for a chemical quick fix when the water looks cloudy during the first few weeks.
What Makes a Pond Truly Organic?
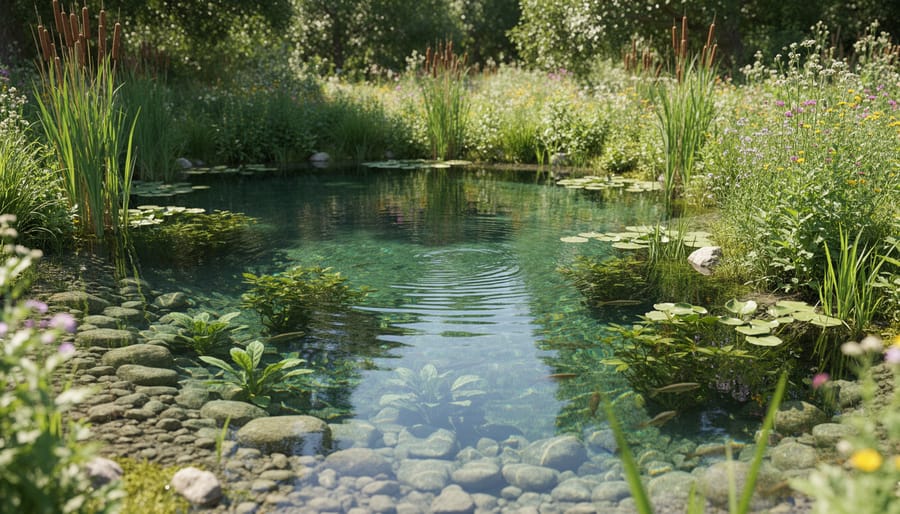
An organic pond operates on a simple philosophy: work with nature’s own filtration systems instead of fighting them with chemicals and mechanical intervention. This means building a self-sustaining ecosystem where beneficial bacteria, aquatic plants, and natural biological processes handle water quality without any synthetic additives or treatments.
The foundation of organic pond design rests on four core principles working together. First, you eliminate all synthetic chemicals, no algaecides, clarifiers, pH adjusters, or chemical treatments of any kind. Second, you rely entirely on biological filtration, where naturally occurring bacteria colonies colonize rocks, gravel, and plant roots to break down fish waste and organic debris. Third, you choose native or regionally adapted aquatic plants that provide oxygen, absorb excess nutrients, and create habitat without requiring special care. Fourth, you allow natural predator-prey relationships to develop, letting dragonfly larvae control mosquitoes and fish manage insect populations rather than intervening with products.
This approach stands in sharp contrast to conventional pond maintenance, which typically depends on a cabinet full of products. Traditional pond keeping often means weekly chemical testing, regular doses of algaecides when green water appears, clarifiers for quick cosmetic fixes, and mechanical filters that require constant cleaning and replacement parts. The conventional mindset treats symptoms with interventions rather than addressing root causes through ecosystem balance.
The organic approach requires more patience upfront as your pond’s ecosystem matures and balances itself, usually taking four to eight weeks. However, once established, these natural systems become remarkably stable and low-maintenance. You’re creating a living habitat that actually gets better over time as plant roots spread, bacterial colonies strengthen, and wildlife discovers your pond.
Tools and Materials You’ll Need
Gathering the right supplies upfront makes the construction process smoother and ensures you’re working with materials that support a truly chemical-free ecosystem. You’ll need excavation tools, natural filtration components, and sustainable edging options that won’t leach toxins into your water.
Excavation and Site Preparation
- Spade or flat shovel for removing sod and digging the main basin
- Garden rake for smoothing surfaces and removing debris
- Wheelbarrow for hauling soil and rocks
- String and stakes for marking your pond outline
- Carpenter’s level to check depth zones and shelves
Liner and Underlayment Materials
You’ll need either EPDM rubber liner (specifically fish-safe, 45-mil thickness) or bentonite clay for a truly natural bottom. EPDM remains the practical choice for most DIY builds because it’s durable and non-toxic once cured. For underlayment beneath the liner, use sand (2-3 inches), old carpet padding, or geotextile fabric to protect against punctures from roots and rocks.
Natural Filtration Components
Gravel and river rocks form the backbone of biological filtration. You’ll need smooth pea gravel (1-2 inches in diameter) for plant pockets and larger river cobbles (3-6 inches) for edging and creating bacteria colonization surfaces. Avoid limestone or other alkaline rocks that alter pH. Sand works well for shallow zones where you’ll root marginal plants. Sourcing local materials reduces environmental impact and helps your pond blend naturally with the surrounding landscape.
Living Ecosystem Elements
Purchase native aquatic plants suited to your climate (more on selection later), organic beneficial bacteria starter culture, and dechlorinator if you’re using municipal water. Skip the bottled chemical treatments. Your beneficial bacteria will colonize naturally over time, but a quality starter speeds up the nitrogen cycle establishment without introducing synthetic additives.
Safety Warnings and Important Considerations
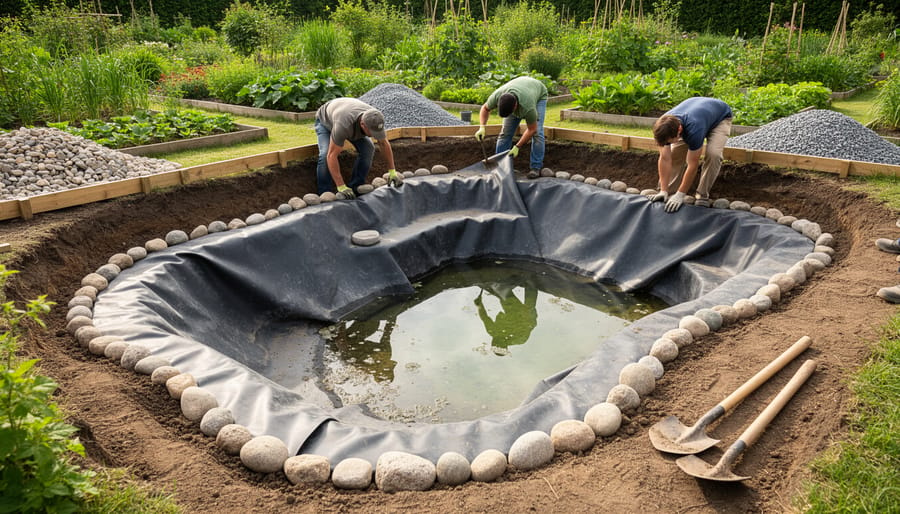
Before you start your self-sustaining pond project, take time to address critical safety concerns that could prevent serious injury or costly damage.
Excavating even a small pond build means moving heavy soil, rocks, and liner materials that can strain your back if lifted incorrectly. Bend at the knees, keep loads close to your body, and never try to muscle something you can’t comfortably handle. Work with a partner whenever possible, especially when positioning large stones or maneuvering rolled liner material.
Protect established tree roots by staying at least six feet from trunks. Slicing through major roots destabilizes trees and can kill them over time, undermining your goal of creating a natural habitat.
Keep children and pets well away from the construction zone. Open excavations, heavy tools, and flexible liner materials all pose hazards. Secure the site at the end of each work session, covering any holes and storing sharp implements properly. Handle EPDM liner with care, its edges can be surprisingly sharp when unrolled, and the material becomes slippery when wet, creating fall risks on uneven ground.
Step-by-Step: Building Your Organic Pond
Step 1: Choose the Right Location
Picking the right spot determines whether your organic pond thrives or struggles. Start by observing sunlight patterns throughout the day, your pond needs 4-6 hours of direct sun to support native aquatic plants and beneficial algae without encouraging excessive bloom growth that shaded ponds can’t naturally control.
Keep at least 10 feet away from large trees. Roots will puncture your liner eventually, and falling leaves create constant organic debris that overwhelms your natural filtration system. You’ll spend autumn skimming instead of enjoying your pond.
Check the ground level with a long board and carpenter’s level. Even a slight slope means one edge sits underwater while the other looks awkwardly high. You can adjust minor variations during excavation, but starting level saves hours of corrective digging.
Watch your yard during the next heavy rain. Water shouldn’t flow into your pond site, bringing soil, fertilizers, and contaminants that disrupt the delicate ecosystem balance you’re working to establish. Natural drainage away from the pond protects your water quality without chemical interventions.
Step 2: Design Your Pond Shape and Depth
Grab some graph paper and sketch your pond’s outline, this planning stage prevents costly mistakes later. For organic ponds, depth variations aren’t just aesthetic; they’re essential for natural filtration and ecosystem diversity.
Start with a kidney or irregular shape rather than a perfect circle. Natural ponds have curves and indentations that create distinct microhabitats. Mark out three depth zones on your sketch:
The marginal shelf sits 6-12 inches deep and runs along the perimeter. This shallow ledge hosts plants like cattails and iris, which filter nutrients from the water before they reach deeper zones. Make this shelf 12-18 inches wide, wide enough for plant roots to establish properly.
Your main swimming zone should be 18-24 inches deep minimum, though 24-30 inches is better for fish and year-round biological activity. In colder climates, go deeper so fish can overwinter below the frost line.
Add a small deep pocket in one corner that drops to 36 inches. This becomes your thermal refuge, a stable temperature zone that benefits fish and maintains beneficial bacteria colonies year-round. In organic systems, consistent bacterial populations mean fewer water quality swings.
Avoid uniformly sloped sides. Terraced shelves at varying depths create more surface area for beneficial bacteria colonization, the backbone of chemical-free filtration.
Step 3: Excavate and Shape the Basin
Start by stripping away the sod layer in your marked pond area. Roll it up carefully and set it aside, you’ll use this nutrient-rich material around the pond’s edge later or in other garden beds.
Dig down in stages, creating your zones from shallow to deep. Begin with the marginal shelf, excavating to 6-12 inches around the perimeter. This provides the perfect depth for water-loving plants that need their roots submerged but their crowns near the surface.
Next, carve out the middle zone to about 18 inches, then create your deepest area at 24 inches or more. Slope the sides gently at roughly 20-30 degrees rather than dropping straight down, this prevents liner damage and makes the pond safer for wildlife that might tumble in.
As you dig, pile topsoil separately from subsoil. That dark, rich topsoil works beautifully for planting around the completed pond.
Walk the basin carefully, removing any sharp rocks, roots, or debris that could puncture your liner. Run your hands along the surfaces, feeling for protruding objects. A stick or root you miss now becomes a leak later.
Smooth out any bumps or ridges with your shovel, creating gradual transitions between depth zones.
Step 4: Install Your Liner the Natural Way
Start with a protective underlayment layer to cushion your liner from punctures. Spread two to three inches of damp sand across the entire excavation, or repurpose old carpet padding as a chemical-free alternative. This barrier prevents roots and rocks from damaging the waterproof membrane.
For EPDM liner, choose fish-safe, untreated rubber. Unroll it in warm sunlight for thirty minutes, warmth makes the material pliable and easier to fit. Drape the liner loosely into the basin, leaving at least twelve inches of overlap around all edges. Work from the center outward, gently pressing the rubber into shelves and contours. Don’t pull it tight; the water’s weight will settle it naturally.
Smooth out major wrinkles by hand, folding excess material into neat pleats at corners rather than stretching. Small creases are fine, they’ll flatten as you fill the pond.
For purists seeking a truly organic approach, consider a clay-bottom pond instead. Tamp six to eight inches of bentonite clay in layers, wetting and compacting each thoroughly. This traditional method eliminates synthetic materials entirely but requires specific soil conditions and more intensive labor.
Secure liner edges temporarily with smooth stones while you proceed to the next phase.
Step 5: Add Natural Filtration Media
With your liner in place, it’s time to build the living filter that makes your pond truly organic. This layer of gravel and rocks isn’t just decorative, it becomes home to millions of beneficial bacteria that break down fish waste and debris naturally.
Start by spreading a 2-3 inch base layer of pea gravel (3/8 to 1/2 inch diameter) across the bottom and shelves. This creates maximum surface area for bacteria colonization. Rinse the gravel thoroughly before adding it to avoid clouding your water with dust and sediment.
Next, place larger river rocks and cobbles (3-6 inches) strategically throughout the pond. Cluster them at the edges of planting shelves to anchor future plants. Build small mounds or groupings to create visual interest and additional bacterial habitat. These larger stones also provide hiding spots for fish and beneficial creatures.
Focus your heaviest rock placement where water will naturally circulate, near where you’ll eventually add a waterfall or fountain if planned. Bacteria thrive where oxygen levels are highest.
Avoid limestone or marble, which can alter your water chemistry. Stick with granite, river rock, or basalt. Leave some open gravel areas for rooted plants, and don’t compact the substrate, loose gravel allows better water flow through your biological filter.
Step 6: Fill and Introduce Beneficial Bacteria
With your filtration media in place, you’re ready to bring your pond to life. This step requires patience, rushing the fill can disturb your carefully arranged substrate and delay the establishment of your ecosystem.
Start filling from the deepest point using a garden hose with a gentle spray nozzle or place a bucket under the flow to diffuse the water pressure. If you’re using municipal tap water, let it sit in the pond for 24-48 hours before adding bacteria, allowing chlorine to evaporate naturally. Better yet, harvest rainwater if you’ve planned ahead, it’s chlorine-free and matches the natural pH most beneficial bacteria prefer.
Follow this sequence for optimal bacterial colonization:
- Fill the pond to about halfway, monitoring for liner shifts or substrate disturbance
- Add your organic beneficial bacteria starter according to package directions, distributing it around the entire pond perimeter
- Continue filling slowly to the desired level, stopping just below your planned waterline
- Wait 24 hours, then add a second dose of bacteria to jumpstart colonization across all surfaces
The bacteria you’re introducing will attach to every surface in your pond, the liner, rocks, gravel, and plant roots, forming the biological foundation that breaks down fish waste and organic debris without chemicals. Water temperature matters here: bacterial activity accelerates above 50°F, so spring and summer builds establish faster than fall installations. You’ll notice the water appears slightly cloudy initially as the bacteria multiply and settle, this is exactly what you want to see.
Establishing Your Natural Ecosystem
Your pond is built, the liner is in place, and water fills the basin. Now comes the most critical phase: introducing the living elements that will transform your excavation into a self-sustaining ecosystem. This isn’t about instant results, it’s about creating the foundation for long-term balance.
Start with plants, which form the backbone of any organic pond. You’ll want a diverse mix that serves different ecological functions:
- Submerged oxygenators like hornwort and anacharis release oxygen underwater and compete with algae for nutrients
- Floating plants such as water lettuce and duckweed provide shade, reducing algae growth while creating shelter for small aquatic life
- Marginal plants including cattails, rushes, and pickerel weed stabilize edges, filter runoff, and attract beneficial insects
- Deep-water plants like water lilies offer surface coverage and root systems that house helpful bacteria
Choose native species whenever possible. They’re adapted to your climate, require less intervention, and support local wildlife better than exotic varieties. Plant densely at first, aim to cover roughly 60% of your pond’s surface area through a combination of floating and emergent foliage.
After planting, resist the urge to add fish immediately. Your pond needs time to establish its biological balance, typically four to six weeks minimum. During this period, beneficial bacteria colonize plant roots and gravel surfaces, breaking down organic matter and processing ammonia. You’ll likely see an algae bloom around week two or three, this is normal and will clear as the plants take hold and the ecosystem matures.
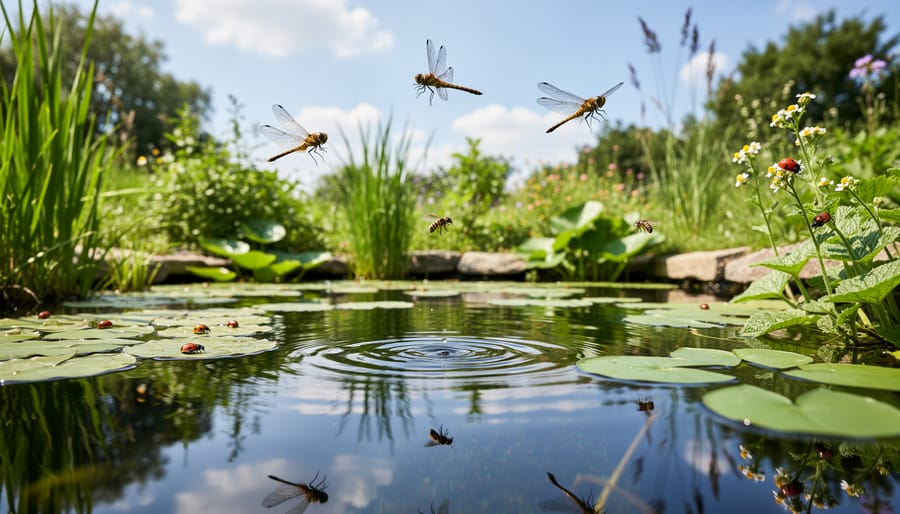
Watch for positive signs: dragonflies visiting, plant roots spreading, and water gradually clearing. The developing pond water symphony of trickling movement and rustling leaves indicates life taking hold. Only once you observe consistent clarity and vigorous plant growth should you consider introducing fish, and even then, start with just a few hardy natives rather than stocking heavily at once.
Verification and Next Steps: How to Know Your Pond Is Thriving
Your organic pond tells you it’s thriving through visible signs of ecological balance. After the initial green phase, which lasts two to four weeks as algae blooms then dies back, water clarity improves naturally without chemical intervention. This shift happens because beneficial bacteria and aquatic plants establish themselves and outcompete algae for nutrients.
Healthy plant growth signals your system is working. Submerged oxygenators produce visible oxygen bubbles during sunny days, floating plants spread across the surface, and marginal plants develop new shoots. Within four to eight weeks, you’ll notice the pond attracting wildlife that confirms ecosystem health: dragonflies laying eggs, frogs calling near the edges, water beetles gliding across the surface, and birds stopping to drink.
How long before my pond water clears naturally?
Expect the initial green phase to last two to four weeks, followed by gradual clearing as plants and beneficial bacteria establish dominance over algae. Full clarity typically arrives within six to eight weeks.
What if my pond stays green longer than expected?
This usually means insufficient plant coverage or too much direct sunlight. Add more floating plants to shade the water and consider additional submerged oxygenators rather than reaching for chemicals.
When is it safe to add fish to my organic pond?
Wait a minimum of four weeks after filling to allow the nitrogen cycle to establish. Test for stable conditions, then introduce fish gradually, starting with just two or three hardy species.
Watch for red flags that indicate imbalance: persistent cloudy water beyond eight weeks, dying plants, foul odors, or excessive string algae covering everything. These problems resolve through natural adjustments like adding more oxygenating plants, reducing sun exposure with strategically placed marginals, or simply allowing more time for the system to mature.
Once your pond shows consistent clarity, active plant growth, and wildlife visitors for two consecutive weeks, you’ve reached a stable baseline. Seasonal maintenance becomes minimal: remove fallen leaves in autumn, thin overgrown plants in summer, and top off water during dry spells. The beauty of organic ponds lies in their self-sustaining nature once established, requiring observation rather than constant intervention.
Building an organic pond is a journey that rewards patience with a thriving, self-sustaining ecosystem that becomes more beautiful and balanced with each passing season. Unlike conventional approaches that rely on quick chemical fixes, you’ve chosen to work alongside nature’s own rhythms, and that partnership deepens over time.
The first few months require trust. Your pond will go through phases that might make you second-guess the process, cloudy water, algae blooms, unexpected visitors. Resist the urge to intervene with treatments or additives. These temporary stages are how natural systems find their equilibrium. By week six or eight, you’ll typically notice the transformation: clearer water, vigorous plant growth, dragonflies patrolling the surface, maybe even a frog calling it home.
The long-term rewards make every moment of patience worthwhile. Your organic pond will demand far less attention than chemically maintained water features, freeing you to simply enjoy it. Wildlife will discover your creation and add layers of life you never planned for. Fish stay healthier in balanced water. Plants grow stronger without synthetic interference. You’ll develop an intuition for reading your pond’s needs just by observation.
Most satisfying is knowing you’ve created something genuinely sustainable, a small ecosystem that gives back more than it takes. This is artisanal water gardening at its finest, crafted with care, maintained through understanding, and celebrated for working in harmony with the natural world around it.