
Is Your Pond Water Safe? Testing That Protects Your Fish and Plants
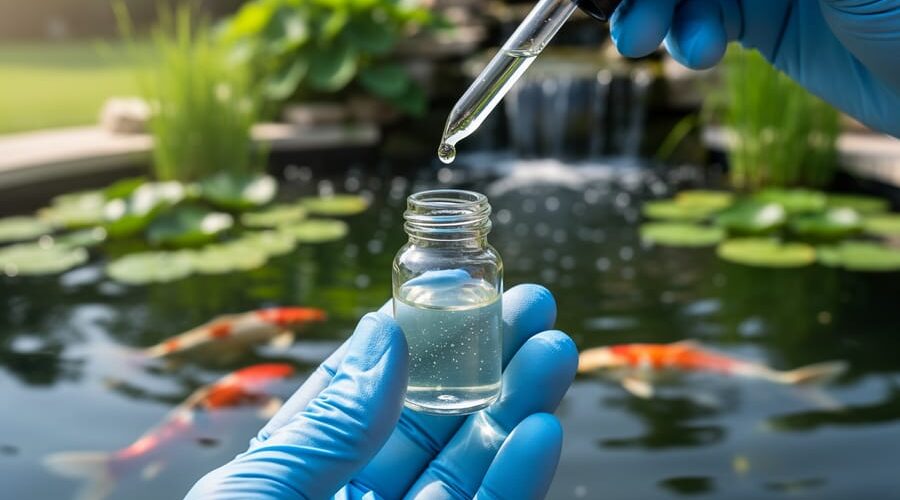
Test your pond water every two weeks during active months and weekly during summer heat spikes when fish activity peaks and algae blooms threaten. Grab a test kit from your local garden center—liquid drop tests give more accurate readings than paper strips—and check five critical parameters: pH (should stay between 6.5-8.5), ammonia (must be zero), nitrite (also zero), nitrate (below 40 ppm), and dissolved oxygen (minimum 6 ppm for healthy fish). Collect water samples from mid-depth rather than the surface where debris floats or the bottom where sediment settles, and always test at the same time of day since readings fluctuate with sunlight and temperature.
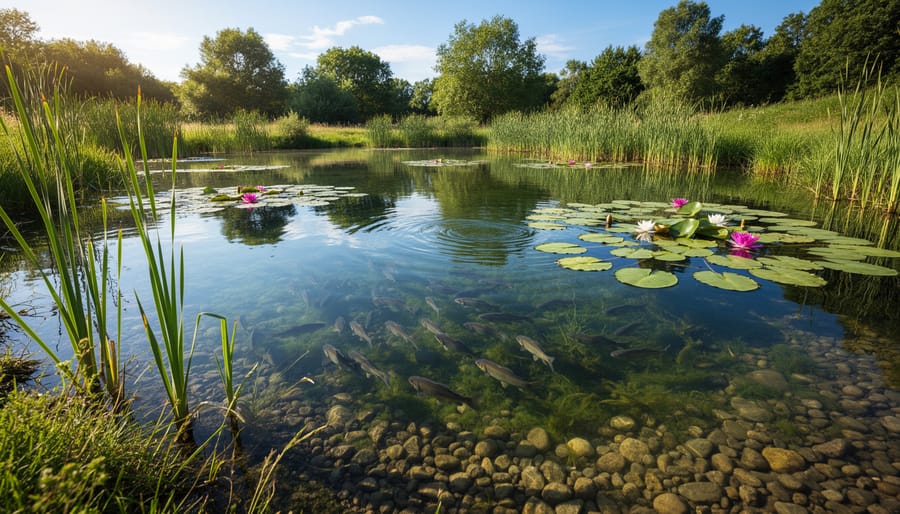
Your pond is a living ecosystem where invisible chemistry determines whether your koi thrive or struggle, whether your water lilies bloom brilliantly or wither mysteriously. Unlike tap water that municipal plants stabilize for human consumption, pond water constantly shifts as fish produce waste, beneficial bacteria colonize your filter, plants absorb nutrients, and rainfall dilutes everything. Many pond owners wait until fish gasp at the surface or water turns pea-green before testing, but by then you’re managing a crisis instead of preventing one. Regular testing transforms you from reactive problem-solver to proactive pond keeper who spots trouble before it escalates. The process takes ten minutes and costs less than replacing stressed fish or battling persistent algae, yet it gives you complete insight into your pond’s hidden health markers.
Why Your Pond Water Quality Makes or Breaks Everything
Think of your pond water like the air you breathe. Just as air quality affects your health and energy, water quality determines whether your pond thrives or struggles. I learned this the hard way years ago when I couldn’t understand why my beautiful koi kept getting sluggish despite looking healthy otherwise. Turns out, my water chemistry was completely off-balance.
Here’s the thing: your pond isn’t just a decorative hole filled with water. It’s a living ecosystem where everything connects. The water chemistry acts like the foundation of a house. When that foundation is solid, everything else falls into place beautifully. When it’s shaky, problems cascade quickly.
Let me break this down simply. Your pond water contains dissolved substances that you can’t see but that dramatically impact everything living in it. Fish breathe through their gills, which means they’re constantly absorbing what’s in the water. If harmful chemicals like ammonia build up from fish waste and decaying organic matter, it’s like asking your fish to breathe polluted air all day long. They become stressed, sick, and vulnerable to disease.
Plants are equally sensitive. They need specific nutrients and pH levels to grow properly. Too acidic or too alkaline, and they struggle to absorb nutrients, even when those nutrients are present. This imbalance often triggers algae blooms because algae thrive in conditions that stress your desirable plants.
Water clarity directly reflects this chemical balance. Cloudy or green water isn’t just ugly, it’s a warning sign that something’s chemically wrong. Keeping your pond clear starts with understanding and managing these invisible chemical factors.
The good news? Once you grasp the basics of water chemistry, you’ll feel empowered rather than overwhelmed. Testing gives you the knowledge to make smart decisions before small issues become big headaches.
The Essential Water Parameters Every Pond Owner Should Know
pH Levels: The Foundation of Pond Balance
Think of pH as your pond’s mood ring—it tells you whether your water is acidic, neutral, or alkaline on a scale from 0 to 14. Most pond fish and aquatic plants thrive when pH hovers between 6.5 and 8.5, with the sweet spot around 7.0 to 7.5. This slightly neutral zone keeps everyone happy and healthy.
pH doesn’t stay put, though. It naturally shifts throughout the day as plants photosynthesize, absorb carbon dioxide, and release oxygen. Rainfall, decaying organic matter, and even your pond’s surrounding soil can nudge those numbers up or down. I’ve learned this firsthand after heavy spring rains temporarily dropped my pond’s pH, leaving my koi acting sluggish.
When pH swings too far in either direction, trouble follows. Low pH (acidic) stresses fish immune systems and slows beneficial bacteria that keep your water clean. High pH (alkaline) makes ammonia more toxic and can damage delicate gill tissue. Fish might gasp at the surface, plants may yellow, and algae often throws a party nobody invited it to. Regular testing catches these shifts before they become emergencies, giving you time to adjust and restore balance naturally.
Ammonia and Nitrites: The Silent Killers
Ammonia and nitrites are the invisible troublemakers lurking in your pond water, and trust me, they’re not to be taken lightly! These compounds form naturally when fish produce waste, uneaten food breaks down, or plant matter decays. Think of ammonia as the first domino in your pond’s nitrogen cycle—fish excrete it directly, and it’s highly toxic even in small amounts.
Here’s what you need to know: ammonia should ideally read zero on your test kit. Anything above 0.25 ppm is a red flag that demands immediate attention. Beneficial bacteria in your proper filtration system convert ammonia into nitrites, which are equally dangerous. Nitrites interfere with your fish’s ability to absorb oxygen—essentially suffocating them from the inside. Like ammonia, nitrites should also register at zero.
Warning signs of trouble include fish gasping at the surface, refusing food, or displaying reddened gills. You might also notice a cloudy or murky appearance to your water. New ponds typically experience an ammonia spike during the first few weeks as beneficial bacteria colonies establish themselves. Regular testing during this critical period can literally save your fish’s lives and help you catch problems before they become disasters.
Nitrates: The Good-ish, Bad-ish Nutrient
Nitrates are part of nature’s recycling system—the nitrogen cycle—where fish waste and decaying plant matter break down into ammonia, then nitrite, and finally nitrate. Unlike its more toxic cousins, nitrate is relatively harmless to fish at low levels. In fact, aquatic plants love nitrates and use them as fertilizer for growth. The sweet spot for pond nitrates sits below 40 ppm, though lower is always better.
Here’s the catch: when nitrate levels climb too high—usually from overfeeding fish, overstocking, or lack of water changes—they become a feast for unwanted guests. Algae thrives on excess nitrates, turning your crystal-clear pond into a murky green soup. High nitrate readings are often the culprit behind persistent algae problems, making controlling algae blooms an ongoing battle. Regular testing helps you catch rising nitrates early, allowing you to adjust feeding schedules, add more plants, or perform water changes before algae takes over your beautiful water garden.
Hardness and Alkalinity: Your Water’s Buffer System
Let’s clear up these two terms that confuse even experienced pond keepers! Think of alkalinity as your water’s shock absorber. It’s the measure of your pond’s ability to resist sudden pH swings, which can stress fish and disrupt the biological balance you’ve worked so hard to create. Hardness, on the other hand, refers to the concentration of minerals like calcium and magnesium dissolved in your water.
Here’s where it gets interesting: these two work together as a buffer system. When I first tested my pond, I learned that adequate alkalinity (ideally between 80-120 ppm for most ponds) keeps pH stable even when fish waste or decaying plants try to acidify the water. Low alkalinity means your pH can swing wildly, which is dangerous for aquatic life.
General hardness should typically fall between 100-250 ppm for healthy ponds. Too soft, and your fish may struggle with mineral absorption. Too hard, and you might see cloudy water or mineral deposits.
The good news? If your alkalinity is low, you can easily raise it with baking soda. If hardness needs adjusting, crushed coral or limestone works wonders. Testing these parameters monthly helps you catch problems before they become crises, keeping your underwater friends happy and thriving.
Oxygen Levels: The Breath of Life
Dissolved oxygen is your pond’s invisible lifeline—fish breathe it, beneficial bacteria need it, and without enough of it, your pond ecosystem can quickly spiral into trouble. Think of it as the underwater equivalent of fresh air. Healthy ponds typically maintain oxygen levels between 7-9 mg/L, though levels can naturally fluctuate throughout the day.
Several factors can deplete oxygen faster than you’d expect. Warm water holds less oxygen than cool water, which is why oxygen problems often surface during hot summer months alongside water temperature requirements challenges. Overcrowding your pond with too many fish creates competition for available oxygen, while algae blooms present a sneaky problem—they produce oxygen during the day but consume it at night, potentially causing dangerous overnight drops.
Recognizing oxygen problems is crucial. Fish gasping at the surface, especially early morning, signals distress. You might also notice fish congregating near waterfalls or fountains where water naturally aerates. Testing dissolved oxygen regularly helps you catch problems before they become emergencies, giving you time to add aeration or address underlying causes.
Choosing the Right Testing Tools for Your Pond
Test Strips: Quick and Simple
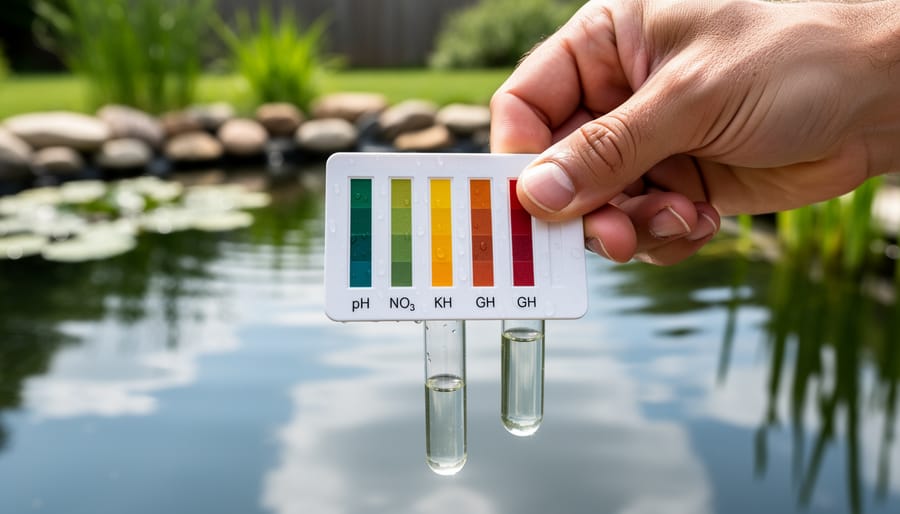
Test strips are the fastest way to check your pond water—just dip, wait, and compare! They’re perfect for quick routine checks and incredibly beginner-friendly. Most strips test multiple parameters at once (like pH, ammonia, and nitrite), making them convenient for busy pond keepers.
The main advantage? Speed and simplicity. Within 60 seconds, you’ll have results without any complicated procedures. They’re also affordable and portable, ideal for testing on the spot.
However, accuracy can be tricky. Color matching requires good lighting, and results are less precise than liquid test kits. Test strips can degrade if exposed to moisture or air, so always seal the container tightly and check expiration dates.
For best results, swish the strip in water for the recommended time (usually 1-2 seconds), then shake off excess water. Hold it horizontally to prevent colors from bleeding together. Compare immediately at the specified time—waiting too long skews results. Natural daylight gives the most accurate color reading.
Test strips work wonderfully for regular monitoring between more detailed tests, helping you catch problems before they become emergencies.
Liquid Test Kits: More Precision, Slightly More Effort
Liquid test kits are like upgrading from a thermometer strip to a proper cooking thermometer—you’ll get much more reliable results! These kits work by adding drops of reagent chemicals to a water sample, which causes a color change that you compare against a chart. The precision is noticeably better than test strips because you’re measuring exact drop amounts and observing reactions in real-time.
I’ll be honest, there’s a slight learning curve. You’ll need to count drops carefully, time reactions properly, and get comfortable reading color charts in good lighting. The first few times might feel a bit finicky, but most pond enthusiasts get the hang of it after testing just once or twice.
They’re absolutely worth the extra minute or two when accuracy matters most—like during new pond setup, when treating sick fish, or troubleshooting persistent algae problems. For routine monthly checks, they give you confidence that your readings truly reflect what’s happening in your pond, not just an approximate range.
Digital Meters: For the Detail-Oriented
If you’re serious about pond keeping or want consistent, precise readings, digital meters are worth exploring. These electronic testers give you exact numbers rather than color comparisons, which is especially helpful when tracking subtle changes over time. The most popular digital options include TDS meters (measuring total dissolved solids), pH meters, and multi-parameter devices that check several things at once.
Here’s the catch: digital meters need regular calibration to stay accurate. Most require calibration solution, which you’ll purchase separately, and you’ll need to recalibrate every few weeks or months depending on use. It’s an extra step, but it ensures reliability.
For pond water, pH meters are incredibly useful since pH affects everything from fish health to beneficial bacteria. TDS meters help you monitor mineral buildup, especially if you’re topping off your pond frequently.
Do beginners need them? Honestly, not right away. Start with test strips or liquid kits to learn the basics. Once you’re comfortable and want more precision, digital meters become fantastic tools that make regular testing quicker and more convenient.
Building Your Basic Testing Kit
Every pond owner needs a core testing kit that covers the essentials. Start with pH, ammonia, nitrite, and nitrate tests—these four parameters tell you the most about your pond’s health and directly impact your fish and plants. I always keep these on hand because they catch problems before they become disasters. Add a general hardness test if you’re in an area with particularly soft or hard water. You can expand your kit over time, but these basics give you a solid foundation for maintaining a thriving pond ecosystem. Think of it as your pond’s first aid kit—simple, accessible, and ready when you need it.
How to Test Your Pond Water (The Right Way)
Ready to roll up your sleeves and test your pond water? I promise it’s easier than you think! Let me walk you through the process step-by-step, just like I showed my neighbor last spring when she panicked about her cloudy koi pond.
First things first: timing matters. Test your water weekly during the warmer months when biological activity is high, and every two weeks in cooler weather. Also test after heavy rainstorms, when adding new fish, or if you notice anything off like algae blooms or lethargic fish. Early morning is your best testing window, before the sun affects oxygen levels and pH readings.
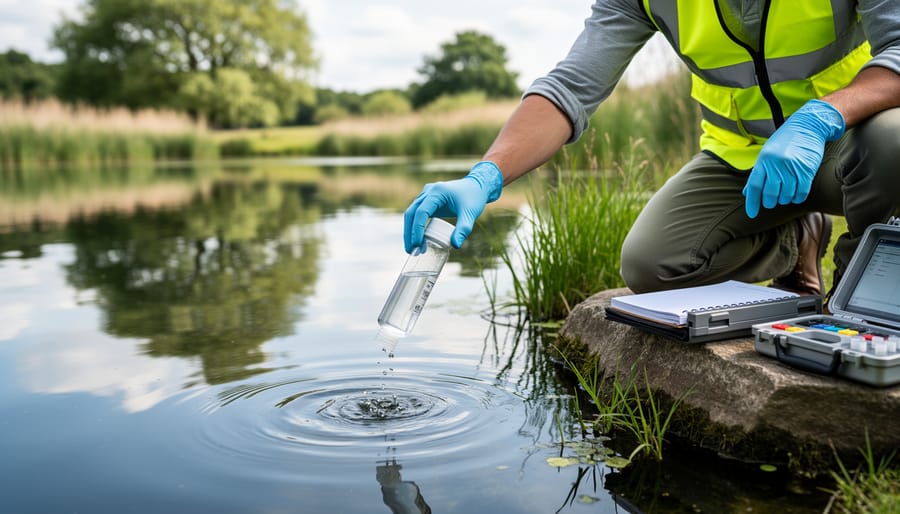
Now, let’s talk about collecting your sample. Here’s where many people go wrong. Don’t just dip from the surface near the edge. Instead, walk to a central spot in your pond and reach down about 6-8 inches below the surface. This gives you a representative sample of your actual pond conditions, not just what’s happening at the top layer. Use a clean container, and if you’ve used soap on it recently, rinse it thoroughly multiple times. Soap residue can throw off your readings completely.
With your test kit in hand, follow the instructions exactly as written. I know it’s tempting to eyeball measurements, but precision matters here. Use the exact number of drops, fill to the marked line, and time any waiting periods. When comparing color charts, natural light works best. Hold the tube against a white background for the clearest comparison, and get down to eye level rather than looking from above.
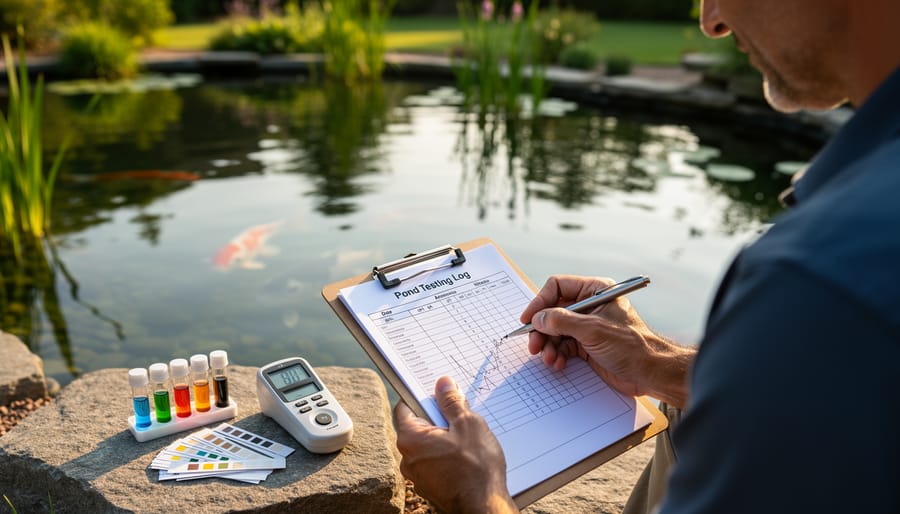
Recording your results might seem tedious, but trust me on this. Keep a simple notebook or use your phone’s notes app to track date, time, temperature, and all your parameter readings. Over time, you’ll start seeing patterns. Maybe your ammonia spikes every time you feed heavily, or your pH drops after rainstorms. These insights are gold for pond management.
One quick troubleshooting tip: if you get a weird reading that doesn’t make sense, test again before panicking. Sometimes air bubbles, dirty test tubes, or expired reagents can give false results. When in doubt, test twice and compare.
Reading Your Results: What the Numbers Actually Mean
Getting your test results back can feel like reading a foreign language, but don’t worry—I’m here to translate! Once you’ve completed your tests, you’ll have numbers that tell the story of your pond’s health. Let’s break down what they actually mean for your fish and plants.
For pH, you’re looking for a range between 6.5 and 8.5 for most pond setups. Goldfish and koi are pretty forgiving and thrive anywhere between 7.0 and 8.0. If your reading falls outside this range, your fish might become stressed, making them more susceptible to disease. I learned this the hard way when my pH dropped to 6.2 one spring, and my usually vibrant koi became lethargic within days.
Ammonia should always register at 0 ppm (parts per million). Anything above 0.25 ppm is a red flag that demands immediate action through water changes. This is non-negotiable—ammonia is toxic even in small amounts.
Nitrite levels should also be at 0 ppm in an established pond. If you’re cycling a new pond, temporary spikes up to 1 ppm are normal, but keep a close watch and be ready with water conditioners.
Nitrate readings below 40 ppm are generally safe, though keeping them under 20 ppm is ideal for crystal-clear water and happy fish. Higher readings won’t immediately harm your fish but can fuel algae blooms that nobody wants.
If your numbers fall outside these ranges, don’t panic. Start with a partial water change of 20-25 percent, retest in 24 hours, and adjust gradually. Sudden changes can stress fish more than slightly imperfect water chemistry. Think of yourself as a water detective—these numbers give you clues about what your pond needs.
When to Test and Creating Your Testing Schedule
Getting the timing right for water testing makes a huge difference in pond health! Let me share what’s worked best for me and countless pond owners I’ve chatted with over the years.
For brand new ponds, test frequently during the first month—I recommend checking water parameters twice weekly as your pond cycles and establishes beneficial bacteria. This cycling period is critical, and testing helps you catch any issues before they become problems. Once your pond matures (typically after 4-6 weeks), you can ease into a more relaxed schedule.
Established ponds generally need testing every two weeks during active seasons when fish are feeding and plants are growing vigorously. During winter when everything slows down, monthly testing usually suffices. However, seasonal transitions—especially spring when temperatures rise—deserve extra attention as fish become more active and begin producing more waste.
Certain situations demand immediate testing, regardless of your regular schedule. Test within 24 hours after adding new fish, following heavy rainfall that dilutes or contaminates your pond, when you notice algae blooms appearing, if fish are gasping at the surface or behaving unusually, after treating your pond with medications, or following periods of extreme heat. These events can dramatically shift water chemistry quickly.
Here’s a sample schedule I follow: weekly pH and ammonia checks during spring, bi-weekly full parameter testing in summer, monthly checks in autumn, and minimal testing in winter unless problems arise. Pair testing with regular pond maintenance for the healthiest results!
Common Testing Mistakes (And How to Avoid Them)
I’ll be honest—I’ve made just about every testing mistake possible with my ponds over the years, and you probably will too. The good news? Most are easy to fix once you know what to watch for.
The biggest culprit is sample contamination. I once tested my pond water using a cup that had soap residue, and the results were completely off. Now I keep dedicated sample containers that never see dish soap. Always rinse your container three times with the pond water you’re testing before taking your final sample. And never stick your fingers in the sample—oils from your skin can throw off readings.
Expired test kits are sneaky troublemakers. I discovered this the hard way when my pH readings made no sense for weeks. Check those expiration dates when you buy kits and write the purchase date on the box with a marker. Test strips especially lose accuracy after their expiration date, even if they look fine.
Timing matters more than you’d think. Testing right after adding treatments or during a rainstorm will give you skewed results. I recommend testing in the morning before feeding your fish, when the water is most stable. Avoid testing within 24 hours of adding any pond treatments.
Color chart misreading is incredibly common, especially in dim lighting. I keep a small flashlight near my testing supplies because natural daylight makes a huge difference. Hold your test tube against the white part of the chart, not a colored background, and read it at eye level.
Finally, resist the urge to skip steps in the instructions. I know it’s tempting when you’re in a hurry, but accurate results depend on precise timing and measurements. Set a timer on your phone—those 60-second waits really do matter.
What to Do When Your Tests Show Problems
Finding readings that are out of range can feel a bit worrying, but don’t panic! Testing is simply your pond’s way of telling you what it needs. Think of it like checking your car’s oil—now you know what requires attention.
Start by retesting to confirm the results, since occasional errors can happen. If the reading is still off, identify which parameter is the problem. High ammonia? Low pH? Each issue has specific solutions, from adding beneficial bacteria to adjusting alkalinity with natural buffers.
The good news? Most water quality issues in ponds are fixable with straightforward steps. Some corrections work quickly, while others need patience as your pond ecosystem rebalances. Keep testing regularly during treatment to track your progress.
Remember, this is part of the water gardening journey we all experience. I’ve had my share of unexpected test results over the years, and each one taught me something valuable about my pond’s unique needs. The key is taking action promptly but calmly—your fish and plants will thank you for being such an attentive caretaker. Solutions exist for every common pond problem, so you’re never stuck without options.
Taking control of your pond’s health doesn’t require a chemistry degree or expensive lab equipment. As we’ve explored together, regular water quality testing is simply about getting to know your pond’s personality and catching small issues before they become big problems. Start with the basics: pH, ammonia, and nitrite tests will cover most of your needs as a pond keeper. Once you’re comfortable with these, you can expand your testing routine as your confidence grows.
The beauty of consistent testing is that it turns pond care from a reactive scramble into a proactive routine. Instead of wondering why your fish seem stressed or your plants aren’t thriving, you’ll have real answers at your fingertips. Set a reminder on your phone to test weekly during active seasons, and you’ll soon find it becomes second nature, like checking the weather before planning your day.
Remember, every thriving pond started with someone just like you, willing to learn and committed to creating a healthy aquatic environment. You’ve got this, and your pond will thank you for it.