
Perfect Pond Slopes That Keep Your Urban Oasis Safe and Beautiful
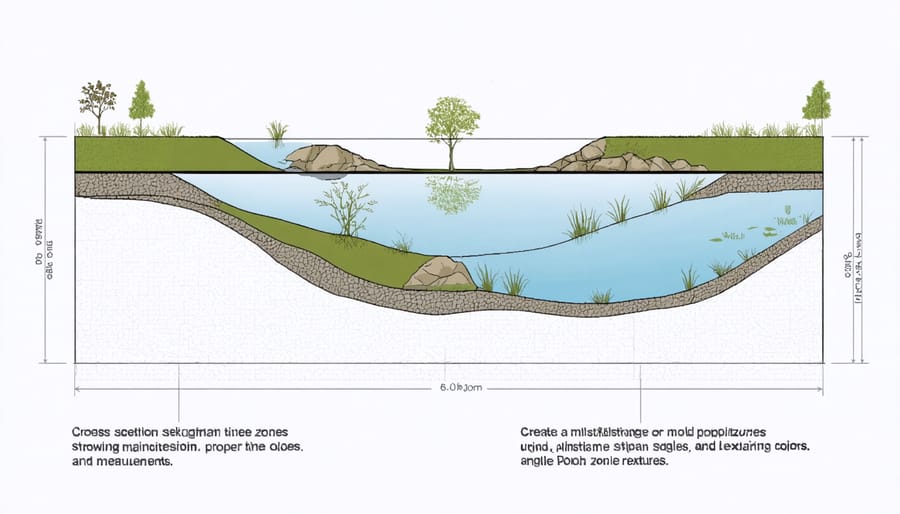
Design pond slopes at a gentle 3:1 ratio (one foot of vertical drop for every three feet of horizontal distance) to prevent erosion and ensure safe access for maintenance. Following proven urban pond design principles, create multiple tiers or shelves within your pond slope to accommodate different aquatic plant zones and provide essential safety ledges. Incorporate non-slip materials like textured concrete or natural stone along the upper edges where people are most likely to walk, maintaining a slight outward grade to direct rainfall away from the pond.
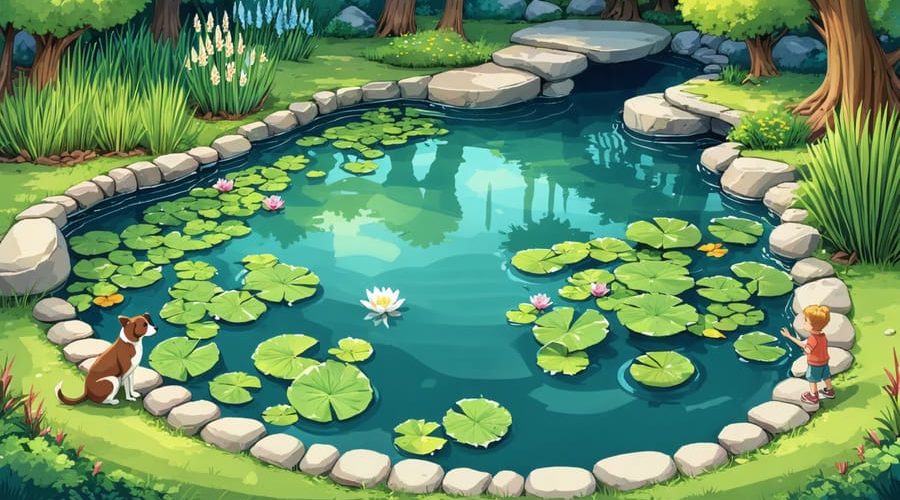
The perfect pond slope balances aesthetic appeal with practical functionality, transforming your outdoor space while protecting both wildlife and humans. Strategic slope design prevents soil erosion, supports healthy plant growth, and creates natural-looking transitions between water and land. Whether you’re planning a small garden pond or a larger water feature, proper slope engineering forms the foundation for a sustainable aquatic ecosystem that will thrive for years to come.
Why Slope Design Matters in Urban Ponds
Safety First: The Role of Proper Slopes
Safety should always be your top priority when designing a pond slope, especially if you have children or pets. A properly designed slope isn’t just about aesthetics – it’s about creating a safe environment for everyone who visits your garden. The recommended ratio is 3:1 (three feet horizontal for every one foot vertical), which provides stable footing and prevents accidental slips.
For homes with young children, consider installing a safety shelf – a shallow ledge that extends about 12-18 inches into the pond at a depth of 8-12 inches. This feature acts as a safety buffer zone, giving anyone who might slip a chance to regain their footing before reaching deeper water.
Pet owners should also pay special attention to slope design. Dogs and cats need to be able to easily exit the pond if they fall in. Including gradual slopes or designated exit points around the perimeter ensures their safety.
Remember that as a pond owner, you may be liable for accidents that occur around your water feature. Installing proper fencing, adequate lighting, and warning signs can help reduce risks and protect both your visitors and your peace of mind.
Urban Environmental Challenges
Creating a pond in an urban setting comes with its own unique set of challenges, but don’t let that discourage you! Space limitations often mean getting creative with your design, and that’s where smart slope planning becomes essential. Many urban homeowners find success by incorporating terraced slopes, which not only maximize limited space but also add visual interest to your yard.
Drainage can be tricky in urban environments, especially with nearby structures and paved surfaces. To effectively maintain your water feature, ensure your slope design includes proper drainage channels that direct excess water away from buildings and comply with local runoff regulations.
Speaking of regulations, always check your local building codes before starting your pond project. Many urban areas have specific requirements about pond depth, fencing, and setback distances from property lines. Some neighborhoods might also have homeowners’ association guidelines that affect pond design. Planning your slopes to meet these requirements from the start will save you headaches down the road.
Consider working with existing landscape features and incorporating natural elements like rocks and native plants to create a harmonious blend with your urban environment.
Essential Slope Zones for Urban Ponds
The Safety Shelf (Marginal Zone)
The safety shelf, also known as the marginal zone, is a crucial feature of any well-designed pond. This shallow area typically extends 12-18 inches inward from the pond’s edge and sits just 6-8 inches below the water surface. Think of it as a submerged sidewalk that runs around your pond’s perimeter.
This shelf serves multiple important purposes. First and foremost, it’s a critical safety feature, providing a stable footing area should anyone accidentally step into the pond. For children and pets especially, this shallow zone can prevent them from suddenly dropping into deeper water.
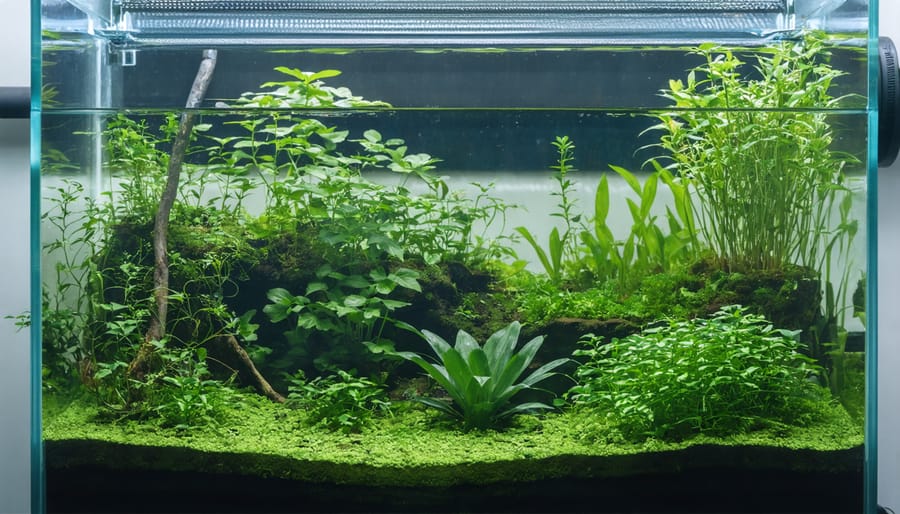
Beyond safety, the marginal zone creates the perfect environment for a variety of aquatic plants that prefer shallow water. Water lilies, rushes, and marsh marigolds thrive in these conditions, adding both beauty and biological filtering to your pond. These plants also help create natural transitions between your garden and the water feature.
When constructing the safety shelf, ensure it’s level and wide enough to accommodate both safety needs and plant containers. The surface should be slightly rough to provide good traction, but free from sharp edges. Many pond builders choose to add small gravel or river rocks to this area, which not only looks natural but also provides extra grip and stability.
Remember to maintain a gentle slope from the edge to the shelf to prevent any sudden drops that could create hazards.
The Plant Zone
The plant zone of your pond requires careful slope design to create the perfect environment for aquatic plants to thrive. A gradual slope of about 15-20 degrees works best for most aquatic plants, creating distinct planting shelves at different depths. Start with a shallow bog area at the pond’s edge, sloping down to about 4-6 inches deep – perfect for marginal plants like iris and rushes.
As you move deeper into the pond, create a second shelf at 8-12 inches for shallow-water plants. This area is ideal for water lilies and other floating plants that need their roots submerged but their leaves reaching the surface. For larger ponds, consider adding a third shelf at 18-24 inches deep for more variety in your aquatic garden.
The bog area deserves special attention, as it’s crucial for filtering water and supporting marsh plants. Create this zone with a very gentle 5-10 degree slope and line it with gravel or special bog soil. This area should stay consistently moist but not completely submerged, making it perfect for plants like marsh marigolds and cattails.
Remember to leave enough flat space on each shelf for placing plant containers, and ensure the slope between shelves isn’t too steep to prevent soil erosion. Using rocks and gravel to stabilize these transitions not only looks natural but also provides additional surfaces for beneficial bacteria to colonize.
The Deep Zone
The deep zone of your pond serves as a crucial refuge for fish and creates a stable aquatic environment. A well-designed deep area should have a gradual slope of about 20-30 degrees, allowing fish to move freely between different depth zones while preventing sediment buildup at the bottom.
For optimal fish health, the deepest part should be at least 2-3 feet deep in warmer climates and 3-4 feet in colder regions to prevent freezing in winter. This depth also helps maintain stable water temperatures and provides fish with a cool retreat during hot summer days.
When creating the deep zone, shape the slopes in a way that prevents soil erosion. Use a combination of different-sized rocks and gravel to stabilize the banks. Avoid creating sudden drop-offs or steep walls, as these can be dangerous for wildlife and make maintenance difficult.
Consider incorporating ledges or shelves within the deep zone at different depths. These create natural resting spots for fish and provide excellent locations for deep-water plants. A good rule of thumb is to make these ledges about 12-18 inches wide.
Remember to make the transition from the shallow areas to the deep zone smooth and gradual. This natural progression helps with water circulation and makes it easier for fish to navigate between different depths. It also makes cleaning and maintaining your pond much more manageable in the long run.
DIY Slope Construction Tips
Materials and Tools
To create a properly sloped pond, you’ll need both basic and specialized tools. Start with essential measuring equipment: a laser level or standard level, measuring tape, and marking stakes for accurate slope calculations. You’ll also need a string line and wooden stakes to mark your pond’s perimeter and desired slope angles.
For excavation, gather these tools: a spade or shovel for digging, a wheelbarrow for soil removal, and a rake for smoothing surfaces. If working with larger areas, consider renting a mini excavator to make the job easier. For compacting soil, you’ll need a hand tamper or plate compactor.
Essential materials include:
– Clean fill dirt for building up areas
– Sand for creating a stable base layer
– Pond liner underlayment for protection
– EPDM or PVC pond liner
– Large rocks and gravel for edge stabilization
– Landscape fabric to prevent weed growth
Safety equipment is crucial: wear sturdy work gloves, safety glasses, and steel-toed boots. Keep a first aid kit nearby. For precise slope measurements, a clinometer or slope calculator app on your smartphone can be helpful. Having extra marking flags or spray paint will help you visualize the design before starting excavation.
Step-by-Step Slope Building
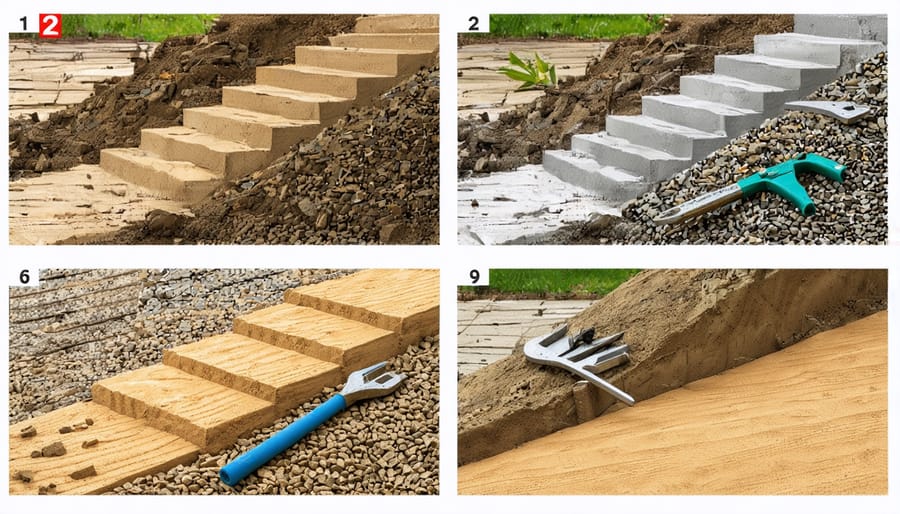
Building a stable pond slope requires careful attention to detail and the right technique. For natural-looking pond construction, follow these proven steps:
Start by marking your pond outline and remove soil to your desired depth. Create a series of stepped levels, like a wedding cake, working from the outside edge inward. Each step should be approximately 12 inches wide and 12 inches deep, forming a gradual descent toward the pond’s center.
Compact each level thoroughly using a hand tamper or plate compactor. This prevents future settling and ensures stability. Once your steps are established, smooth the transitions between levels to create a continuous slope. Aim for a maximum grade of 3:1 (three feet horizontal for every one foot vertical).
Add a layer of cushioning sand approximately 2 inches thick over the entire slope surface. This protects your liner from punctures caused by sharp rocks or roots. Remove any protruding stones or debris before laying the sand.
Install your pond liner, starting from the top of the slope and working downward. Avoid pulling the liner tight – allow some slack for settling. Secure the liner at the top edge with heavy rocks or soil, ensuring it extends at least 12 inches beyond the pond’s edge.
Finally, add rock and gravel layers to hold the liner in place and create a natural appearance. Start with larger rocks at the bottom, working your way up with progressively smaller stones.
Common Slope Problems and Solutions
Even well-planned ponds can develop slope issues over time, but most common problems have straightforward solutions. If you notice soil erosion along your pond’s edges, adding riprap or strategically placed rocks can help stabilize the area. For slopes that are too steep, consider terracing the banks or installing retaining walls to create a more gradual descent.
Slumping or sliding soil often indicates poor drainage. Installing a French drain system above the slope can help manage water flow and prevent soil destabilization. For bare spots where vegetation won’t grow, try using erosion control matting combined with plants specifically chosen for slope stabilization.
When dealing with winter damage from freeze-thaw cycles, reinforce vulnerable areas with geotextile fabric beneath your rock work. If you spot water undercutting your slope, create a proper beach entry or shelf to dissipate wave action.
Remember that prevention is easier than correction – regular maintenance and prompt attention to minor issues can help avoid major slope problems down the line. Don’t hesitate to consult a professional if you encounter persistent slope stability issues that DIY solutions can’t fix.
Creating the perfect pond slope is a fundamental aspect of successful water feature design, and we hope this guide has equipped you with the knowledge to tackle your project with confidence. Remember that proper slope design isn’t just about aesthetics – it’s crucial for pond stability, safety, and long-term enjoyment of your water garden. Whether you’re planning a shallow wildlife pond or a deeper koi habitat, the principles of gradual transitions, appropriate angles, and careful material selection remain constant.
As you begin planning your own pond project, take time to carefully consider your specific needs and site conditions. Don’t rush the design phase – careful planning now will save you considerable time and effort later. If you’re looking for additional inspiration, check out our collection of backyard pond ideas to spark your creativity.
Remember to regularly maintain your pond slopes, checking for any signs of erosion or settling, particularly after heavy rains. With proper implementation of the slope design principles we’ve discussed, you’ll create a beautiful, safe, and lasting water feature that provides years of enjoyment. Whether you’re a novice pond builder or an experienced enthusiast, proper slope design is your foundation for success. Start your pond project today, and create the tranquil water garden you’ve always dreamed of!