Rain Gardens: Your Pond’s Natural Filter and Wildlife Magnet
Transform your garden into a sustainable water management system by installing a rain garden bioretention area – a natural solution that filters stormwater, prevents flooding, and enhances local biodiversity. Position these shallow depressions strategically to collect runoff from roofs, driveways, and other impervious surfaces, creating an opportunity for wildlife pond design that serves both practical and aesthetic purposes. Native plants, specially selected for their water-filtering abilities, work alongside layers of engineered soil and gravel to naturally clean pollutants from rainwater before it enters the groundwater system. Beyond their environmental benefits, rain gardens create stunning landscape features that attract birds, butterflies, and beneficial insects while reducing maintenance needs compared to traditional gardens. This innovative approach to sustainable landscaping combines the best of ecological engineering with natural beauty, offering a practical solution for homeowners looking to manage stormwater while creating a thriving ecosystem in their backyard.
How Rain Gardens Supercharge Your Pond’s Ecosystem
Natural Filtration System
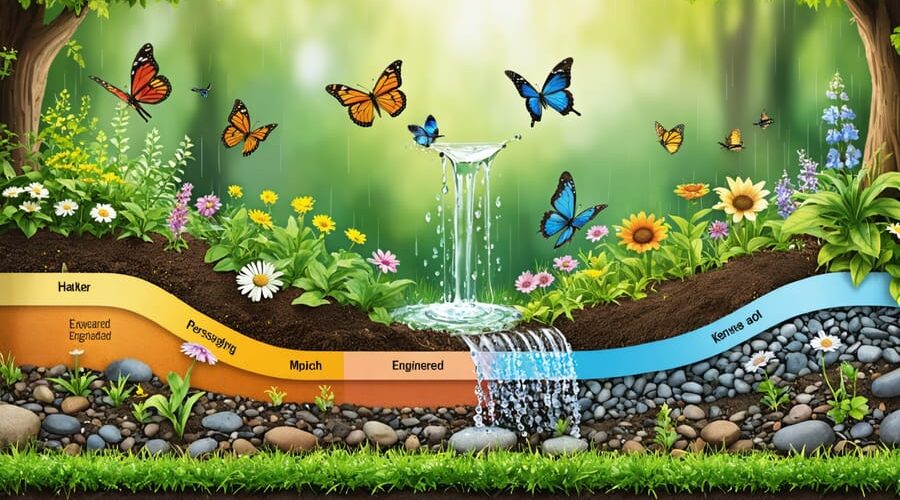
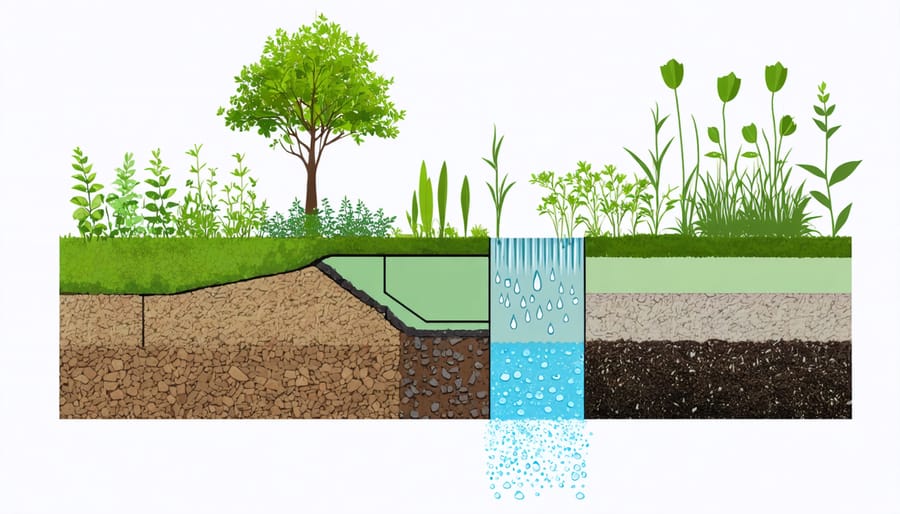
A rain garden acts like nature’s water purifier, using multiple layers of carefully selected materials to clean and filter rainwater before it reaches your pond. The process starts at the surface, where native plants and their extensive root systems catch debris and begin breaking down pollutants. As water moves downward, it encounters a layer of mulch that traps larger particles and helps beneficial bacteria thrive.
Below this, a specially designed soil mixture containing sand, topsoil, and organic matter further filters the water while providing essential nutrients to plants. This layer removes fine sediments, heavy metals, and other harmful substances from the runoff. The deepest layer typically consists of gravel or crushed stone, which provides additional filtration and helps water percolate slowly into the ground.
The beauty of this natural filtration system lies in its simplicity – it mimics the way nature cleanses water in wetland environments. As runoff moves through these layers, up to 90% of common pollutants are removed, ensuring that only clean, filtered water enters your pond. This process not only protects your pond’s ecosystem but also helps replenish groundwater supplies naturally.

Wildlife Attraction Benefits
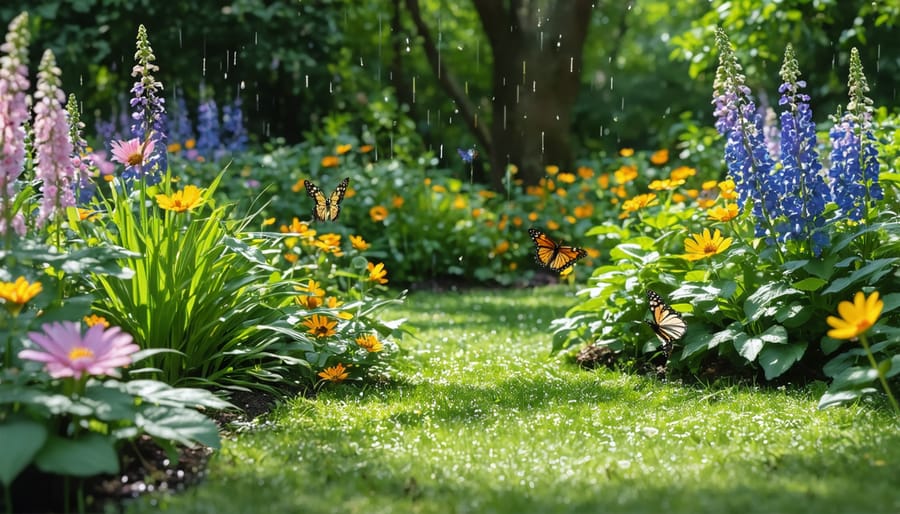
A well-designed rain garden does more than manage stormwater – it creates a vibrant ecosystem that attracts a diverse range of wildlife. As native plants establish themselves, they provide essential food and shelter for beneficial insects like butterflies, bees, and ladybugs. These insects not only help with pollination but also naturally control garden pests.
Birds are particularly drawn to rain gardens, especially when you include plants that produce seeds or berries. Species like finches, sparrows, and hummingbirds will visit regularly to feed and may even nest in the surrounding vegetation. The shallow water areas also attract birds looking for a drink or quick bath.
Rain gardens are perfect environments to support aquatic wildlife like frogs and salamanders. These amphibians help control mosquito populations naturally and add wonderful evening sounds to your garden. Dragonflies and damselflies are also common visitors, adding both beauty and biological pest control to your outdoor space.
The varying moisture levels in a rain garden create different microhabitats, supporting a wider variety of creatures than traditional gardens. This biodiversity makes your garden more resilient and creates a fascinating outdoor space to observe nature up close.
Creating Your Perfect Rain Garden
Location and Size Planning
Choosing the right location for your rain garden is crucial for its success. Start by identifying areas where rainwater naturally flows or pools in your yard. The ideal spot should be at least 10 feet away from your house’s foundation to prevent water damage, and avoid placing it over septic systems or utility lines.
To calculate the right size, consider the amount of runoff your garden needs to handle. Measure the impervious surfaces (like your roof, driveway, or patio) that will drain into the garden. A general rule of thumb is to make your rain garden about 20-30% of the drainage area it will receive water from.
For most home gardens, a depth of 4-8 inches works well. The shape can be whatever suits your landscape design – kidney-shaped, circular, or rectangular. Remember that the bottom of your garden should be level to ensure even water distribution.
Sandy soils can handle a smaller garden, while clay soils require a larger area to allow proper drainage. Test your soil drainage by digging a hole and filling it with water. If it drains within 24 hours, you’ve found a suitable spot.
Consider sun exposure too – while rain gardens can work in partial shade, full sun allows for a wider variety of plant choices and better water evaporation.
Soil Preparation and Construction
Creating a successful rain garden starts with proper soil preparation. The ideal soil mix should be about 60% sand, 20% topsoil, and 20% compost. This combination ensures good drainage while maintaining enough organic matter to support plant growth.
Begin by marking your garden area and testing the soil drainage. Dig a hole about 8 inches deep and fill it with water. If it takes more than 24 hours to drain, you’ll need to amend the soil more heavily with sand to improve drainage.
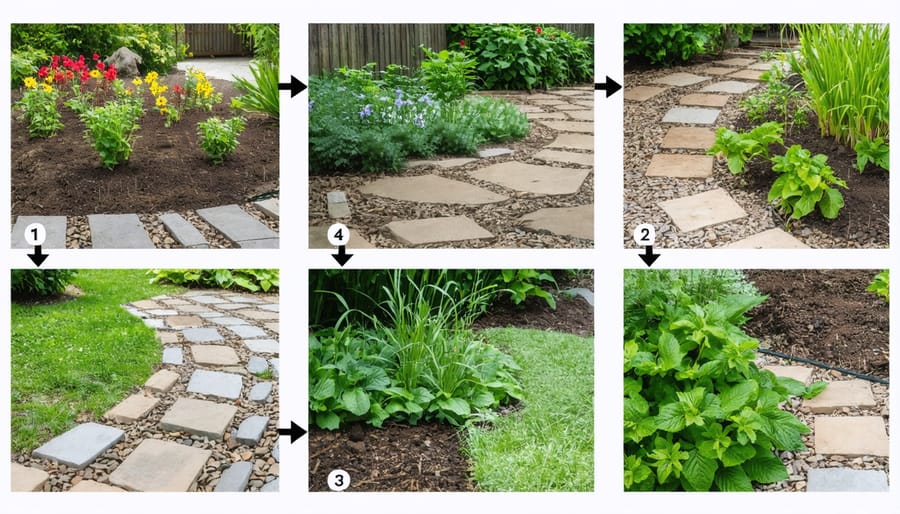
For construction, dig your garden basin 4-8 inches deep, making sure the bottom is level. The sides should have a gentle slope to prevent erosion. Create a berm on the downhill side using the excavated soil to help contain water during heavy rains.
Add your prepared soil mixture in layers, gently tamping down each layer to remove air pockets but avoiding over-compaction. The final soil level should be about 2-3 inches below the surrounding ground to create a natural collection basin.
Install an overflow outlet using landscaping stones or a pipe to direct excess water safely away from buildings during major storms. Consider adding a layer of mulch on top to prevent soil erosion and help filter pollutants. Leave about 6 inches between the mulch and any building foundations to prevent moisture problems.
Remember to let the soil settle for a few days before planting, and water thoroughly to help everything settle into place.

Plant Selection for Maximum Impact
Selecting the right plants for your rain garden is crucial for both effective water filtration and creating a thriving wildlife habitat. When choosing plants, consider three distinct zones: the basin bottom (which stays wettest), the sloped sides, and the upper edges (which remain relatively dry).
For the basin bottom, opt for moisture-loving plants that can handle periodic flooding. Native rushes, sedges, and iris varieties work wonderfully here. These plants develop deep root systems that excel at filtering pollutants and preventing soil erosion.
The sloped sides of your rain garden are perfect for best plants for pond biodiversity like native grasses, Black-Eyed Susans, and Purple Coneflowers. These plants not only look stunning but also attract beneficial insects and birds.
For the upper edges, choose drought-tolerant plants that can thrive in drier conditions. Native shrubs and ornamental grasses work well here, creating a natural transition to your existing landscape while providing shelter for wildlife.
Remember to include a mix of plants that bloom at different times throughout the growing season. This ensures continuous food sources for pollinators and year-round visual interest. Native plants are always the best choice as they’re already adapted to your local climate and require less maintenance once established.
Consider including some aromatic herbs like mint or bee balm – they’re excellent at attracting beneficial insects while adding a lovely sensory element to your garden.
Maintaining Your Rain Garden
Seasonal Care Requirements
Spring brings the most important maintenance tasks for your rain garden. Start by removing winter debris and dead plant material, checking for erosion damage, and replacing any plants that didn’t survive the cold. Add a fresh layer of mulch to maintain moisture and suppress weeds, but keep it away from plant stems to prevent rot.
In summer, your main focus should be on weeding and watering newly established plants during dry spells. While mature rain gardens are typically drought-resistant, young plants need extra care in their first year. Remove any invasive species promptly to prevent them from taking over.
Fall maintenance involves removing fallen leaves and cutting back perennials after they’ve died back. Don’t remove all debris – some plant stalks provide winter habitat for beneficial insects. Check your garden’s drainage performance during autumn rains and clear any blocked inlets or overflow areas.
Winter is relatively low-maintenance, but you’ll want to monitor for ice damage and ensure water can still flow during thaws. Mark the garden’s boundaries if you live in a snowy region to prevent accidental damage from snow removal equipment. Use this quieter season to plan any improvements or additions for the coming spring.
Throughout all seasons, regularly inspect the garden after heavy rainfall to ensure proper drainage and address any erosion issues promptly. Remove any accumulated sediment from the inlet areas to maintain optimal water flow.
Common Problems and Solutions
Even well-planned rain gardens can face challenges, but most common issues have straightforward solutions. If you notice standing water for more than 48 hours, your soil might be too compacted or have poor drainage. Solve this by adding organic matter or installing additional drainage channels beneath the garden.
Weeds are another frequent concern, especially in new rain gardens. Combat them by applying a thick layer of mulch (2-3 inches) and regularly hand-pulling unwanted plants before they establish deep roots. During the first year, check weekly for invasive species.
Plant health issues often stem from incorrect plant selection or placement. If plants are yellowing or wilting, they might be getting too much or too little water. Adjust their position in the garden based on their moisture preferences – some plants thrive in the deeper center, while others do better along the edges.
Erosion around the garden’s edges typically indicates water is entering too forcefully. Install splash blocks or river rocks where downspouts enter the garden to dissipate water energy. If sediment is building up, consider adding a small pre-treatment area to catch debris before it enters the main garden.
For gardens that aren’t capturing enough runoff, check the slope and ensure water is being properly directed. Sometimes simply adjusting the entry point or deepening the basin slightly can significantly improve performance.
Measuring Success: Your Rain Garden’s Impact
Water Quality Indicators
Your rain garden’s effectiveness in improving water quality can be spotted through several key indicators. After rainfall, watch how the water flows – it should slowly filter through the garden rather than forming puddles. Clear, sediment-free water exiting your garden is a positive sign that soil particles are being trapped effectively.
Healthy plant growth is another reliable indicator. Thriving plants mean they’re actively filtering pollutants and excess nutrients from the water. Look for deep green leaves and robust growth, especially in plants known for their filtering capabilities.
The soil in your rain garden should remain loose and well-draining. If you notice earthworms and beneficial insects, that’s a great sign of a healthy soil ecosystem. After heavy rains, observe the surrounding area – there should be minimal erosion and reduced water pooling compared to before the garden’s installation.
A properly functioning rain garden will also show fewer signs of algae growth in nearby water bodies, as it’s effectively capturing excess nutrients before they can cause problems downstream. Your garden should drain completely within 24-48 hours after rainfall, preventing mosquito breeding while ensuring thorough filtration.

Biodiversity Improvements
Tracking wildlife activity in your rain garden is an exciting way to see how your efforts are improving local biodiversity. Start by keeping a simple journal to record the different types of birds, insects, and other creatures that visit your garden. Take regular photos or videos at specific times of day to document changes over time. You can measure pond biodiversity by noting the variety of species you observe.
Look for signs like bird nests, butterfly eggs on native plants, or frog spawn in water features. Consider installing a wildlife camera to capture nighttime visitors. Pay attention to seasonal changes – spring might bring nesting birds, while summer could attract more pollinators. Create a simple checklist of common local species and tick them off as you spot them.
Count the number of different plant species thriving in your garden, as plant diversity directly supports wildlife diversity. Remember that even small improvements, like seeing new bee species or hearing more bird songs, are signs that your rain garden is becoming a thriving ecosystem.
Creating a rain garden bioretention system is more than just a landscaping project – it’s an investment in your property’s environmental health and beauty. By implementing the design principles and maintenance practices we’ve discussed, you’ll be contributing to cleaner waterways, reduced flooding, and enhanced biodiversity in your backyard.
Remember that success doesn’t require perfection from the start. Begin with a small area if you’re feeling uncertain, and expand your rain garden as you gain confidence. The key is to select appropriate native plants, ensure proper soil composition, and maintain adequate drainage for your specific site conditions.
The benefits of your rain garden will become evident almost immediately. You’ll notice reduced water pooling after storms, increased butterfly and bird activity, and improved soil health. Plus, you’ll have the satisfaction of knowing you’re helping to protect local water resources while creating a beautiful, low-maintenance landscape feature.
Don’t let technical details overwhelm you – start planning your rain garden today. Take measurements, observe water flow patterns, and begin researching plants native to your area. With each season, your rain garden will mature and become more efficient at managing stormwater while providing a haven for local wildlife.
Ready to get started? Gather your basic tools, make your plant list, and take that first step toward creating your own rain garden. Your local extension office can provide additional guidance specific to your area.
