
The Pond Owner’s Power Move: Craft Your Own Aeration System in 6 Easy Steps
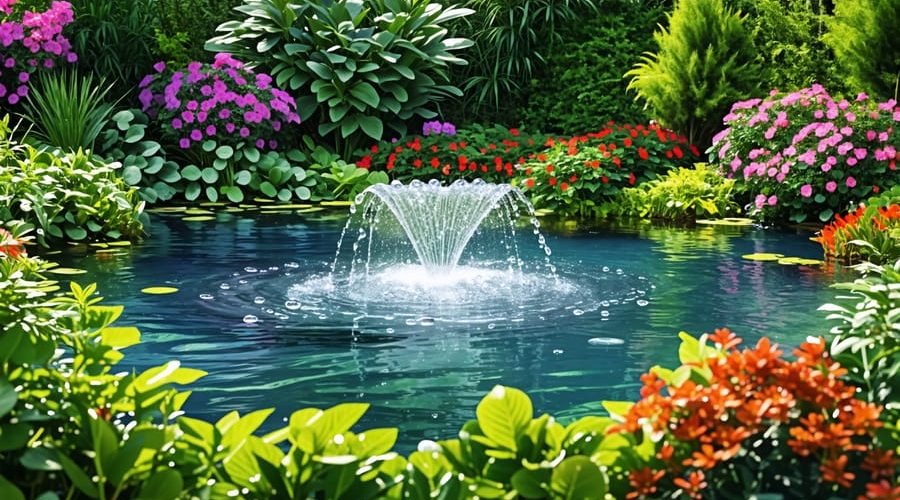
Transform your pond into a thriving ecosystem with a DIY aeration system. Proper aeration is essential for maintaining healthy water quality, preventing algae growth, and supporting fish and plant life. By installing a cost-effective, energy-efficient DIY pond aeration system, you can create a beautiful, balanced environment that enhances the overall aesthetics of your outdoor space. In this comprehensive guide, we’ll walk you through the step-by-step process of designing, building, and maintaining your own pond aeration system, empowering you to take control of your pond’s health and beauty. Whether you’re a seasoned water gardener or a curious beginner, this article will provide you with the knowledge and tools necessary to create a stunning, naturally-balanced pond that you can enjoy for years to come. So, let’s dive in and discover how you can harness the power of aeration to transform your pond into a thriving oasis.
Understanding Pond Aeration Basics
Benefits of Pond Aeration
Pond aeration offers numerous benefits that contribute to a healthy and thriving aquatic ecosystem. By introducing oxygen into the water, aeration promotes better water quality, reducing the risk of harmful algae blooms and foul odors. Oxygen-rich water supports the growth of beneficial bacteria, which break down organic matter and maintain a balanced environment through natural filtration. Fish and other aquatic life thrive in well-aerated ponds, as they require dissolved oxygen to survive and grow. Aeration also helps to circulate the water, preventing stagnation and ensuring that nutrients are evenly distributed throughout the pond. This circulation promotes the health of aquatic plants, which in turn provide shelter and food for fish and other organisms. By investing in a DIY pond aeration system, you can create a vibrant and self-sustaining ecosystem that enhances the beauty and enjoyment of your outdoor space.
Types of Aeration Systems
There are several types of aeration systems to choose from when creating a DIY pond aeration setup. Surface aerators, such as fountain pumps or paddle wheel aerators, agitate the water’s surface to promote oxygen exchange. These are ideal for shallow ponds and create an attractive visual display. Diffused aerators, like air stones or bubble discs, release tiny air bubbles from the bottom of the pond, allowing oxygen to dissolve as the bubbles rise to the surface. This type is more efficient for deeper ponds. Solar-powered aeration systems harness the sun’s energy to power the aerator, making them an eco-friendly and cost-effective option for remote locations or off-grid ponds. The choice of aeration system depends on factors such as pond size, depth, and your specific needs and preferences. Understanding the different options available will help you select the best system for your DIY pond aeration project.
Planning Your DIY Aeration System
Assessing Your Pond’s Needs
To determine the right aeration system for your pond, consider its size, depth, and fish population. Smaller ponds with fewer fish may only need a simple air pump and diffuser, while larger ponds with more fish will require a more powerful system. Assess your pond’s characteristics, including water volume, to calculate the necessary airflow. Also, think about the layout of your pond – are there any deep spots or hard-to-reach areas that need extra aeration? Do you have a lot of aquatic plants that could benefit from increased oxygen levels? Answering these questions will help you choose between a surface aerator, bottom diffuser, or a combination of both. Don’t forget to factor in your budget and the amount of maintenance you’re willing to undertake. With careful consideration of your pond’s needs, you’ll be well on your way to selecting the perfect DIY aeration system.
Gathering Materials and Tools
Here’s your checklist of materials and tools for building a DIY pond aeration system:
– Air pump (sized according to your pond’s volume)
– Airline tubing (enough to reach from the pump to the deepest part of the pond)
– Air stone or diffuser (to create fine bubbles for optimal oxygenation)
– Check valve (to prevent water from flowing back into the pump)
– Pliers or scissors (for cutting tubing)
– Hose clamps (to secure connections)
– Weatherproof outdoor timer (optional, for automated operation)
– Waterproof electrical tape (for sealing connections)
Before purchasing, measure your pond’s dimensions to determine the appropriate pump size and tubing length. Opt for high-quality components to ensure durability and efficient performance. With these materials on hand, you’ll be well-equipped to create a cost-effective and customized aeration system that keeps your pond healthy and vibrant.

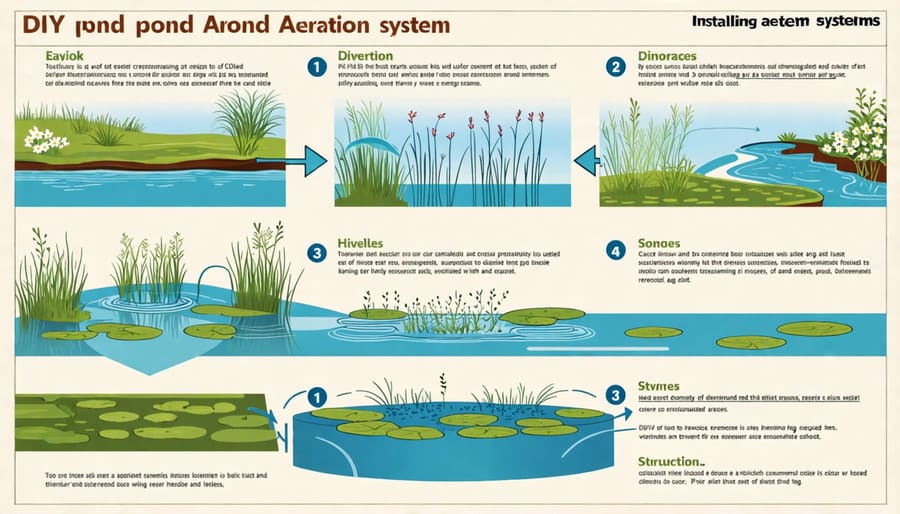
Step-by-Step DIY Aeration System Installation
Step 1: Preparing the Air Pump
To set up the air pump, place it near your pond on a stable, level surface. Protect the pump from the elements by housing it in a weatherproof enclosure or a DIY shelter. Connect one end of the flexible tubing to the air pump outlet, securing it tightly with a hose clamp. Measure and cut the tubing to the desired length, ensuring it can reach the bottom of your pond. If you’re using multiple air stones, consider using a splitter or manifold to divide the air flow evenly. Double-check all connections to prevent air leaks. Once the tubing is connected, you’re ready to move on to the next step.
Step 2: Installing the Diffuser
Now that you have your tubing ready, it’s time to attach the diffuser. Simply connect the diffuser to one end of the tubing, ensuring a snug and secure fit. If needed, use plumber’s tape or hose clamps to create an airtight seal. Once attached, gently lower the diffuser into the pond, placing it at the deepest point for optimal aeration. Use a weight, such as a clean brick or stone, to keep the diffuser in place at the bottom of the pond. Make sure the tubing is long enough to reach the desired compressor location without any kinks or twists.
Step 3: Securing the Tubing
To secure the tubing and prevent leaks, start by applying a generous amount of silicone sealant around the connection points between the tubing and the air pump, as well as the air stone. Ensure that the sealant covers the entire circumference of the tubing. Allow the sealant to dry completely according to the manufacturer’s instructions. Next, use cable ties or hose clamps to fasten the tubing securely to the air pump and air stone. Tighten the ties or clamps until the tubing is snug, but be careful not to overtighten, as this may damage the tubing. Finally, double-check all connections and test the system for any leaks before submerging the air stone in your pond.
Step 4: Powering the System
With your air pump positioned and tubing connected, it’s time to power up your DIY pond aeration system. Plug the air pump into a nearby GFCI-protected outdoor electrical outlet, ensuring the cord is safely secured and away from any water. If an outdoor outlet isn’t available, consult an electrician to install one. Once plugged in, turn on the air pump and watch as bubbles begin to rise from the diffuser in your pond. Adjust the air flow control valve to achieve the desired level of aeration. Congratulations! You’ve successfully installed and powered your very own pond aeration system, enhancing the health and beauty of your water garden.
Step 5: Testing and Adjusting
Once you’ve installed your DIY pond aeration system, it’s time to test its performance. Turn on the air pump and observe the bubbles rising from the diffusers. Ensure that air is flowing evenly across all diffusers and that there are no leaks in the tubing. If you notice uneven bubbling or weak output, check for clogs or kinks in the lines. Adjust the air pump’s flow rate to achieve the desired level of aeration. Monitor your pond’s water quality over the next few days, looking for improvements in clarity, reduced algae growth, and healthier fish behavior. Make adjustments as needed to optimize your system’s performance and enjoy the benefits of a well-aerated pond.
Step 6: Maintaining Your Aeration System
To keep your DIY pond aeration system running smoothly, regular maintenance is key. Start by periodically cleaning the air diffuser to remove any accumulated debris or algae growth. This ensures optimal air flow and prevents clogs. Check the air pump and tubing for any signs of wear or damage, replacing parts as needed. Inspect the check valve to ensure it’s functioning properly and preventing water from entering the air pump. By dedicating a little time to these simple maintenance tasks, you’ll extend the life of your aeration system and keep your pond healthy and vibrant for years to come.
Troubleshooting Common Issues
Low Airflow
If you’re experiencing low airflow in your DIY pond aeration system, don’t worry – it’s a common issue with some simple solutions. First, check for any blockages or kinks in the air tubing, which can restrict airflow. Clean or replace any clogged air stones or diffusers. If using an air pump, ensure it’s properly sized for your pond’s depth and volume. Consider upgrading to a more powerful pump if necessary. Regularly clean your pump’s air filter and inspect for any damage or wear. Elevating the air pump above the water level can also improve efficiency. By addressing these factors, you’ll soon have your aeration system bubbling away, keeping your pond healthy and vibrant.
Leaks and Bubbles
To identify leaks in your DIY pond aeration system, inspect the tubing and connections for any signs of damage, cracks, or loose fittings. If you notice bubbles escaping from unexpected areas along the tubing, you likely have a leak. To repair small leaks, use waterproof tape or sealant designed for aquatic use. For larger leaks or damaged sections, cut out the affected area and replace it with a new piece of tubing, securing the connections with hose clamps. If bubbles appear unevenly or in reduced volume, check for blockages in the tubing or diffuser, and clean or replace components as needed to restore proper aeration.
Conclusion
Building a DIY pond aeration system offers numerous benefits for your pond’s health and aesthetics. By improving oxygen levels, reducing algae growth, and promoting beneficial bacteria, you’ll create a thriving ecosystem that supports fish, plants, and other aquatic life. Plus, taking on this project yourself can save you money compared to hiring professionals. With the right tools, materials, and a little patience, anyone can successfully install and maintain a pond aeration system. So, roll up your sleeves, embrace your inner DIY enthusiast, and embark on this rewarding journey to transform your pond into a beautiful, healthy oasis. Your pond will thank you for it!