
Plant Hardy Water Lilies Like a Pro: Expert Tips for a Thriving Pond Garden
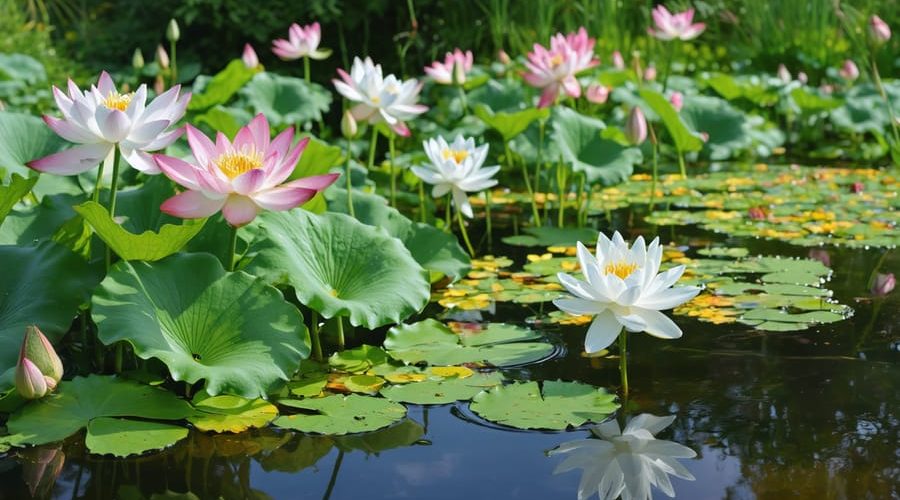
Transform your serene pond garden with hardy water lilies, nature’s most resilient aquatic showstoppers. Plant these vigorous bloomers in heavy garden loam mixed with well-aged manure, positioning the rhizome at a 45-degree angle with the growing tip exposed. Select containers at least 12 inches wide and 6 inches deep, using fabric planting baskets that allow proper water flow while containing the roots. Position your planted lilies in shallow water initially (12 inches deep), gradually lowering them to their final depth of 12-30 inches as leaves develop. These adaptable aquatic plants thrive in full sun, establish quickly in spring, and reward gardeners with months of stunning blooms in shades from pristine white to deep burgundy. While tropical varieties demand winter protection, hardy water lilies survive beneath the ice, returning year after year with minimal maintenance.
Understanding Hardy Water Lilies
Popular Hardy Water Lily Varieties
When selecting hardy water lilies for your pond, you’ll find several stunning varieties that can enhance your collection of water plants for your pond. Let’s explore some popular choices that thrive in different conditions.
For smaller ponds, ‘Pygmaea Helvola’ is an excellent choice, producing dainty yellow blooms and compact leaves that won’t overwhelm limited spaces. The ‘Aurora’ variety offers changing colors throughout the season, starting with peachy-pink and deepening to rich red, making it perfect for medium-sized ponds.
If you’re looking for dramatic impact, ‘Attraction’ is a show-stopper with its deep crimson flowers that can reach up to 6 inches across. For reliability and abundant blooming, ‘Gloriosa’ is hard to beat, featuring rich pink flowers that stand well above the water.
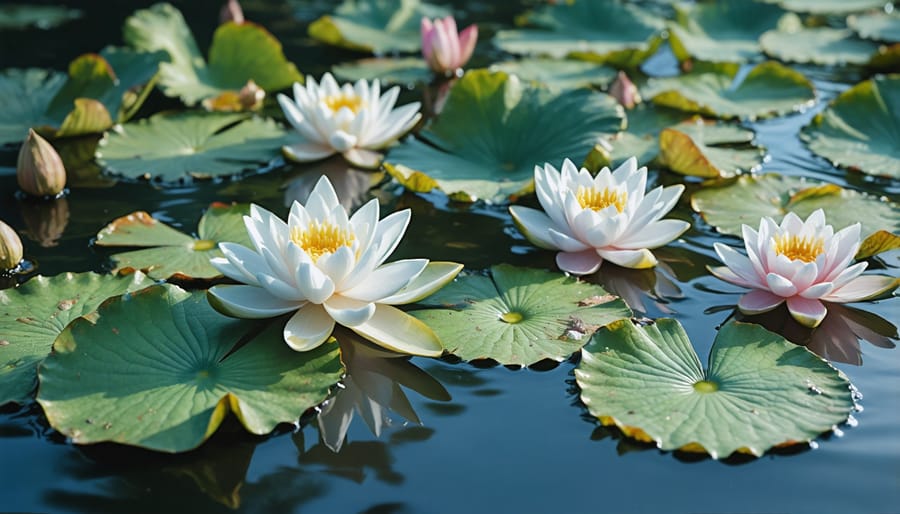
White-flowering varieties like ‘Gonnère’ and ‘Gladstone’ create elegant focal points and look particularly stunning during evening hours. For deeper ponds, ‘Charles de Meurville’ thrives at depths of 2-3 feet and produces magnificent dark red blooms.
The ‘James Brydon’ variety is particularly hardy and adapts well to most conditions, making it ideal for beginners. Its cup-shaped, rose-red flowers bloom consistently throughout the season. For those in cooler regions, ‘Marliacea Chromatella’ is exceptionally cold-hardy and rewards gardeners with sunny yellow blooms from spring through fall.
Preparing for Planting
Timing and Season
The best time to plant hardy water lilies is during the active growing season, typically from late spring through early summer when water temperatures consistently stay above 60°F (16°C). This timing gives your water lilies plenty of time to establish themselves before winter arrives.
For most regions in the United States, mid-April to late June provides ideal planting conditions. The warmer water temperatures and increased sunlight during this period promote vigorous root development and healthy growth. However, you can successfully plant hardy water lilies any time during the growing season until about six weeks before your first frost date.
If you live in a warmer climate with mild winters, you have more flexibility with planting times. Southern gardeners can plant water lilies as early as March or as late as September, taking advantage of the extended growing season.
Avoid planting during extreme heat waves or when water temperatures exceed 80°F (27°C), as this can stress the plants. Similarly, don’t plant too late in the season, as your lilies need time to establish strong roots before winter dormancy sets in.
Container Selection and Soil
When planting hardy water lilies, selecting the right container and soil mixture is crucial for their success. Choose containers that are wide rather than deep, as water lilies prefer to spread their roots horizontally. A pot that’s 15-20 inches in diameter and 8-10 inches deep works perfectly for most varieties.
Plastic containers are ideal because they’re lightweight and durable, but you can also use fabric planting bags or heavy-duty mesh containers. Make sure your chosen container has plenty of drainage holes to allow proper root development and prevent soil compaction.
For the growing medium, avoid regular garden soil as it’s too light and will cloud your pond water. Instead, create a mix using heavy garden loam or clay-based soil combined with a small amount of well-aged cow manure or organic compost. The ideal ratio is about 80% heavy soil to 20% organic matter.
Before filling your container, add a slow-release aquatic fertilizer tablet at the bottom. This provides essential nutrients for the initial growth period. Fill the container about two-thirds full with your soil mixture, making sure to pack it firmly but not too tightly.
Many gardeners line the top of their soil with a layer of pea gravel or small stones. This helps prevent soil from floating up into the pond water and keeps fish from disturbing the planting medium. Leave about an inch of space between the gravel layer and the pot’s rim to allow for future fertilizer applications.
Remember to choose a container size that matches your lily’s eventual spread – larger varieties need more space than compact ones. This forethought will save you from having to repot too frequently.
Step-by-Step Planting Process
Rhizome Positioning
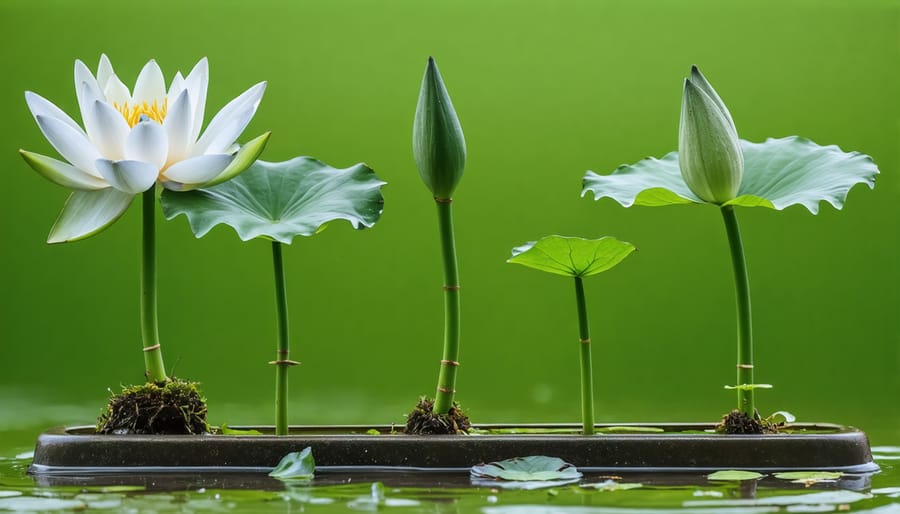
Positioning your water lily rhizome correctly is crucial for successful growth. Start by placing the rhizome at a 45-degree angle, with the growing tip pointing slightly upward. This angle helps prevent the crown from being buried too deeply in the soil while allowing the roots to spread naturally.
Make sure the growing tip or crown sits just above the soil surface – this is where new leaves will emerge. If planted too deeply, the rhizome may rot; if too shallow, it might float up. The roots should be gently spread out in the planting medium, pointing downward to provide stability and maximize nutrient absorption.
For optimal growth, position the container near the pond’s edge where it will receive 6-8 hours of direct sunlight daily. As your lily grows, you can gradually move it to its permanent location, typically in water 12-18 inches deep. In deeper areas, use bricks or inverted pots to achieve the right height until the plant establishes itself.
Remember that young plants should start in shallower water, around 6-12 inches deep, and be lowered progressively as they mature.
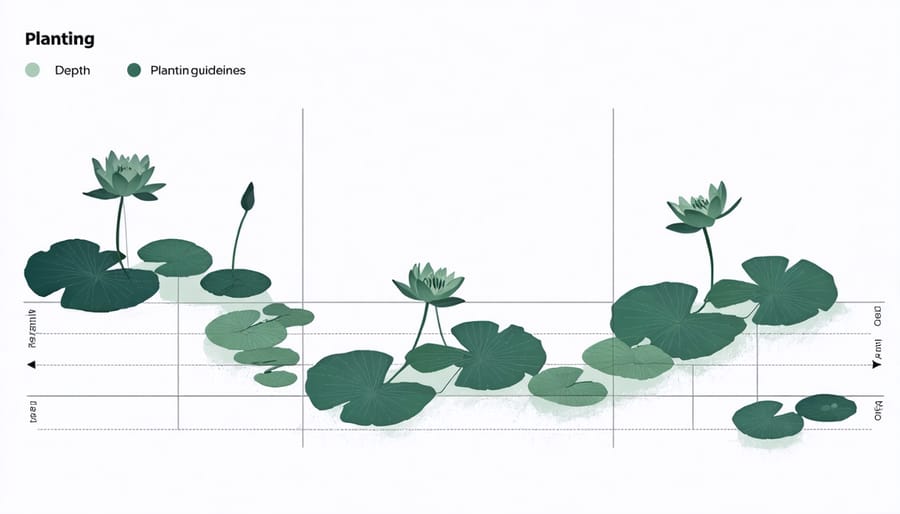
Depth and Placement
Proper depth and placement are crucial for your hardy water lily’s success. Start by positioning your planted container in shallow water, about 6 inches deep, for the first two weeks. This allows the plant to establish itself and develop new growth. Once you notice fresh leaves reaching the surface, gradually move the container deeper.
The ideal permanent depth for hardy water lilies ranges from 12 to 18 inches of water above the crown of the plant. However, this can vary slightly depending on the specific variety. Larger varieties generally tolerate deeper water, while compact varieties prefer shallower depths.
Choose a spot that receives at least 6 hours of direct sunlight daily. Avoid areas with strong water movement from fountains or waterfalls, as water lilies prefer calm conditions. Position the container so it’s easily accessible for future maintenance, but remember that the leaves should have enough space to spread across the water’s surface without overcrowding.
If your pond has varying depths, take advantage of this by creating tiers of water lilies at different levels, creating a more dynamic display.
Initial Care
After planting your hardy water lily, the first few weeks are crucial for establishing a healthy, thriving plant. Start by maintaining the water depth at around 12 inches for the first two weeks, allowing the plant to acclimate gradually. Keep an eye on the leaves – they should be floating on the surface, and you might notice new growth emerging from the crown.
During this initial period, avoid fertilizing the plant immediately. Wait until you see signs of new growth, usually within 7-10 days after planting. When you do fertilize, use aquatic plant tablets specifically designed for water lilies, pushing them gently into the soil near the plant’s roots.
Watch for yellowing leaves or any that start to decay. Remove these promptly to maintain water quality and prevent disease. It’s normal for some of the original leaves to die off as the plant adjusts to its new environment – don’t be alarmed if this happens.
Monitor the water temperature during these early weeks. Hardy water lilies prefer temperatures between 65-85°F (18-29°C). If you’ve planted in spring, the gradually warming temperatures will encourage strong root development and healthy growth.
Within 3-4 weeks, you should notice new leaves reaching the surface and possibly the first flower buds forming. This is a sign that your water lily has successfully established itself and is ready for regular maintenance care.
Ongoing Care and Maintenance
Seasonal Care Tips
Hardy water lilies require different care approaches throughout the year to thrive. In spring, remove any dead foliage and begin fertilizing as new growth emerges. This is also the perfect time to divide and replant overcrowded lilies. Watch for early pest problems and ensure your lilies get adequate sunlight as they start their growing season.
Summer is the peak blooming period when your lilies need the most attention. Regular fertilizing every 3-4 weeks helps maintain vibrant blooms, and removing spent flowers prevents energy waste. To maintain clear pond water, trim yellowing leaves promptly.
As autumn approaches, reduce fertilizing and remove dying foliage. In colder regions, begin preparing for winter by moving potted lilies to deeper water, about 18-24 inches below the surface, to prevent freezing. During winter, your hardy water lilies will go dormant – this is natural and healthy. Simply ensure the roots don’t freeze completely, and avoid disturbing them until spring returns.
Remember to adjust these care routines based on your specific climate and the variety of hardy water lily you’re growing. Consistent monitoring throughout the seasons will help you develop a natural rhythm for maintenance.
Common Problems and Solutions
Even experienced gardeners can encounter challenges when growing hardy water lilies. One common issue is yellowing leaves, which often indicates nutrient deficiency or improper water depth. Adjust fertilization and ensure your lily is planted at the correct depth for its size.
Algae overgrowth can compete with your water lilies for nutrients. Regular maintenance and proper filtration help maintain water quality. If you notice your lilies aren’t blooming, check that they’re receiving enough sunlight – at least 6 hours daily is essential for flowering.
Like many aquatic plants, water lilies can be affected by various common pond plant diseases. Watch for signs of crown rot, characterized by mushy stems and declining growth. Remove affected parts immediately and ensure proper water circulation.
If leaves are being eaten or damaged, look for pond snails or other aquatic pests. While some wildlife is beneficial, excessive populations can harm your lilies. Consider introducing natural predators or using safe pond treatments to maintain balance.
Remember that newly planted lilies may take time to establish. Be patient and maintain consistent care routines for the best results.
Now that you’re equipped with all the essential knowledge about planting hardy water lilies, it’s time to bring your water garden dreams to life. Remember to choose a suitable container, use the right soil mix, and position your lilies at the proper depth for optimal growth. Regular fertilization and occasional pruning will keep your water lilies healthy and blooming throughout the season. Whether you’re creating a small container water garden or enhancing your backyard pond, hardy water lilies are a rewarding choice that will provide years of beautiful flowers and floating leaves. Don’t be intimidated by the process – with proper planning and care, you’ll soon be enjoying these enchanting aquatic plants in your own outdoor space. Start your water lily journey today and transform your water feature into a stunning focal point that brings peace and natural beauty to your garden.