
Perfect Pond Water Quality Testing Made Simple (Expert Methods)
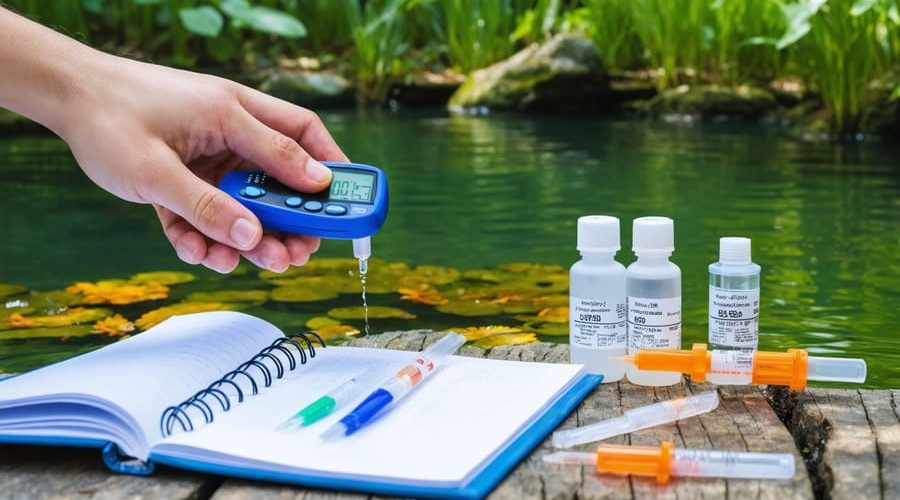
Testing pond water quality safeguards your aquatic ecosystem and helps you master your pond chemistry. Start with a comprehensive water testing kit that measures essential parameters like pH, ammonia, nitrites, and dissolved oxygen. Collect water samples from multiple locations and depths using clean containers, testing immediately for the most accurate results. Monitor levels weekly during peak growing seasons and after significant weather events, recording readings in a logbook to track patterns and changes over time.
Regular testing reveals invisible problems before they become visible crises. Whether you’re maintaining a backyard water garden or managing a large pond, understanding your water quality parameters is the foundation of a healthy aquatic environment. With the right tools and consistent monitoring, you’ll quickly learn to interpret test results and take corrective action when needed.
This guide walks you through the essential steps of pond water testing, from choosing the right equipment to interpreting your results – empowering you to maintain crystal-clear, healthy water year-round.
Essential Water Testing Parameters
pH Levels
Testing your pond’s pH level is crucial as it affects the health of your fish, plants, and beneficial bacteria. The ideal pH range for most ponds is between 6.8 and 7.8, with 7.0 being neutral. Levels outside this range can stress your pond’s ecosystem and even harm your aquatic life.
You can test pH using either test strips or a digital meter. Test strips are affordable and easy to use – simply dip the strip in your pond water and compare the color to the chart provided. Digital pH meters offer more precise readings but require regular calibration to maintain accuracy.
For the most reliable results, test your pond water in the morning before plants begin photosynthesizing, as this activity can temporarily raise pH levels. Take samples from different areas and depths of your pond, and maintain a log of your readings to track changes over time.
If you notice significant pH fluctuations, check your pond’s buffering capacity (KH levels) and consider adding appropriate treatments to stabilize the water chemistry. Regular monitoring helps you catch potential problems before they affect your pond’s inhabitants.
Dissolved Oxygen
Dissolved oxygen is vital for the health of your pond’s ecosystem, supporting fish, beneficial bacteria, and aquatic plants. Testing these levels helps ensure your pond maintains a healthy balance. The ideal dissolved oxygen level should be between 6-8 mg/L (parts per million).
You can measure dissolved oxygen using either electronic meters or chemical test kits. Electronic meters provide instant readings but can be costly, while chemical kits are more affordable and equally reliable for home use. To test, simply collect a water sample from about 12 inches below the surface, being careful not to create bubbles that could affect the reading.
If you find low oxygen levels (below 5 mg/L), consider implementing proper pond aeration methods like adding a fountain, waterfall, or air pump. Testing is best done early in the morning when oxygen levels are typically at their lowest. Regular monitoring, especially during warm weather or when your pond is heavily stocked with fish, helps prevent potential problems before they become serious.
Testing Equipment You’ll Need
Basic Testing Kits
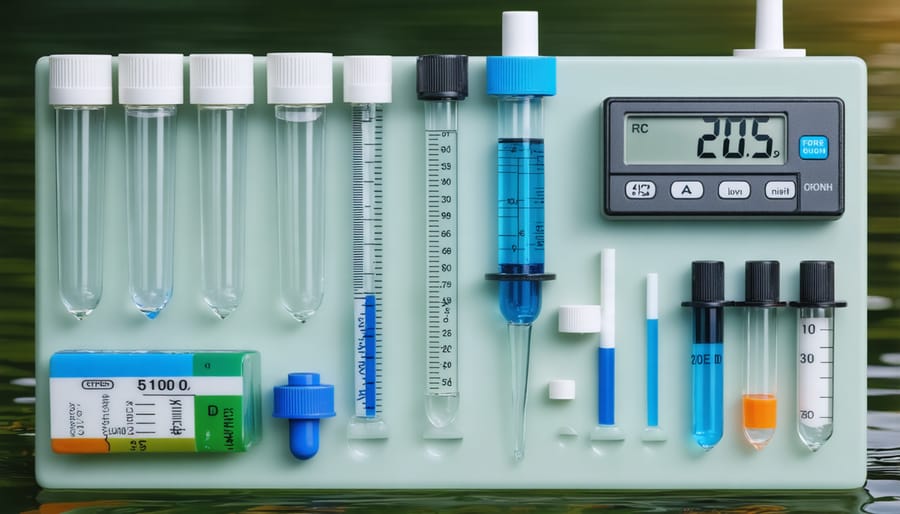
For beginners, a basic water testing kit is all you need to get started monitoring your pond’s health. These starter kits typically include test strips or liquid reagents to measure the most crucial parameters: pH, ammonia, nitrites, and nitrates. You can find these kits at most pet stores or garden centers, usually priced between $20-40.
A good basic testing kit should include:
– pH test strips or liquid test
– Ammonia test
– Nitrite test
– Nitrate test
– A color chart for reading results
– Clear testing tubes
– Simple instructions
Many manufacturers offer all-in-one test strips that measure multiple parameters with a single dip, making testing quick and convenient. While these aren’t as precise as individual liquid tests, they’re perfect for routine monitoring and will alert you to any significant changes in water quality.
Remember to check the expiration dates on your testing supplies, as they can become less accurate over time. Store your kit in a cool, dry place away from direct sunlight to maintain its effectiveness. It’s also wise to keep a logbook to track your readings over time, helping you spot trends in your pond’s water quality.
Advanced Testing Tools
For those ready to take their pond water testing to the next level, digital testing equipment offers precision and convenience. A digital pH meter provides instant, accurate readings without the need to compare color charts. These handy devices usually cost between $30-100 and can last for years with proper care.
Multi-parameter meters are another fantastic investment, measuring several water qualities simultaneously. These devices can test pH, dissolved oxygen, temperature, and conductivity with a single probe. While they’re pricier (typically $150-500), they’re invaluable for serious pond enthusiasts.
Professional-grade photometers use light measurement to detect exact chemical levels in your water. They’re particularly useful for monitoring ammonia, nitrites, and phosphates. While these devices are more expensive, they eliminate the guesswork of color-matching test strips.
For ultimate accuracy, portable water quality laboratories combine multiple testing methods in one carrying case. These comprehensive kits include digital meters, reagents, and sampling equipment, offering professional-level testing capabilities right at your pond’s edge.
Step-by-Step Testing Process
Sample Collection
Collecting water samples correctly is crucial for accurate test results. Start by grabbing a clean container – ideally, use a clear glass jar or plastic bottle that’s been thoroughly washed and rinsed with distilled water. Avoid using containers that previously held chemicals or soap residue.
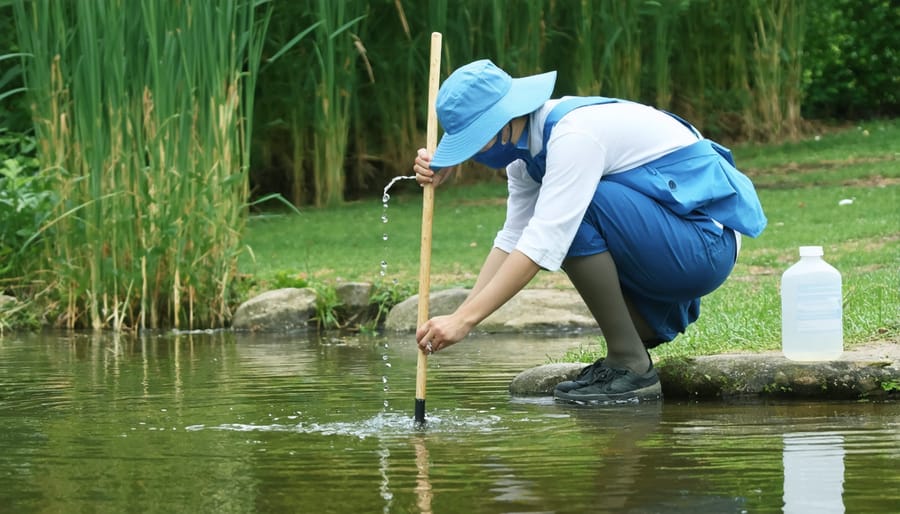
The best time to collect samples is in the morning, before the sun is high in the sky. Wade into your pond carefully, or use a long-handled sampling tool to avoid disturbing the bottom sediment. If you’re collecting by hand, reach about 12 inches below the surface, turn the container upside down, then flip it right side up to collect the water.
Take samples from different areas of your pond, especially near inlets, outlets, and areas where you’ve noticed problems. For a comprehensive analysis, collect at least three samples from different locations. If you have a larger pond, consider taking more samples to ensure thorough coverage.
Once collected, label each container with the date, time, and location of collection. If you’re not testing immediately, store the samples in a cool, dark place – ideally in a refrigerator – but don’t let them freeze. For most accurate results, test your samples within 24 hours of collection.
Remember to follow any specific collection instructions that came with your testing kit, as some parameters might require special handling or preservation methods.
Testing Methods
To ensure accurate results when conducting essential water safety tests, follow these simple methods:
For pH testing, dip the test strip into the pond water for exactly 3 seconds, then hold it horizontally while comparing to the color chart. Avoid touching the test pad with your fingers, as this can affect the results. Take readings at the same time each day for consistency.
When measuring ammonia levels, collect water from about 6 inches below the surface using a clean container. Add the specified number of drops from your test kit, cap the tube, and invert it gently 5-6 times. Wait the full development time (usually 5 minutes) before comparing the color.
For dissolved oxygen testing, carefully fill the sample bottle completely underwater to avoid introducing air bubbles. Add the testing reagents immediately after collection, following the exact order specified in your kit’s instructions. Shake gently between adding each reagent.
Temperature readings should be taken at both surface level and at deeper points, ideally in the morning and afternoon. Hold your thermometer in the water for at least 60 seconds before recording the temperature.
Remember to rinse all testing equipment with distilled water after each use and store test kits in a cool, dry place away from direct sunlight to maintain accuracy.
Interpreting Your Results
Normal Ranges
For a healthy pond ecosystem, you’ll want to maintain perfect water balance by keeping your parameters within these ideal ranges:
pH should stay between 6.8 and 7.8, with 7.2 being optimal for most pond fish and plants. Ammonia and nitrite levels should always read zero, as these compounds are toxic to aquatic life. Nitrate levels should remain below 20 ppm, though readings up to 40 ppm are generally safe.
Dissolved oxygen should measure between 6-8 ppm for happy, active fish. Keep your pond’s KH (carbonate hardness) between 120-180 ppm to prevent pH swings. Temperature needs vary by fish species, but most pond fish thrive between 50-75°F (10-24°C).
Testing regularly helps you spot problems before they become serious. If any parameter falls outside these ranges, don’t panic! Small fluctuations are normal, but consistent readings outside these ranges signal that your pond needs attention.
Warning Signs
Knowing what test results indicate trouble can help you take quick action to protect your pond’s ecosystem. If your pH levels fall below 6.0 or rise above 8.5, this suggests an unhealthy environment for fish and plants. Watch for ammonia readings above 0.25 ppm, as this can be toxic to fish and often indicates decomposing organic matter or overcrowding.
Nitrite levels exceeding 0.5 ppm are another red flag, potentially causing stress and health issues for pond life. High nitrate readings (above 40 ppm) typically suggest excessive nutrients, which can lead to algae blooms. Dissolved oxygen below 6 ppm can make fish lethargic and struggling to breathe, especially during warm weather.
Cloudy or discolored water, strong odors, or fish gasping at the surface are visible warning signs that shouldn’t be ignored. If you notice multiple concerning readings or sudden changes in water parameters, it’s crucial to take corrective action quickly. Remember that prevention through regular testing and maintenance is always easier than solving major water quality issues.
Regular pond water testing is an essential practice that ensures the health and vitality of your aquatic ecosystem. By monitoring key parameters like pH, ammonia, nitrites, and dissolved oxygen, you’re taking proactive steps to prevent potential problems before they become serious issues. Remember that successful pond maintenance isn’t about achieving perfect readings every time, but rather about understanding the normal ranges for your specific pond and recognizing when something needs attention.
Make testing a part of your regular pond maintenance routine, ideally checking basic parameters weekly and conducting more comprehensive tests monthly. Keep a log of your test results to track changes over time and identify patterns that might affect your pond’s health. This historical data can be invaluable when troubleshooting future issues.
Don’t forget that different seasons may require adjustments to your testing schedule, with more frequent monitoring during periods of high stress like summer heat or spring algae blooms. Invest in quality testing equipment and replace reagents as needed to ensure accurate readings.
Most importantly, view water testing as an investment in your pond’s future. A healthy pond means healthy fish, vibrant plants, and crystal-clear water that you can enjoy year-round. With consistent monitoring and appropriate responses to your test results, you’ll be well-equipped to maintain a thriving aquatic environment that brings beauty and tranquility to your outdoor space.