
Why Your Koi Pond Needs a Biological Filter (And How to Make It Work)
Install a biological filter before adding koi to your pond—it’s the single most important investment you’ll make in keeping your fish healthy and your water crystal clear. Think of it as hiring a microscopic cleaning crew that works 24/7, converting toxic fish waste into harmless compounds through the nitrogen cycle.
Your pond naturally produces ammonia from fish waste, uneaten food, and decaying plant matter. Without biological filtration, this ammonia quickly reaches lethal levels. A properly functioning biological filter houses beneficial bacteria that first convert ammonia into nitrite, then nitrite into nitrate—a much safer compound your plants can absorb. This process, called nitrification, happens automatically once you establish the right environment for these bacteria to thrive.
The beauty of biological filtration lies in its self-sustaining nature. Once established over 4-6 weeks, these bacteria colonies multiply and maintain themselves, creating a living ecosystem within your filter media. Unlike mechanical filters that simply trap debris, biological filters actively neutralize toxins at the molecular level.
Choosing the right biological filter depends on your pond size, fish load, and budget. Whether you’re considering a DIY moving bed filter, a commercial multi-chamber system, or a simple submerged media filter, understanding how these bacteria work will help you make informed decisions. The difference between thriving koi and struggling fish often comes down to one factor: effective biological filtration that matches your pond’s specific needs.
What Actually Happens in a Biological Filter
The Beneficial Bacteria Your Pond Needs
Think of your biological filter as a bustling microscopic city where billions of beneficial bacteria work around the clock to keep your koi healthy and happy. These tiny heroes might be invisible to the eye, but they’re absolute superstars when it comes to pond water quality.
Here’s what happens: your koi produce waste (just like any living creature), and uneaten food breaks down in your pond. Both create ammonia, which is highly toxic to fish—even in small amounts. This is where your bacterial friends step in to save the day.
Meet the dynamic duo of pond filtration: **Nitrosomonas** bacteria are the first responders. They convert that nasty ammonia into nitrite (still toxic, but less so). Then **Nitrobacter** bacteria take over, transforming nitrite into nitrate, which is relatively harmless at normal levels and can even feed your pond plants.
This natural process is called the nitrogen cycle, and it’s absolutely essential for keeping your koi alive and thriving. Without these beneficial bacteria colonizing your filter media, your pond would quickly become a toxic soup. I learned this the hard way years ago when I impatiently added fish before my filter was properly established—not a mistake I’d repeat!
The best part? Once established, these bacteria colonies are self-sustaining. They just need oxygen, a steady food source (fish waste), and a proper home in your filter media. When you test your pond water regularly, you’re actually checking on how well your bacterial workforce is performing.
Why Chemical Treatments Can’t Replace Biology
I’ll be honest with you—when I first started with koi ponds, I thought adding chemicals was the quick fix for cloudy water and algae problems. But here’s what I learned the hard way: chemicals are like putting a band-aid on a broken pipe.
Chemical treatments might clear your water temporarily, but they don’t address the root cause—waste buildup. Your fish are constantly producing ammonia through their waste and breathing, and without beneficial bacteria to break it down naturally, you’re fighting a losing battle. You’ll find yourself adding more chemicals weekly, which gets expensive fast and stresses your koi.
Biological filtration, on the other hand, creates a self-sustaining ecosystem. Once those good bacteria colonies establish themselves, they work 24/7 breaking down harmful ammonia and nitrites—no constant maintenance required. Think of it as teaching your pond to clean itself rather than doing all the work manually.
Plus, chemicals can harm beneficial bacteria you’re trying to grow, creating a vicious cycle. A properly functioning biological filter actually reduces your need for chemical intervention, saving you money and giving your koi a healthier, more stable environment to thrive in.
Types of Biological Filters for Koi Ponds
Submerged Filters: Simple and Effective
Submerged filters sit right inside your pond, doing their work quietly beneath the surface. Think of them as your pond’s hidden helpers! These compact units combine mechanical and biological filtration in one tidy package, making them perfect for smaller ponds up to about 1,000 gallons.
What I love about submersible filters is their simplicity. You literally place them in the water, plug them in, and they start working. They’re budget-friendly and don’t require complicated plumbing or external housing. The pump pulls water through foam pads that trap debris, then passes it over biological media where beneficial bacteria colonize.
However, they do have limitations. The compact size means less media for bacteria, so they’re not ideal for heavily stocked koi ponds. You’ll also need to clean the foam pads frequently—sometimes weekly during peak season—which means getting your hands wet!
**Installation tip**: Position your submersible filter away from the pond bottom to prevent it from sucking up debris constantly. Elevate it on bricks or stones, about 6-8 inches up.
Regular maintenance is straightforward: rinse foam pads in pond water (never tap water, which kills beneficial bacteria) and check the impeller monthly for clogs.
External Box Filters: The Popular Choice
External box filters sit outside your pond—usually tucked beside it or cleverly hidden in your landscaping—and they’re incredibly popular among koi keepers for good reason. They come in two main varieties: pressurized and non-pressurized.
Pressurized filters are sealed units that push water through the media under pressure, making them perfect if you want to position your filter above water level or run a waterfall. They’re compact and easy to hide, which is great if you’re particular about keeping your pond area looking natural.
Non-pressurized filters, often called gravity-fed systems, rely on water flowing through them naturally. They’re typically larger and handle greater volumes, making them ideal for serious koi collections. Many experienced pond keepers prefer these because they offer more biological media capacity and are easier to clean and maintain.
What makes external filters so effective? They provide dedicated space for beneficial bacteria to colonize without taking up precious pond real estate. Plus, you can service them without disturbing your fish.
Here’s the golden rule for sizing: your filter should process your entire pond volume at least once every two hours. For heavily stocked koi ponds, aim for even faster turnover. Don’t skimp here—undersized filters are the most common mistake I see, leading to constant water quality battles.
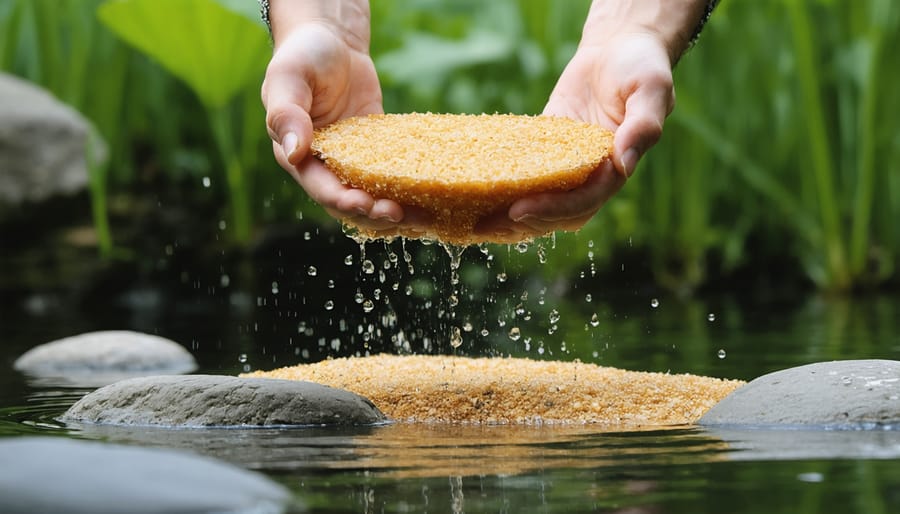
DIY Biological Filters That Actually Work
Creating your own biological filter doesn’t require a fortune or fancy equipment—just a bit of creativity and some basic materials! Many pond owners have successfully built effective filters using simple plastic barrels, storage tubs, or even recycled food-grade containers.
The beauty of going DIY is that you can customize everything to fit your pond’s specific needs and your budget. I’ve seen incredible homemade filters fashioned from 55-gallon drums that work just as well as expensive commercial units. The secret lies in understanding a few key principles: maximize surface area for beneficial bacteria, ensure good water flow, and layer your filter media strategically.
For your DIY bio-filter system, start with coarse mechanical filtration at the top (filter brushes or coarse foam work great), then move to biological media in the middle sections. Japanese matting, lava rock, K1 media, or even plastic pot scrubbers provide excellent surfaces for bacteria colonization. Finish with fine filtration if desired.
Container choice matters less than you’d think—just ensure it’s non-toxic and holds enough media for your pond volume. Drill inlet and outlet holes, add bulkhead fittings, stack your media, and you’re ready to go! The best part? You can modify and expand your system as you learn what works best for your koi.
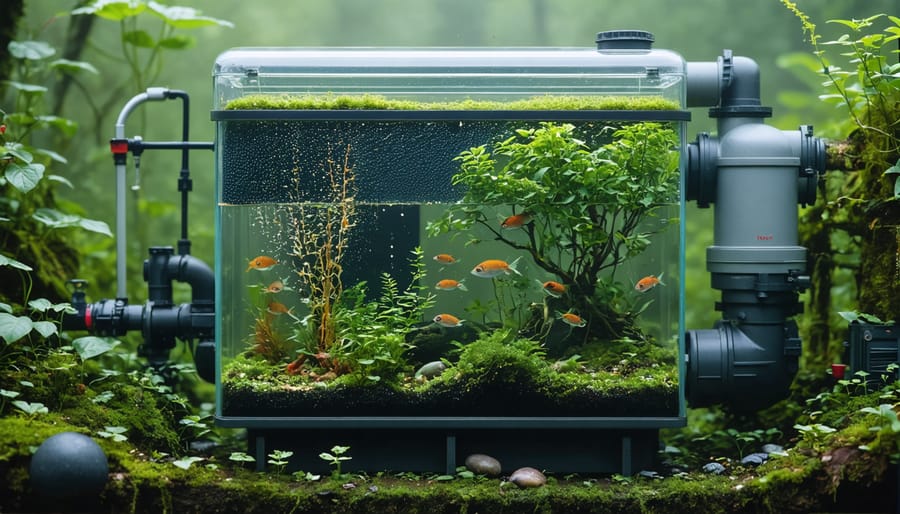
Combination Systems: Mechanical Plus Biological
Here’s the thing most successful pond keepers learn pretty quickly: your filter needs to do two jobs, and one system handles them beautifully. Mechanical pre-filtration catches the chunky stuff—uneaten food, leaves, and fish waste—before it breaks down. Then biological media takes over, converting dissolved toxins into safer compounds.
Think of it like a relay race. Your mechanical stage (filter pads, brushes, or settling chambers) removes solids first, preventing them from clogging your biological media. This keeps water flowing smoothly through the bio-chambers where beneficial bacteria work their magic. Without that first step, your biological filter gets gunked up fast, reducing its effectiveness dramatically.
I learned this lesson the hard way when my first pond’s biological filter kept clogging. Adding a simple pre-filter box with foam pads transformed everything—suddenly my bio-media stayed cleaner, bacteria colonies thrived, and water clarity improved within weeks. Most commercial filter systems now integrate both stages precisely because this combo delivers consistently healthier water than either method alone.
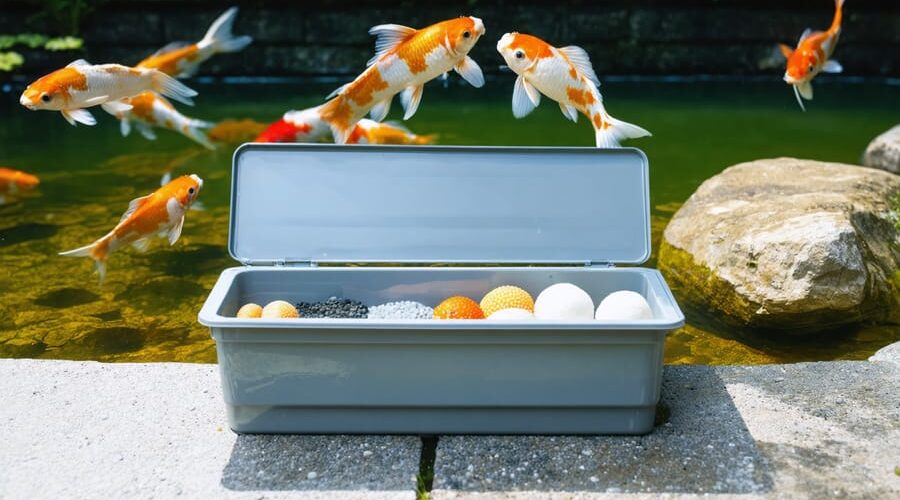
Choosing the Right Filter Media
Surface Area Is Everything
When I first started building biological filters, I made the mistake of thinking any container filled with rocks would do the trick. Boy, was I wrong! The secret to a thriving bio-filter isn’t just *what* goes inside—it’s all about maximizing surface area for beneficial bacteria to call home.
Think of it this way: bacteria need real estate, and the more nooks and crannies you provide, the bigger your microscopic cleanup crew becomes. That’s why porous materials like lava rock, matala mats, and bio-balls work so brilliantly—they’re like apartment complexes for bacteria compared to smooth gravel, which is more like a parking lot.
When shopping for filter media, look for materials with irregular shapes and lots of tiny holes. I love using lava rock because it’s lightweight, affordable, and packed with surface area. Plastic bio-media works great too, especially the specially designed varieties with grooves and channels. Each square inch of surface area means more bacteria working hard to keep your koi healthy.
The golden rule? More surface area equals better biological filtration and cleaner, healthier pond water for your fish.
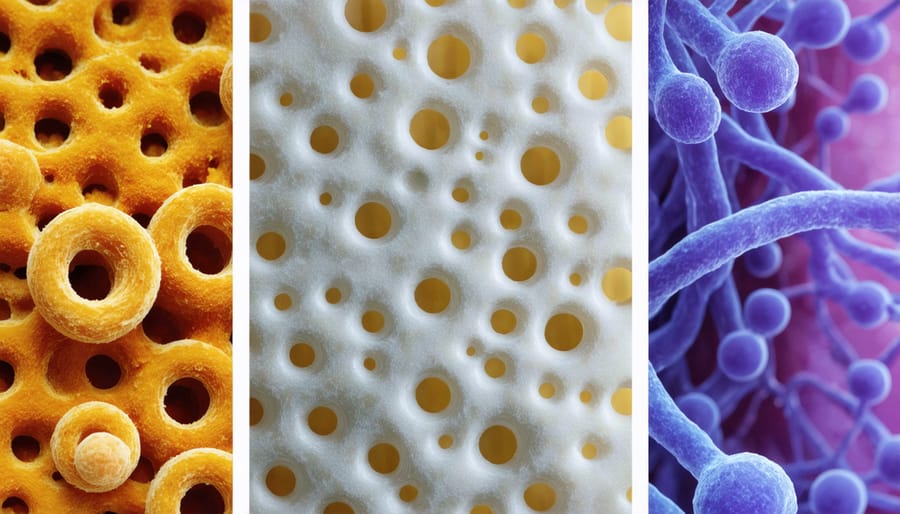
Popular Media Options Compared
Choosing the right filter media can feel overwhelming, but each option has its own personality! **Bio-balls** are the budget-friendly starter—those plastic spheres with lots of surface area work great and won’t break the bank at around $20-40 per bag. They’re lightweight and easy to clean, though they can clog faster in heavy debris situations.
**Ceramic rings** are the workhorses of biological filtration. Their porous structure houses massive bacterial colonies, and they last for years. Expect to pay $30-60 per batch, but they’re worth it for long-term performance. The downside? They’re heavy and can crack if dropped.
**Lava rock** brings natural volcanic porosity to your filter at bargain prices ($15-30). I love its rugged durability, though its irregular shapes can create dead spots where water doesn’t flow evenly.
**Filter matting and brushes** excel at pre-filtering debris before it reaches your biological media. Matting costs $10-25 per sheet and works wonderfully in gravity-fed systems, while brushes ($30-50 for a set) are perfect for vortex chambers—they’re incredibly easy to pull out and rinse.
**K1 and K3 moving bed media** are the premium choices at $50-100+ per batch. These floating pellets create self-cleaning action in your filter, requiring minimal maintenance. K3 offers even more surface area than K1. They need adequate flow to move properly, but once dialed in, they’re remarkably efficient and low-maintenance.
When to Replace or Clean Your Media
Your filter media doesn’t need frequent cleaning—in fact, overcleaning is one of the biggest mistakes pond owners make! Those beneficial bacteria we’ve been nurturing take weeks to establish, so handle media gently. Clean only when water flow noticeably decreases or you see heavy debris buildup, typically every 4-8 weeks during peak season.
Here’s my go-to cleaning method: Remove a portion of media (never all at once!) and gently swish it in a bucket of pond water—never tap water, which contains chlorine that kills your bacteria. The goal is removing chunky debris while preserving the biofilm coating. I learned this the hard way after pressure-washing my entire filter and watching my ammonia levels spike!
Replace media only when it physically breaks down—usually every 2-3 years for plastic bio-balls, longer for ceramic rings. If your pond stays crystal clear and tests show zero ammonia and nitrite, your bacteria colony is thriving, so leave it alone!
Setting Up Your Biological Filter for Success
The Critical First Six Weeks
Starting a new biological filter is like moving beneficial bacteria into an empty house—they need time to settle in and multiply before they can do their job effectively. This establishment period, often called “cycling,” typically takes four to six weeks, and I can’t stress enough how important patience is during this time.
Here’s what’s happening behind the scenes: Initially, ammonia from fish waste builds up in your pond because there aren’t enough bacteria to process it. After about two weeks, the first team of bacteria (which converts ammonia to nitrite) begins establishing itself. Around week three or four, the second bacterial crew arrives to convert nitrite into safer nitrate. It’s a gradual process that simply can’t be rushed.
During these critical weeks, test your water every two to three days using a simple test kit. You’ll notice ammonia spike first, then drop as nitrite rises, and finally both will decrease as nitrate appears—this progression tells you your filter is maturing successfully.
Keep feeding light during this period—your fish will be fine, and you’ll avoid overwhelming the developing bacterial colonies. Some pond keepers add a “bacteria booster” product to speed things along, which can help, though it’s not absolutely necessary if you’re patient.
The golden rule? Don’t add new fish during cycling. Wait until you see consistently low ammonia and nitrite readings for at least a week. Your koi will thank you for the patience!
Water Flow and Oxygen Requirements
Think of your biological filter as a bustling underwater city where billions of beneficial bacteria work tirelessly to keep your koi healthy. But just like any thriving community, these microscopic helpers need two essential things: constant water movement and plenty of oxygen.
Your pump should cycle the entire pond volume through the filter at least once every two hours—so for a 1,000-gallon pond, you’ll want a pump rated at 500 gallons per hour minimum. I learned this the hard way when my first filter barely trickled water through, and my koi showed clear signs of stress within days.
Here’s the thing about bacteria: they’re aerobic creatures, meaning they literally breathe oxygen to break down ammonia and nitrites. Without adequate oxygen levels, they’ll die off quickly, causing your biological filtration to crash. Watch for these warning signs of poor flow: cloudy water that won’t clear, fish gasping at the surface, or a noticeable ammonia smell near your pond.
Position your pump intake away from the filter return to create optimal circulation patterns. Some folks add air stones near their filter media to boost oxygen levels—a simple trick that makes a world of difference during hot summer months when oxygen naturally depletes faster.
Keeping Your Bacterial Colony Healthy
Your biological filter is home to billions of beneficial bacteria working around the clock to keep your koi healthy. Think of yourself as a caretaker of this invisible workforce – treat them well, and they’ll reward you with crystal-clear water!
The golden rule? **Gentle is better.** When cleaning your filter media, always use pond water, never tap water. Chlorine and chloramine in tap water will kill your bacteria colony instantly, potentially crashing your entire system. I learned this the hard way years ago after a “helpful” cleaning session wiped out months of bacterial buildup!
**Avoid these bacterial colony killers:**
– Chlorinated or treated tap water during maintenance
– Overenthusiastic cleaning – a little muck is actually good!
– Medications containing antibiotics (isolate sick fish when treating)
– Sudden large water changes with untreated water
– Complete filter media replacement all at once
Instead, clean filter media in small sections every few weeks. Squeeze sponges gently in a bucket of pond water, then return them while they’re still a bit “dirty.” This preserves your bacterial population.
**Seasonal considerations matter too.** During spring warm-up, your bacteria need time to wake up and multiply, so feed lightly at first. In autumn, they’ll slow down as temperatures drop. Never clean your filter heavily before winter – those bacteria need all their strength to handle the cold months ahead. Some pond keepers add beneficial bacteria supplements during spring startup or after necessary medication treatments to give their colony a helpful boost.
Troubleshooting Common Biological Filter Problems
When Water Quality Doesn’t Improve
Sometimes your filter just doesn’t deliver the crystal-clear water you expected, and that’s frustrating! Let’s troubleshoot together.
First, check if your filter is **too small for your pond**. A common rookie mistake—I’ve been there myself! Your filter should handle at least your pond’s full volume hourly. Got a 1,000-gallon pond with 15 koi? You’ll need a robust system designed for heavy stocking.
Next, consider **colonization time**. New filters need 4-6 weeks to develop those hardworking bacteria colonies. Patience is tough when your water’s cloudy, but beneficial bacteria can’t be rushed!
**Flow problems** kill filtration efficiency. Is water bypassing your media? Are spray bars clogged? Check that water actually contacts all the biological media—I once discovered half my filter was bone-dry because of a misaligned inlet pipe!
**Overstocking** overwhelms even the best filters. Too many fish produce waste faster than bacteria can process it. Tough love here: you might need fewer koi or a bigger filtration system.
Finally, ensure you’re maintaining healthy water chemistry alongside filtration. Test ammonia, nitrite, and nitrate levels regularly. High readings despite a mature filter suggest it’s time to upsize or reduce fish numbers. Don’t panic—diagnosis leads to solutions!
Recovering After a Filter Crash
A filter crash can feel like a disaster, but don’t panic—your pond can bounce back! If medication, chlorine exposure, or a power outage has wiped out your beneficial bacteria, act quickly but carefully. First, reduce feeding to half or even quarter portions since your filter can’t handle normal waste loads right now. Test your water daily for ammonia and nitrite, and perform 20-30% water changes whenever levels rise above safe zones (0.25 ppm for ammonia, 0.5 ppm for nitrite).
To rebuild your bacteria colony fast, add a concentrated dose of live beneficial bacteria from a bottle—these products jumpstart colonization. You can also borrow a handful of mature filter media from a healthy pond (if you have access to one) and place it in your filter to seed new growth. Keep your UV sterilizer off for two weeks so it doesn’t kill incoming bacteria. With patience and diligent monitoring, your filter should stabilize within 3-4 weeks, though full maturity takes longer.
Seasonal Changes and Filter Performance
When temperatures drop below 50°F, your beneficial bacteria slow way down—think of them as going into hibernation mode. This means your biological filter won’t process waste as efficiently during winter months. If you live where winters are harsh, reduce feeding significantly (or stop altogether) since your fish produce less waste in cold water anyway.
Before winter hits, remove and clean any mechanical pre-filters, but leave your biological media alone—those bacteria colonies are precious! Consider adding a pond heater or aerator to prevent complete freezing, which helps maintain some bacterial activity.
Come spring, patience is key. Don’t rush back to heavy feeding when water warms up. Your filter needs a few weeks to “wake up” and rebuild its bacterial population. Think of it as spring training for your pond! Gradually increase feeding as temperatures stabilize above 55°F, and consider adding a bacterial supplement to jumpstart the process after the long winter break.
Beyond the Filter: Supporting Biological Control
Beneficial Plants as Living Filters
Aquatic plants are nature’s ultimate water purifiers! They work tirelessly as part of your pond’s natural filtration methods, absorbing nitrates that your biological filter produces. Think of them as the final polish in your filtration system—they slurp up those dissolved nutrients that algae would otherwise feast on.
Here’s the challenge: koi love salad bars! They’ll happily munch most soft, tasty plants. Your best choices are tough, fast-growing varieties that can handle some nibbling. Water hyacinth and water lettuce float on the surface with roots dangling below—perfect nitrate sponges that koi can’t easily destroy. Marginal plants like iris, sweet flag, and horsetail planted in protective baskets around pond edges also work beautifully.
I’ve found success placing plants in areas koi visit less frequently, or using larger, established specimens that can withstand occasional taste-testing. Even if your koi nibble the leaves, the root systems keep working hard to purify your water. The key is choosing robust varieties and accepting that some plant turnover is normal in a koi pond—it’s a small price for cleaner, healthier water!
Bottom Drains and Waste Management
Think of your biological filter as a restaurant kitchen—it works best when someone clears the plates quickly! Bottom drains are your pond’s unsung heroes, whisking away fish waste, uneaten food, and debris before they break down in the water. When solid waste settles and decomposes, it releases ammonia that your beneficial bacteria must then process. By removing these solids early through bottom drains, you’re essentially reducing the workload on your biological filter.
Here’s the beautiful partnership: mechanical filtration (like settling chambers and filter mats) captures the big stuff, while biological filtration handles the dissolved waste. I learned this the hard way in my first pond—without proper bottom drains, my biological filter was constantly overwhelmed, struggling to keep up with the ammonia load. Once I installed bottom drains and upgraded my mechanical pre-filtration, my biofilter suddenly became much more effective. The bacteria could focus on their job without drowning in excess organic matter. This tag-team approach keeps your water crystal clear and your koi healthy, making maintenance a breeze rather than a constant battle.
At the end of the day, biological filtration isn’t just another piece of equipment—it’s the living, breathing heart of your koi pond. When you understand how beneficial bacteria work their magic, breaking down harmful ammonia and nitrites into safer compounds, you’re not just maintaining a pond. You’re nurturing a thriving underwater ecosystem where your koi can flourish for years to come.
I’ve seen countless pond owners transform their murky, problem-filled ponds into crystal-clear havens simply by getting their biological filtration right. The best part? Once you establish those bacterial colonies and understand the natural cycles at work, maintenance becomes so much easier. You’re working with nature, not against it.
Think of your biological filter as an investment in peace of mind. Clear water, healthy fish, and fewer emergency trips to the pond store—that’s what proper biofiltration delivers.
So here’s my challenge to you: take a good look at your current filtration setup. Is your biofilter properly sized for your pond volume and fish load? Are those beneficial bacteria getting the oxygen and surface area they need? If you’re unsure, now’s the perfect time to make improvements. Start small if you need to—even adding extra bio-media to your existing filter can make a noticeable difference.
Your koi are counting on you to create the healthiest environment possible, and biological filtration is where it all begins.