Transform Your Backyard with a Dreamy Garden Pond and Waterfall
Measure your space, ensuring it’s clear of debris and on flat ground. Dig a hole to your desired depth and shape, considering the flow of the waterfall and placement of rocks. Line the pond with durable pond liner, ensuring it’s secure and wrinkle-free. Install a pump to circulate water from the pond to the top of the waterfall, ensuring the pump’s flow rate suits your pond size. Select native aquatic plants and fish that thrive in your climate, providing shelter and beauty to your water garden.
Planning Your Pond and Waterfall
Choosing the Perfect Spot
When choosing the perfect spot for your garden pond with a waterfall, consider a few key factors to ensure both beauty and function. First, think about sunlight. Ponds need around 4-6 hours of direct sunlight daily for optimal plant and fish health. However, too much sun can lead to excessive algae growth, so balance is key. Proximity to trees is another important aspect. While shade from trees can help control sunlight, falling leaves can create maintenance headaches, so aim for a spot that minimizes debris. Visibility from the home is also crucial—not only does it allow you to enjoy your pond more, but it also helps keep an eye on its condition and water levels. A location that blends seamlessly with your existing landscape can enhance your property’s aesthetic appeal, creating a serene escape. By considering these elements, you’ll set the foundation for a stunning and sustainable garden feature that enriches your outdoor space.

Designing for Aesthetics and Functionality
When designing your garden pond with a waterfall, finding the balance between aesthetics and functionality is crucial. Let’s start with the shape: choose a form that complements your garden’s layout. Consider a more organic shape for a natural look, or geometrical designs for modern flair. Depth matters too! For a dynamic ecosystem, aim for a minimum depth of 18 inches, allowing your fish and plants to thrive through seasonal changes.
Material selection is another key element. Natural stones can beautifully blend your waterfall with the surroundings, while pre-formed units offer simplicity for beginners. Ensure materials are robust and weather-resistant to withstand the elements and prevent leaks.
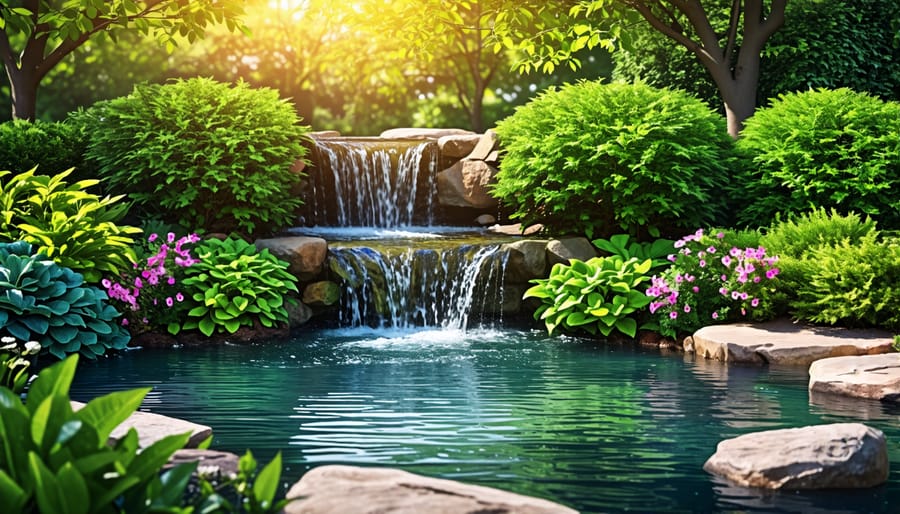
Integrating the waterfall should feel effortless, like it was always part of the landscape. To achieve this, position it where it can be appreciated from multiple angles—perhaps near a seating area. Use tiers to create varied water sounds and visual interest, lending a sense of tranquility and relaxation.
Finally, think about lighting. Subtle underwater lights can illuminate your pond and waterfall at night, enhancing its visual appeal and extending its enjoyment beyond daylight hours. By carefully considering these design elements, your pond can serve as a soothing retreat right in your backyard.
Gathering Materials and Tools
Essential Materials
Building a garden pond with a waterfall is an exciting project that can transform your outdoor space into a tranquil retreat. To get started, you’ll need a few essential materials. First on the list is a pond liner; it’s crucial for keeping the water in and providing a foundation for the pond. Choose a durable, flexible liner that fits your design. Next, gather a collection of natural rocks and stones to create the waterfall and add a natural touch. They’ll also help define the pond’s edge and support aquatic life. A quality water pump is essential; it circulates the water, creating that soothing waterfall sound. To connect the pump, use a sturdy hose suitable for aquatic environments. Don’t forget the plants—select both submerged and edge species to boost the pond’s ecosystem and improve its aesthetics. Finally, consider the best pond filters to keep the water clear and healthy, essential for a thriving pond. With these materials, you’re well on your way to adding a beautiful water feature to your garden.

Tools You Will Need
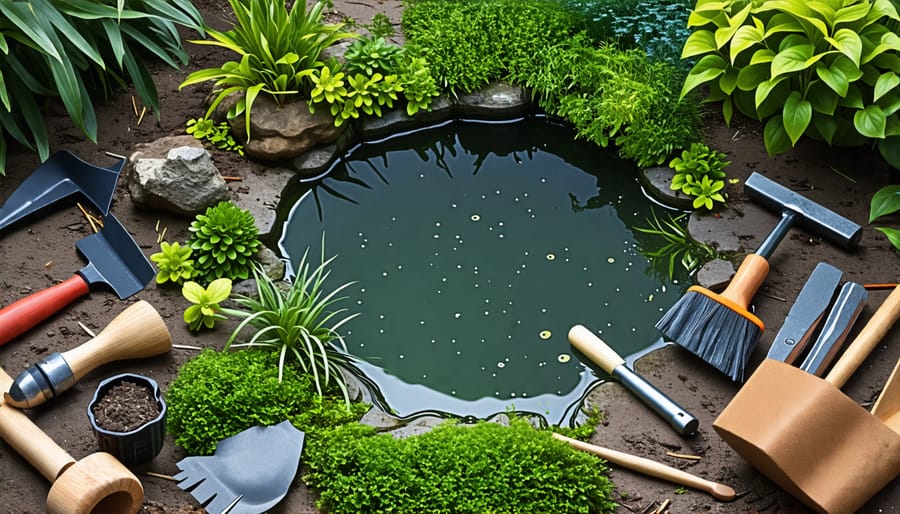
To kick off your garden pond with a waterfall project, you’ll need some essential tools to ensure smooth construction. A sturdy shovel will help you dig the pond and channel for the waterfall. Use a wheelbarrow to transport soil and materials with ease. A spirit level is crucial to ensure your pond’s edges and waterfall are perfectly balanced. For shaping and trimming pond liner or edging materials, have a utility knife handy. You’ll also need a saw to cut any wood for the waterfall structure. Lastly, a rubber mallet can aid in securing stones or patio blocks, adding the final touch to your peaceful oasis.
Building the Pond: Step-by-Step Guide
Excavating the Pond Area
Begin your pond project by choosing the perfect spot in your garden. Look for an area that’s both accessible and receives partial sunlight throughout the day, benefiting your plants and fish. Once you have your ideal location, mark the shape and outline of your pond using a garden hose or string. This step not only ensures a clear visual guide but also allows you to adjust the design as you see fit.
Now, it’s time to start digging! Arm yourself with a shovel and carefully remove the grass and topsoil, setting them aside for later use. Dig the area to a depth of at least 18 inches for the shallow end, gradually sloping to approximately 24-30 inches for deeper sections. Remember, the varied depths accommodate various aquatic plants and create a natural habitat for your pond life.
Excavating can be physical work, but it’s immensely satisfying! Picture your vibrant pond and cascading waterfall as you dig, bringing this garden retreat to life. As you progress, periodically recheck the levels to maintain a smooth, contoured silhouette, ensuring your pond is both beautiful and balanced.
Installing the Pond Liner
Begin by smoothing the area where your pond will sit, ensuring there are no sharp rocks or debris that could puncture the liner. Unroll your pond liner—a key player in holding the water—and allow it to warm in the sun. This helps make it more pliable and easier to handle. Gently drape the liner over the hole, allowing it to naturally contour to the pond’s shape. Aim for an even overlap around the edges; you’ll need extra material for security.
Start securing from the center; push the liner into the deepest part, smoothing out wrinkles as you go. Avoid pulling it tight—let the liner settle naturally. For best results, use “pleating” techniques on curves, folding excess fabric neatly to prevent air pockets. Once satisfied with the fit, anchor the edges. Use landscaping staples or rocks to hold everything in place temporarily while you fill the pond with water. The water’s weight will perfectly seat the liner. After it’s secure, trim any extra liner but leave enough for future adjustments or additions to your pond’s structure.
Constructing the Waterfall
Begin your waterfall creation by selecting a suitable spot that’s visible and accessible, ideally near the pond’s edge for a seamless flow. Excavate the area for the waterfall, creating a gradual slope; this mimics a natural fall and allows water to cascade smoothly. Line the excavation with a durable pond liner, ensuring it overlaps with the edge of your pond liner to prevent leaks. Securely position flat stones or rocks along the slope in a stair-step pattern, allowing water to tumble over them—these will give your waterfall its unique sound and appearance.
It’s time to install the pump. Choose a pump with enough power to lift water to the top of your waterfall and place it within the pond. Connect a hose from the pump to the top of the waterfall, discreetly hiding it with rocks or plants. Once connected, turn on the pump to test the flow; adjust rocks or add more water for desired effect. Remember to personalize your waterfall with aquatic plants around the edges, enhancing its natural beauty and inviting local wildlife. Enjoy watching your garden pond come to life with this new stunning feature.
Filling and Testing the Pond
Start by filling your pond with clean water. Using a garden hose works well, and be sure to place it so the liner doesn’t shift as the pond fills. Fill the pond gradually, and take a moment to enjoy the excitement as the water begins to reflect the sky! Once your pond is full, it’s time to fire up the pump. Connect it according to the manufacturer’s instructions, ensuring all connections are tight to avoid leaks. Switch on the pump and watch the water come to life as it cascades over your new waterfall. Listen for any unusual noises or vibrations, which might indicate air trapped in the pump. It’s a good idea to check for any spots where water might be splashing outside the pond to avoid losing water and potentially affecting local plants. Once everything is running smoothly, you’ve successfully brought a soothing water feature to your garden—your own little paradise!
Adding Flora and Fauna

Selecting the Right Plants
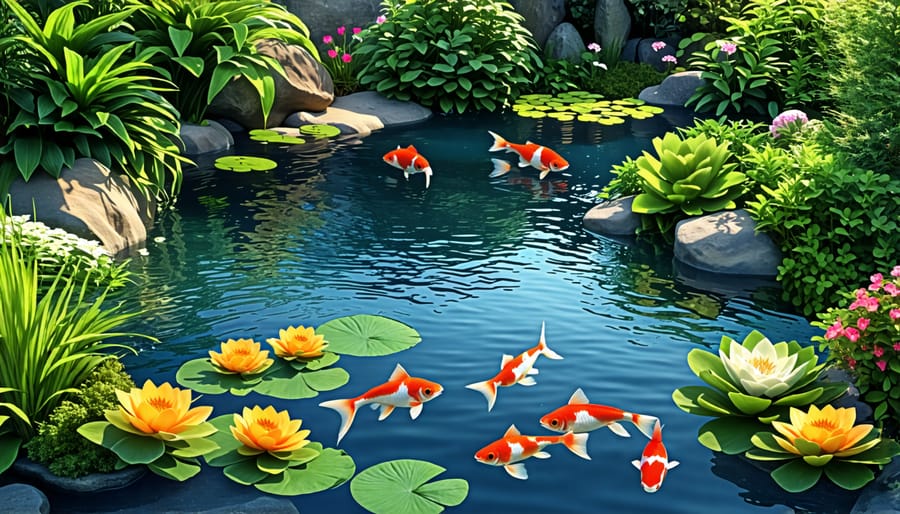
Selecting the right plants for your garden pond with a waterfall can bring beauty and vibrant life to your outdoor space. Start with the basics: water lilies are a popular choice, offering shade and surface coverage while their delicate blooms add charm. Consider adding marginal plants like iris and cattails, which thrive along the edges and enhance the natural look. Submerged oxygenators, such as anacharis, help keep the water clear by controlling algae. Don’t forget floating plants like water lettuce to provide shelter for fish and balance your pond’s ecosystem. When selecting plants, it’s essential to consider your climate and pond size. Pairing these choices with some creative pond lighting ideas can further enhance the ambiance as day turns to night, creating a serene oasis that’s a joy to behold.
Introducing Fish to Your Pond
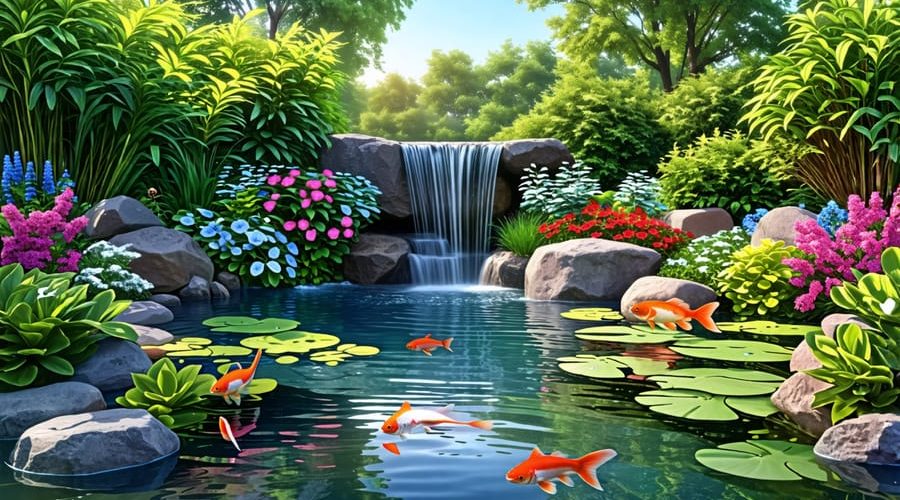
Introducing fish to your new pond is an exciting step towards creating a thriving pond ecosystem. Start with selecting fish that suit your pond’s size and climate—goldfish and koi are popular choices due to their hardiness and vibrant colors. Before adding them, prepare a welcoming environment by letting the pond water cycle for a few weeks, ensuring a balanced habitat. When you’re ready to introduce your fish, let them acclimate gradually. Begin by floating the sealed bag of fish in the pond water for about 30 minutes to equalize temperatures. Slowly mix pond water into the bag every ten minutes to help them adjust. This gradual process minimizes stress, setting your fish up for success as part of your idyllic garden oasis.
Maintaining Your Garden Pond
Maintaining your garden pond involves some simple steps to ensure it stays both beautiful and functional. Start by regularly checking your pond’s water quality. A clear and clean pond is not just nice to look at but also healthier for any fish or plants you have. Introduce plants around and within the pond—they help oxygenate the water and reduce algae growth. For instance, incorporating floating plants can provide shade and balance the ecosystem.
Make sure to clean out any debris like leaves or twigs, especially in the fall, as these can decompose and harm water quality. A skimmer net can make this task easier. Regularly inspect your water pump and filters, ensuring they’re free from obstructions which can hinder water flow and inadvertently damage your equipment.
To enhance the vitality of your water garden, consider incorporating natural pond aeration techniques. This not only improves water circulation but also infuses it with oxygen, making it more vibrant. Remember, a little attention goes a long way in keeping your pond a delightful haven.
Conclusion and Personal Reflection
Building a garden pond with a waterfall is more than just a project; it’s a journey into creating a tranquil oasis in your own backyard. From my own experiences, the rewards far outweigh the challenges. I recall the joy of watching the first few goldfish exploring their new home and the serene sound of water cascading over rocks—these little moments bring immense satisfaction and beauty to everyday life. If you’re a DIY enthusiast or simply love the idea of adding a water feature to your garden, dive in wholeheartedly. Whether your pond is small or grand, the joy it brings will be equally profound.
