Breathe New Life Into Your Tired Pond: A Complete Renovation Project You Can Do
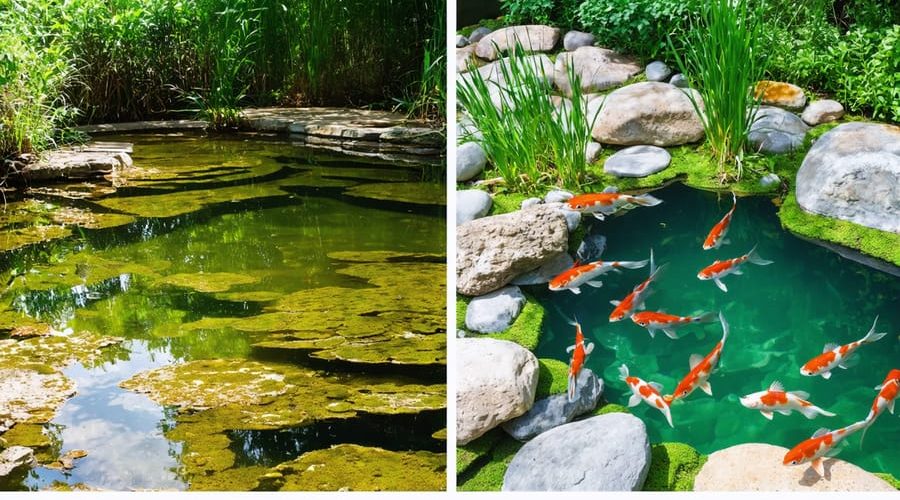
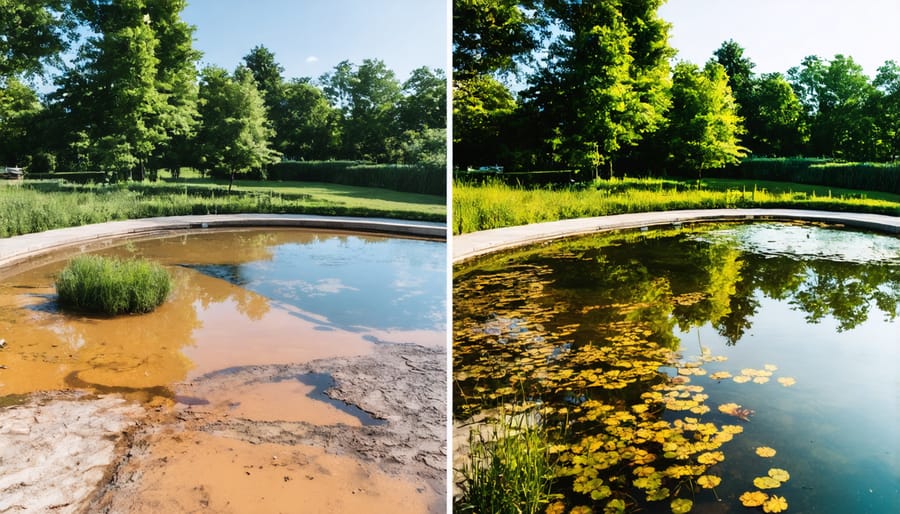
Transform your tired, neglected pond into a thriving aquatic paradise through strategic renovation. Start by draining the existing water and removing accumulated debris – this essential first step reveals structural issues and provides a clean slate for improvements. Inspect the liner carefully for tears or degradation, marking problem areas for repair or replacement while following essential pond maintenance tips to prevent future issues.
Evaluate the pond’s filtration system, updating outdated equipment with modern, energy-efficient alternatives that better serve your water volume and fish population. Consider expanding shallow planted zones along the margins to create natural filtration and enhance wildlife habitat. These graduated depths not only improve water quality but also create visual interest and ecological balance.
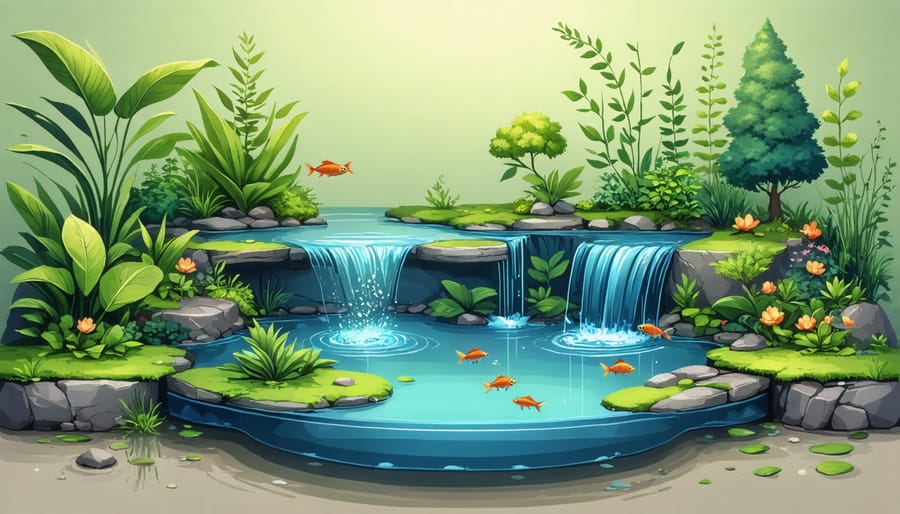
Address edge details by incorporating attractive natural stone, adding visual appeal while securing liner edges and preventing erosion. Install proper aeration through strategically placed pumps and waterfalls to maintain healthy oxygen levels and create soothing water movement that transforms your pond into a dynamic, living ecosystem ready for years of enjoyment.

Planning Your Pond Renovation
Assessment and Timeline
Begin your pond renovation by thoroughly assessing its current condition. Walk around the entire perimeter, noting issues like leaks, damaged liners, overgrown vegetation, or poor water quality. Take photos and measurements to document the existing state and help plan your renovation.
Create a checklist that includes water depth, pond shape, filtration system condition, and surrounding landscape features. Pay special attention to signs of structural damage, such as crumbling edges or shifting stones. Test the water quality to establish a baseline for pH levels, ammonia, and nitrates.
Next, develop a realistic timeline for your renovation project. Most pond renovations take between 2-4 weeks, depending on size and complexity. Break down your project into manageable phases:
Week 1: Drain and clean the pond
Week 2: Repair structural issues and replace liner if needed
Week 3: Install or upgrade filtration systems
Week 4: Refill and reestablish plant life
Consider seasonal timing – early spring or fall typically offer ideal conditions for pond work. Remember to factor in potential weather delays and allow extra time for unexpected challenges. If you have fish, plan temporary housing during the renovation process.
Budget and Materials
The cost of pond renovation varies depending on your project’s scope, but typically ranges from $500 to $3,000 for a standard-sized backyard pond. Essential materials include a quality pond liner (approximately $100-300), pond filter ($150-400), and pump ($100-250). You’ll also need basic tools like shovels, wheelbarrows, and safety equipment.
Consider budgeting for water testing kits ($30), beneficial bacteria ($25), fish nets ($20), and water treatments ($40). If adding new features, decorative elements like rocks and plants can cost $200-500, while lighting systems range from $100-300. For more inspiration on lighting, explore 10 stunning lighting ideas that can enhance your pond’s ambiance.
Save money by repurposing existing materials and doing the work yourself. However, don’t skimp on crucial components like liners and filtration systems. Plan for a contingency budget of 15-20% to cover unexpected issues that often arise during renovation.
Essential supplies checklist:
– Pond liner and underlay
– Filtration system
– Water pump
– Basic garden tools
– Water treatments
– Safety equipment (gloves, boots)
– Clean-up materials
– Water testing supplies
Remember to factor in ongoing maintenance costs when planning your budget.
Step-by-Step Renovation Process
Draining and Fish Relocation
Before beginning any pond renovation work, safely draining the water and relocating fish are crucial first steps. Start by gradually lowering the water level using a submersible pump, placing it at the pond’s deepest point. Keep the pump’s intake covered with mesh to prevent accidentally harming small fish or wildlife.
While draining, prepare several large holding tanks or temporary pools filled with water from your existing pond. This helps preserve beneficial bacteria and makes the transition less stressful for your fish. Set up air stones in these temporary homes to ensure proper oxygen levels.
As the water level drops, carefully catch your fish using soft mesh nets. Work slowly and calmly to minimize stress. Transfer them immediately to the holding tanks, making sure not to overcrowd them. Remember to save some of the original pond water to help maintain familiar conditions for your fish.
For smaller wildlife like frogs and newts, create escape routes using wooden planks or mesh as the water level decreases. These creatures will often make their way out naturally. Consider leaving a small puddle at the bottom of the pond until you’re ready to begin work, as this can protect any remaining pond life.
Monitor your relocated fish closely during the renovation period, checking water quality and feeding them as normal. Most fish can safely remain in temporary housing for several weeks while you complete your pond renovation project.

Cleaning and Repair
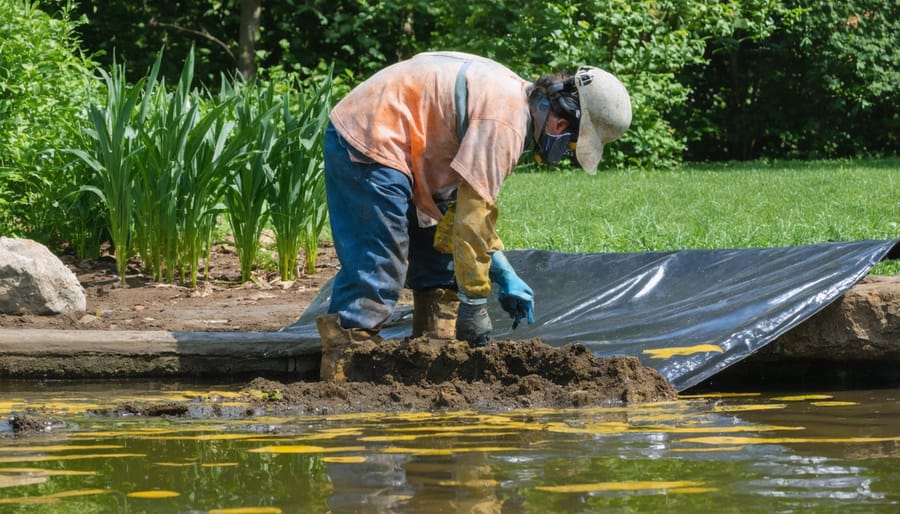
Before diving into major renovations, a thorough cleaning of your pond is essential. Start by removing loose debris like fallen leaves, twigs, and floating matter using a pond net or skimmer. For stubborn bottom debris, a pond vacuum can be incredibly effective, reaching those tricky corners where muck tends to accumulate.
Next, assess your pond for any structural damage. Look for cracks, holes, or worn areas in the liner, particularly around the edges and near water features. Small tears can be patched using a pond liner repair kit, but larger damages might require complete liner replacement. Pay special attention to areas where the liner meets the edges; these spots are prone to deterioration and often need reinforcement.
If your pond has developed leaks, marking the water level and monitoring it over 24 hours can help pinpoint problem areas. Sometimes, leaks occur around pipe fittings or skimmer boxes. These can usually be fixed by tightening connections or applying waterproof sealant. Don’t forget to check your natural filtration system for any blockages or wear that might affect water quality.
For concrete ponds, inspect for cracks and deteriorating surfaces. Small cracks can be sealed with hydraulic cement, while larger issues might require professional repair. Check the pond’s edges and shelves for stability – over time, these areas can settle or shift, potentially compromising the pond’s structure.
Remember to clean and inspect your pond pump, filters, and UV clarifier if you have one. Remove any mineral buildup, replace worn parts, and ensure all equipment is functioning properly. This is also an ideal time to clean or replace filter media and check electrical connections for safety.
As you clean, temporarily house any fish in a holding tank with pond water and maintain proper aeration. This protects them during the renovation process and ensures their environment remains stable.
Liner Replacement and Updates
Replacing your pond liner is a crucial step in renovation that can breathe new life into your water feature. Start by carefully removing all plants, fish, and decorative elements, storing them safely in temporary containers filled with pond water to minimize stress on aquatic life.
Once the pond is empty, remove the old liner and inspect the underlying ground for sharp rocks or roots that could damage the new liner. This is also the perfect time to address any structural issues or make desired changes to the pond’s shape or depth. Consider adding protective underlayment beneath the new liner – this extra layer significantly extends its lifespan by preventing punctures from below.
When selecting a new liner, choose high-quality EPDM rubber or PVC materials that offer durability and UV resistance. Measure your pond carefully, adding extra length for edges and depth, plus an additional 2 feet on all sides for secure anchoring. Installation works best on a calm, warm day when the material is more pliable.
During installation, work the liner into position gradually, starting from the center and moving outward. Avoid stretching the material; instead, create neat folds in corners to prevent tension points. This is also an ideal time to upgrade your pond’s features. Consider installing:
– A more efficient filtration system
– Enhanced lighting for nighttime ambiance
– New skimmers or waterfall features
– Additional planting shelves
– Aeration systems for better water quality
Secure the liner edges with rocks or pavers, being careful not to puncture the material. Before refilling, inspect all connections and seals around installed features. Once satisfied, gradually add dechlorinated water, smoothing out any remaining wrinkles as the pond fills.
This renovation stage offers a fresh start for your water garden, ensuring many years of enjoyment with proper installation and upgraded features.

Restoring Your Pond Ecosystem
Water Quality Management
Maintaining proper water quality is essential for a healthy, renovated pond. Start by testing your water parameters regularly using a reliable testing kit that measures pH, ammonia, nitrites, and nitrates. The ideal pH for most pond fish and plants falls between 6.8 and 7.8, while ammonia and nitrites should always remain at zero.
A robust filtration system is the backbone of good water quality. Install both mechanical and biological filtration components to handle different aspects of water cleaning. Mechanical filters remove debris and particles, while biological filters house beneficial bacteria that break down harmful waste products. Size your filter system according to your pond’s volume and fish load – it’s better to go slightly larger than needed. For more information on filtration systems, check out our guide on the power of external filters.
Adding aerators or fountains helps maintain healthy oxygen levels and promotes better water circulation. Position these features to create gentle movement across the entire pond surface. During warmer months, aim to keep dissolved oxygen levels above 6 parts per million to support aquatic life.
Consider incorporating aquatic plants that naturally filter water and compete with algae for nutrients. Water lilies, cattails, and hornwort are excellent choices that not only clean the water but also add visual appeal. Remember to remove dead plant matter promptly to prevent it from decomposing in the water.
Regular maintenance is crucial for lasting water quality. Perform partial water changes (about 10-15%) every few weeks, and clean filters according to manufacturer instructions. During renovation, consider installing a bottom drain to make future maintenance easier. This will help remove settled debris and maintain clearer, healthier water long-term.
Reintroducing Plants and Fish
After completing your pond renovation, it’s crucial to reintroduce life gradually to ensure a healthy, balanced ecosystem. Start by waiting at least a week after filling your pond with fresh water, allowing chlorine to dissipate and water parameters to stabilize. During this time, install and run your filtration system to establish proper water circulation.
Begin with hardy plants that help oxygenate the water and provide natural filtration. When selecting water plants for your pond, consider including submerged, floating, and marginal varieties. Start with oxygenating plants like hornwort or anacharis, followed by floating plants such as water lilies. Place these in shallow shelves or designated planting baskets filled with aquatic soil.
Once plants are established and water quality tests show stable readings, you can focus on reintroducing fish safely. Begin with a small number of hardy fish species like goldfish, gradually increasing the population over several weeks. This allows the biological filtration to adjust to the increased waste load. Float new fish in their bags for 20 minutes before release to acclimate them to the water temperature.
Monitor water parameters daily during the first few weeks, checking ammonia, nitrite, and pH levels. Add beneficial bacteria supplements to jump-start the biological cycle. Remember to feed fish sparingly at first, as overfeeding can quickly lead to water quality issues in a newly renovated pond.
As we wrap up your pond renovation journey, remember that the success of your newly revitalized water feature depends largely on consistent maintenance and attention to detail. Regular water testing, debris removal, and plant management will help maintain the pristine conditions you’ve worked so hard to achieve. Keep an eye on your filtration system and ensure it’s working efficiently to prevent future water quality issues.
Don’t forget to monitor your fish population and their behavior, as they’re excellent indicators of your pond’s overall health. Seasonal maintenance tasks, such as fall leaf removal and spring cleaning, will help preserve your pond’s beauty and functionality throughout the year. Consider keeping a maintenance log to track water parameters and schedule routine tasks.
Your renovated pond is more than just a water feature – it’s a living ecosystem that adds value and tranquility to your outdoor space. By implementing proper maintenance routines and addressing small issues before they become major problems, you’ll ensure your pond remains a source of joy for years to come.
Remember to balance the aesthetic and functional aspects of your pond. Regular pruning of aquatic plants, checking equipment functionality, and maintaining appropriate water levels are all crucial tasks that will help preserve your investment. With proper care and attention, your renovated pond will continue to be a thriving habitat for wildlife and a beautiful focal point in your garden.
