Save Money and Your Pond’s Ecosystem: How to Build a Natural Pond Filter
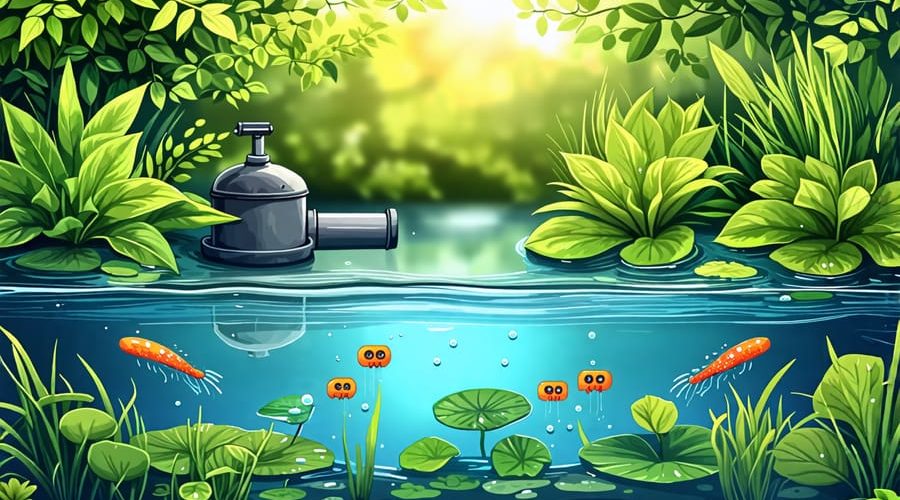
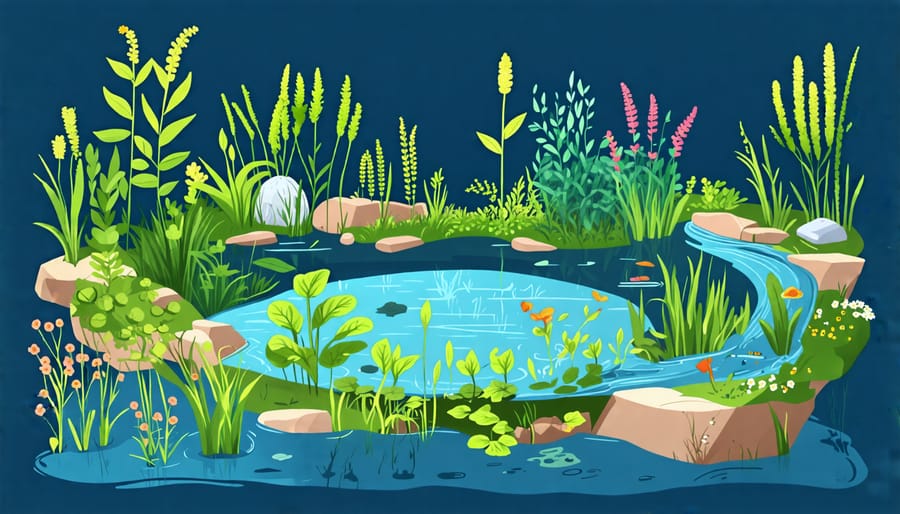
Harness the power of nature to keep your pond crystal clear with a DIY biological filter. By harnessing beneficial bacteria and natural filtration processes, you can create a self-sustaining ecosystem that maintains optimal water quality without relying on harsh chemicals. This step-by-step guide breaks down the science behind biological filtration and provides detailed instructions for constructing your own affordable, low-maintenance pond filter using readily available materials. With a little effort and know-how, you’ll be enjoying a sparkling clean pond teeming with vibrant aquatic life in no time.
Understanding Biological Pond Filtration
The Nitrogen Cycle
The biological filtration process in a pond relies heavily on beneficial bacteria to break down harmful ammonia produced by fish waste, decaying organic matter, and other sources. These bacteria, known as nitrifying bacteria, convert ammonia into less toxic compounds through a two-step process called the nitrogen cycle. First, Nitrosomonas bacteria convert ammonia into nitrites. Then, Nitrobacter bacteria further convert nitrites into nitrates, which are relatively harmless to fish in low concentrations and can be readily absorbed by aquatic plants as nutrients. Establishing and maintaining a healthy pond ecosystem requires a balance between the fish population, plants, and beneficial bacteria. A well-designed DIY biological pond filter provides an ideal environment for these bacteria to thrive, ensuring efficient ammonia removal and creating a safe, stable habitat for your pond’s inhabitants.

Aerobic vs Anaerobic Filtration
Aerobic filtration relies on oxygen-rich environments where beneficial bacteria break down waste materials into harmless compounds. This process is efficient and produces minimal byproducts. Anaerobic filtration occurs in low-oxygen conditions, where different bacteria convert waste into soluble nutrients, which can lead to clearer water. However, anaerobic filtration is slower and may produce foul odors if not managed properly.
In a well-designed biological pond filter, both aerobic and anaerobic zones work together to create a balanced ecosystem. The aerobic zone rapidly removes ammonia and nitrites, while the anaerobic zone tackles solid waste and excess nutrients. By incorporating both types of filtration, you can achieve optimal water quality and clarity while minimizing maintenance requirements. Experimenting with different media and flow rates can help you strike the perfect balance for your pond’s unique needs.
Materials and Tools Needed
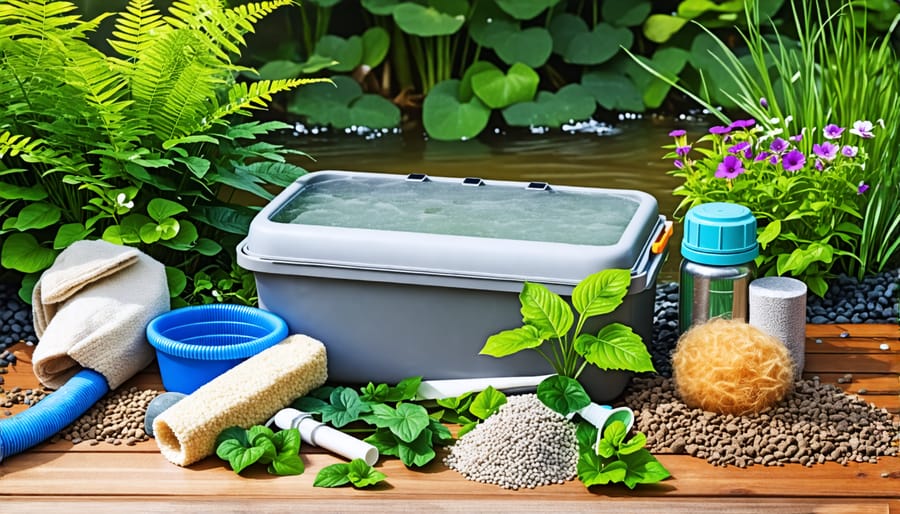
To build your own biological pond filter, you’ll need a few key materials and tools. Start by gathering a large plastic storage container or barrel to serve as the filter housing. You’ll also need filter media such as lava rocks, ceramic rings, or plastic bio-balls to provide surface area for beneficial bacteria growth. Coarse filter foam or matting will be necessary to pre-filter larger debris before water reaches the biological media.
PVC pipes, elbows, and valves are essential for routing water in and out of the filter. You’ll need a submersible pond pump sized appropriately for your pond volume to push water through the filtration system. Flexible tubing will connect the pump to the filter inlet.
To hold everything together, have PVC cement and silicone sealant on hand. A drill and hole saw attachment will be used to create openings in the filter container for plumbing. Scissors or a sharp knife will come in handy for cutting filter foam and matting to size.
Finally, you may want to have some decorative elements like potted aquatic plants or river stones to disguise the filter and enhance its visual appeal. With these materials and a bit of DIY spirit, you’ll be well on your way to crystal clear, naturally filtered pond water!

Step-by-Step Filter Construction
Step 1: Prepare the Container
To begin your DIY biological pond filter, select a sturdy, water-tight container that can hold the filtration media. A large plastic storage bin or a repurposed barrel works well. Consider the size of your pond and choose a container with enough capacity to effectively filter the water volume.
Before setting up the filter, thoroughly clean the container to remove any debris or residue. If using a previously used container, ensure it hasn’t held any harmful chemicals that could leach into the pond water. Drill holes in the container’s lid and bottom for water inlet and outlet connections. The size and number of holes will depend on your pond’s pump and plumbing setup.
Proper preparation of the container is crucial for creating an efficient DIY pond filtration system. A well-prepared container will provide a stable environment for beneficial bacteria to thrive and effectively break down waste in your pond, resulting in clearer, healthier water for your aquatic plants and fish to flourish.
Step 2: Add Mechanical Filtration
The first layer of your DIY biological pond filter will be mechanical filtration to strain out larger debris like leaves, twigs, and fish waste. A simple way to create this is by filling a plastic milk crate or wire basket with filter media such as lava rocks, coarse sponge, or plastic pot scrubbers. As water flows through, the media will trap solid particles, preventing them from clogging the biological filtration layers.
Position your mechanical filter at the inflow point of your pond pump, ensuring that all water passes through before reaching the biological stages. Check and rinse the media weekly, more often if your pond has heavy leaf litter or fish load. Having multiple sets of media to swap out makes maintenance a breeze. With this initial barrier in place, your biological filtration can work more efficiently to keep your pond crystal clear.

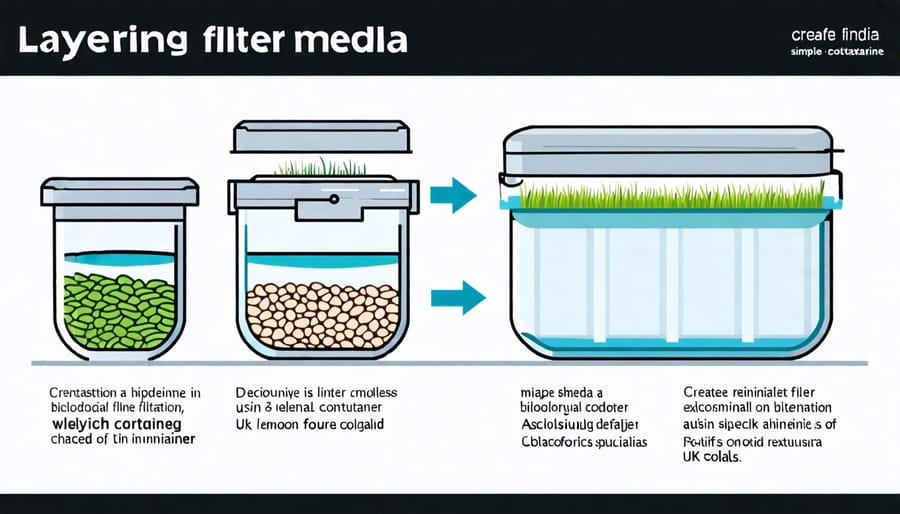
Step 3: Create the Biological Filtration Layers
Now it’s time to create the biological filtration layers that will house the beneficial bacteria. Start by adding a layer of lava rock or porous ceramic media to the bottom of your filter container. These materials have lots of nooks and crannies for bacteria to colonize. Aim for a depth of about 6 inches.
Next, add a layer of filter foam or matting. This will trap larger debris while still allowing water to flow through. Cut the foam to fit snugly in your container, with a thickness of around 2 inches.
On top of the foam, pour in a layer of activated carbon. This will help remove impurities and keep your pond water crystal clear. A depth of 2-3 inches is ideal.
Finally, add a layer of bio-balls or similar high-surface-area media. These plastic balls are designed to maximize the space available for bacterial growth. They should fill the remaining space in your filter, leaving just a few inches at the top.
As you layer your media, remember to rinse each component thoroughly before adding it to remove any dust or debris. With your filtration layers complete, you’re one step closer to enjoying a beautifully balanced pond ecosystem!
Step 4: Install the Filter
Now it’s time to put your filter to work! Place the assembled filter near your pond, ensuring it’s level and stable. Attach the flexible tubing from your pond pump to the inlet of the filter barrel. Secure the connection tightly to prevent leaks. Next, connect another length of tubing from the filter’s outlet to your desired water return point in the pond, such as a waterfall or stream. Double check that all connections are snug. Finally, disguise the filter with rocks, plants, or a decorative enclosure to blend it into your pond’s landscaping. Stand back and admire your handiwork – your pond’s new biological powerhouse is ready to go!
Filter Maintenance
Regular Cleaning
To clean your biological pond filter without disrupting the beneficial bacteria, start by turning off the pump and removing any debris from the filter media using a garden hose on a gentle setting. Avoid using chlorinated water, as this can harm the bacteria. If the media is excessively dirty, you can rinse it in a bucket of pond water. For sponges or pads, gently squeeze them out in pond water until they’re relatively clean. Remember, some residue is okay and helps maintain the bacterial colony. When cleaning the filter box or container, use only pond water and a soft brush. Never use soaps or chemicals, as these can be detrimental to the ecosystem. Perform this maintenance routine every few weeks or as needed, depending on the size of your pond and fish population. By following these simple steps, you’ll keep your biological filter functioning optimally without disrupting the delicate balance of beneficial microorganisms.
When to Replace Filter Media
Over time, the filter media in your DIY biological pond filter will accumulate debris and may become clogged, reducing its effectiveness. As a general rule, check your filter every few weeks to assess the condition of the media. If you notice a decrease in water flow or an increase in pond water turbidity, it’s likely time to clean or replace the filter materials.
Cleaning the media involves gently rinsing it with pond water to remove excess debris without harming the beneficial bacteria. If the media appears worn or starts to break down, it’s time for a replacement. The frequency of replacement depends on factors like pond size, fish population, and organic matter load, but typically every 1-2 years is sufficient.
When replacing filter media, do so gradually to maintain the biological balance. Replace about 1/3 of the media at a time, allowing a few weeks between each replacement to let the bacteria reestablish. This approach ensures your pond filter continues to function optimally, keeping your water crystal clear and your fish healthy and happy.
Conclusion
Building your own biological pond filter offers numerous advantages, from creating a healthier environment for fish and plants to saving money on expensive commercial systems. By following the step-by-step instructions outlined in this guide, you can harness the power of natural filtration to maintain crystal-clear water and a thriving ecosystem. Remember to regularly perform maintenance tips to ensure optimal performance and longevity of your DIY filter. With a little effort and creativity, you’ll soon be enjoying a beautiful, self-sustaining pond that showcases the wonders of nature right in your own backyard. So why not give it a try? Roll up your sleeves, gather your materials, and embark on this rewarding DIY project today!
