
Create Your Perfect Garden Waterfall: Simple DIY Techniques That Work
Transform your backyard into a tranquil oasis by mastering the art of water feature design. Whether you’re crafting a cascading fountain, a serene pond, or a modern wall installation, creating the perfect water feature combines artistic vision with practical engineering. Our comprehensive guide to DIY water feature ideas will walk you through everything from initial concept to final installation, helping you achieve that perfect combination of visual beauty and soothing soundscape.
Water features don’t just enhance your outdoor space visually – they create an immersive sensory experience through the gentle sound of flowing water, attract local wildlife, and can even increase your property’s value. With basic tools, readily available materials, and our expert guidance, you’ll discover how to build stunning water features that look and sound professional while staying within your budget. Whether you’re a weekend warrior or seasoned DIY enthusiast, we’ll help you bring your water feature vision to life with step-by-step instructions, expert tips, and creative design inspiration.
Planning Your Water Feature
Choosing the Perfect Location
Selecting the right location for your water feature is crucial for both its visual appeal and functionality. Start by observing your outdoor space at different times of the day to understand sunlight patterns. Most water features work best with partial sun exposure, which helps prevent excessive algae growth while maintaining healthy water temperatures.
Consider the viewing angles from your home’s main living areas and outdoor seating spaces. You’ll want to position your water feature where you can enjoy it most frequently, whether that’s from your kitchen window, patio, or favorite garden bench.
Proximity to power sources is another vital factor. You’ll need electricity for pumps and lighting, so choose a spot that’s easily accessible to outdoor electrical outlets or where running underground conduit is feasible. Similarly, consider access to a water source for initial filling and periodic top-ups.
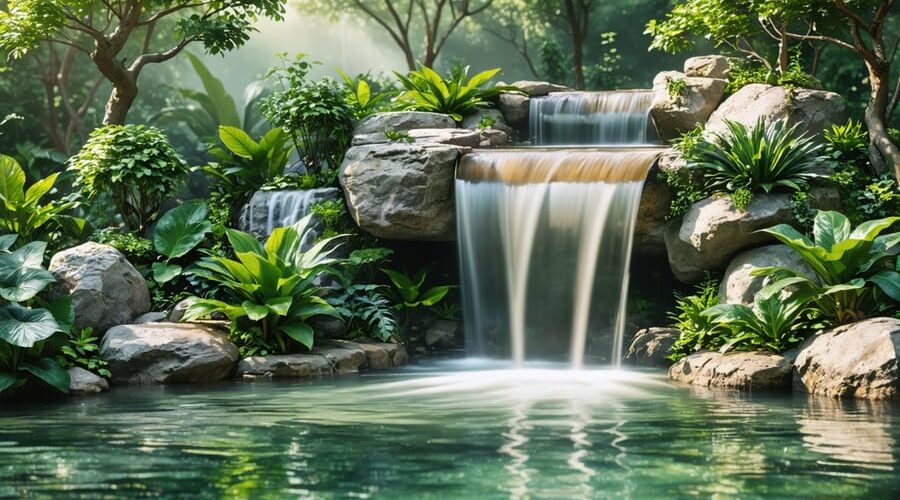
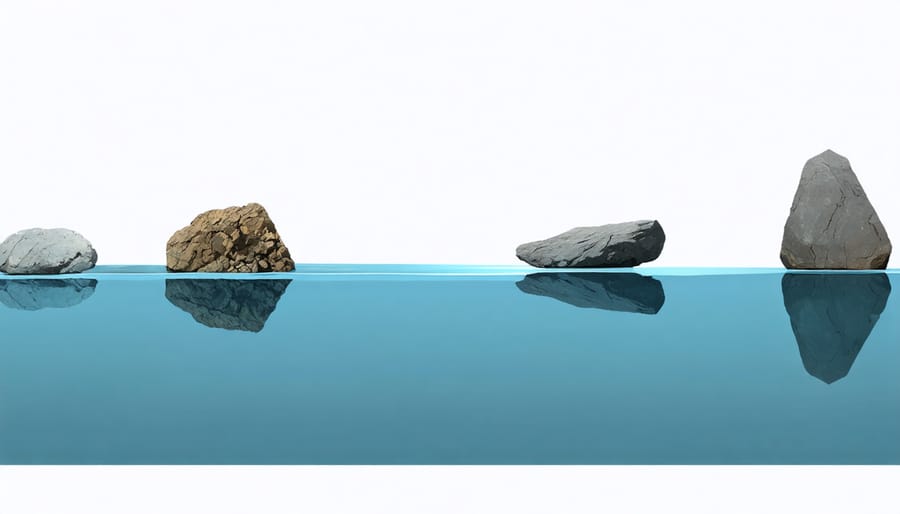
The surrounding landscape should complement your water feature. Natural slopes can be advantageous for creating waterfalls, while flat areas are perfect for reflecting pools. Be mindful of nearby trees – while they provide lovely shade, falling leaves can increase maintenance needs.
Safety and practical considerations matter too. Ensure the ground is stable and level, avoiding areas prone to flooding or erosion. Keep the feature away from high-traffic walkways to prevent accidents, and consider your neighbors – position noisy elements like waterfalls where they won’t disturb the peace.
Design Options for Every Space
Whether you have a sprawling backyard or a cozy balcony, there’s a perfect water feature waiting to enhance your outdoor space. For larger gardens, consider cascading waterfalls that create dramatic focal points or expansive koi ponds that bring life and movement to your landscape. These grander installations can incorporate multiple tiers and illuminated water features for stunning day and night displays.
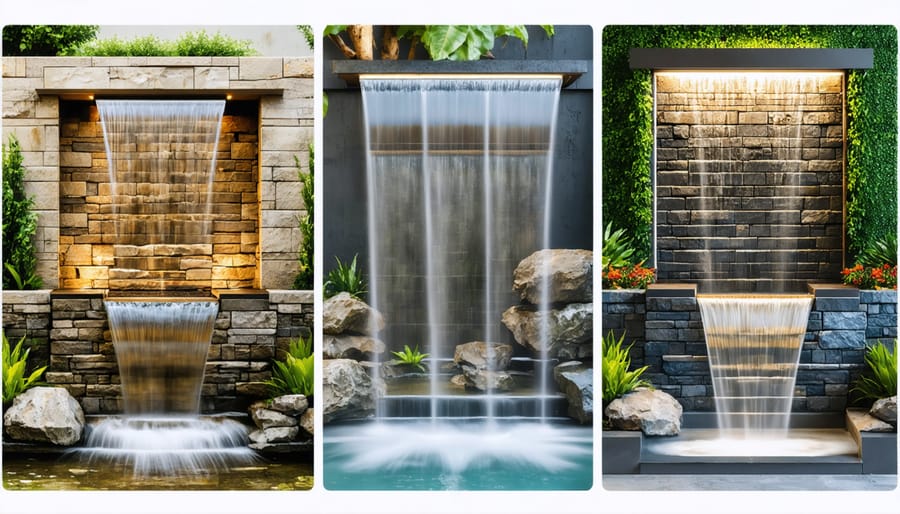
Working with a medium-sized garden? Wall fountains and self-contained water gardens offer the perfect balance of impact and space efficiency. These features can be tucked into corners or positioned along pathways, creating peaceful retreating spots without overwhelming the area.
For small spaces like patios or balconies, tabletop fountains and compact bubble rocks provide delightful water elements without sacrificing precious square footage. Even a tiny space can accommodate a slim wall cascade or a decorative bowl fountain that brings the soothing sounds of flowing water to your outdoor sanctuary.
Container water gardens are incredibly versatile, working well in any space. They can be as simple as a glazed pot with a small pump or as elaborate as a collection of connected vessels creating a miniature water landscape. Remember, the key is choosing a feature that complements your space while providing the tranquil atmosphere you’re seeking to create.
Essential Materials and Tools
Pumps and Plumbing Basics
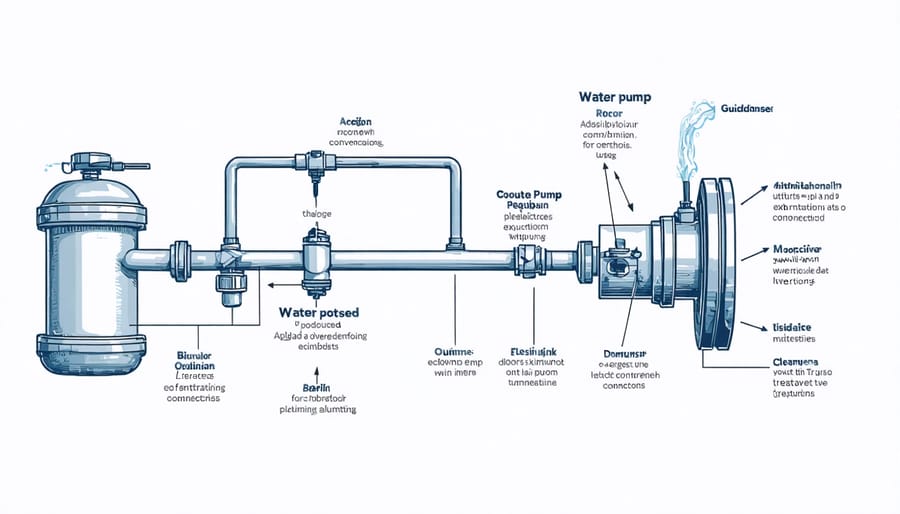
Selecting the right pump is crucial for your water feature’s success. For most small to medium projects, submersible pumps rated between 200-500 gallons per hour (GPH) work well. Consider choosing a pump with slightly more power than you think you’ll need – it’s easier to reduce flow than to deal with insufficient pressure.
When it comes to plumbing, start with flexible PVC tubing that matches your pump’s outlet size. This tubing is easier to work with than rigid pipes and allows for adjustments during installation. Don’t forget to include ball valves in your setup – they’re invaluable for fine-tuning water flow and making maintenance easier.
For connecting pieces, you’ll need:
– Waterproof silicone sealant
– Hose clamps
– T-connectors (if splitting water flow)
– Reducer fittings (if changing tube sizes)
Always use check valves near the pump to prevent water from flowing back when the pump is off. This simple addition saves energy and extends your pump’s life. For easier maintenance, install quick-disconnect fittings at key points in your plumbing system.
Remember to hide your plumbing with rocks or plants for a natural look. If your tubing will be exposed to sunlight, choose UV-resistant materials to prevent degradation. When installing, create gentle curves rather than sharp bends in the tubing to maintain optimal water flow.
Container and Liner Options
When it comes to containing your water feature, you have several reliable options to choose from. For smaller features, preformed plastic basins offer a quick and easy solution. These come in various shapes and sizes, perfect for tabletop fountains or compact garden features. For larger projects, flexible rubber liner is an excellent choice, allowing you to create custom shapes and depths.
Concrete is another durable option, especially for permanent installations. You can either pour it directly or use precast concrete basins. While it requires more work initially, concrete offers exceptional longevity and stability. For a more natural look, consider using heavy-duty pond shells that mimic rock formations.
For waterfalls, you’ll want to incorporate waterfall foam and spillway materials. EPDM rubber sheets work well for creating smooth water flows, while natural or artificial rock formations can create more dramatic cascades. Stone slabs, copper sheets, or specially designed waterfall weirs all offer unique ways to direct water flow and create different sound effects.
Remember to choose materials rated for outdoor use and water exposure. UV-resistant materials will last longer and maintain their appearance better over time.
Step-by-Step Construction Guide
Foundation and Base Preparation
A solid foundation is crucial for any water feature’s longevity and stability. Start by marking your chosen location with stakes and string, ensuring the area is level and free from underground utilities. Clear away grass, rocks, and debris from the marked space, extending about 6 inches beyond your planned feature’s perimeter.
For the base, dig down approximately 6-8 inches, making sure the bottom is as level as possible. Use a spirit level to check for evenness across all directions. Compact the soil thoroughly using a hand tamper or plate compactor – this step is vital to prevent future settling issues.
Next, add a 2-inch layer of coarse gravel or crushed stone, spreading it evenly across the excavated area. Tamp this layer down firmly. Follow with a 2-inch layer of sand, which helps create a smooth, stable surface for your water feature. Level and compact this layer as well.
For larger features or those with heavy components, consider pouring a concrete pad. Mix the concrete according to manufacturer instructions and pour it about 4 inches thick. Allow it to cure completely – typically 24-48 hours – before proceeding with construction.
If you’re installing a flexible liner, add a protective underlayment to prevent punctures. For prefabricated features, use a thin layer of sand or foam padding to ensure even support across the base.
Remember to account for any electrical conduits needed for pumps or lighting by installing them during the foundation stage. This forethought will save you considerable trouble later and ensure a clean, professional finish.
Installing the Waterfall
Installing the waterfall is where your water feature really starts to come alive. Begin by placing your waterfall box or spillway at the highest point of your design. Make sure it’s perfectly level – even a slight tilt can create uneven water flow and unwanted splashing. Use a spirit level to check both side-to-side and front-to-back angles.
Position large rocks around the waterfall box to hide it naturally. Start with bigger stones at the base and work your way up, creating a stable foundation. Leave enough space between rocks for the water to cascade down naturally – this is where the magic happens with your water sounds.
Now, connect your pump to the waterfall box using flexible tubing. Cut the tubing to the shortest practical length to maintain good water pressure. Secure all connections with hose clamps to prevent leaks. If your tubing will be visible, consider hiding it with rocks or plants.
Before adding the finishing touches, do a test run. Fill your basin with water and turn on the pump. Watch how the water flows and listen to the sound. If you want a more dramatic sound, adjust the flow rate or add small rocks to create more splash points. For a gentler sound, reduce the flow or create smoother surfaces for the water to glide over.
Fine-tune the waterfall by placing smaller rocks and pebbles along the water’s path. These will help direct the flow and create different sound effects. Remember to leave some gaps between rocks – this helps prevent water from shooting out unexpectedly and creates more pleasant bubbling sounds.
Finally, stabilize everything with pond foam around the rocks. This waterproof expanding foam helps direct water flow and prevents it from finding unwanted paths. Once the foam dries, cover it with small stones or gravel to maintain a natural appearance.
Test the waterfall again after everything is secure. Make any final adjustments to achieve your desired water flow and sound effect. Remember, you can always fine-tune things later as the feature settles in.
Pump Installation and Plumbing
Proper pump installation and plumbing are crucial for creating a reliable water feature that runs smoothly for years to come. Start by selecting a submersible pump that’s appropriately sized for your water feature – a good rule of thumb is to circulate the entire water volume once every hour.
Position your pump at the lowest point of your water feature, ensuring it’s fully submerged when running. Place it on a flat paver or sturdy surface to prevent it from sitting directly on the bottom, which could lead to debris intake. For easier maintenance, consider installing the pump in a pump vault or cage to catch larger debris.
When connecting your plumbing, use flexible PVC tubing for easier installation and maintenance. Always measure twice before cutting any tubing to avoid waste. Create a gentle slope in your plumbing lines to prevent air pockets, which can reduce flow and cause noisy operation. Secure all connections with appropriate clamps, and use thread seal tape on threaded fittings to prevent leaks.
For features with multiple water outlets, install a ball valve on each line to control flow rates individually. This allows you to fine-tune the water movement and sound. Hide plumbing lines by tucking them behind rocks or incorporating them into your design. Remember to leave enough slack in the tubing to allow for maintenance access.
Before filling your feature, test all connections with running water to check for leaks. If you’re installing lighting alongside your pump, ensure all electrical connections are properly sealed and protected from water exposure. Always use a GFCI outlet for safety and follow local electrical codes.
Sound Engineering Tips
Creating Different Water Sounds
The sound of flowing water can transform your outdoor space into a peaceful sanctuary, and you can create different effects by adjusting how water moves and falls. For a gentle, trickling sound perfect for meditation, direct water to flow in a thin stream over smooth rocks or a polished surface. This creates a delicate, musical quality that won’t overwhelm conversation.
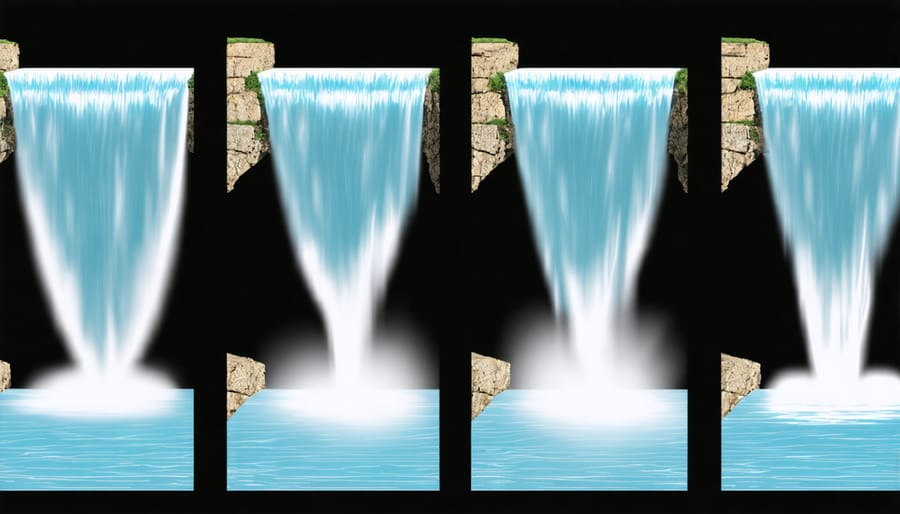
To achieve a more dramatic waterfall effect, increase the height of the water drop and use irregular surfaces like split rocks or textured materials. The water will splash and create a fuller, white-noise sound that’s excellent for masking urban noise. Remember that the higher the fall, the louder the sound will be.
For a bubbling brook effect, arrange multiple small drops with rocks of varying sizes. The water should cascade in stages, creating a natural-sounding flow that mimics mountain streams. You can fine-tune the sound by adjusting the pump’s flow rate and experimenting with different rock positions.
Sheet falls, where water flows in a smooth curtain, produce a consistent, soothing sound. Create this effect by using a straight edge or specialized waterfall spillway. The width of the sheet will affect the volume and tone – wider falls produce deeper sounds, while narrow falls create higher pitches.
Don’t forget that you can combine different effects in one feature. Try mixing a gentle trickle at the top with a more substantial splash at the bottom for a layered soundscape that adds depth to your garden atmosphere.
Fine-Tuning Your Feature
Once your water feature is running, it’s time to fine-tune the sound to create your perfect outdoor symphony. Start by adjusting the water flow rate – a gentle trickle creates a soft, meditative sound, while a stronger flow produces a more dramatic effect. Listen carefully from different areas of your garden to ensure the sound carries pleasantly throughout your space.
The height of water drop significantly impacts the sound quality. Try raising or lowering the water spout to experiment with different tones. A shorter drop typically produces a lighter, musical sound, while a longer drop creates deeper, more resonant notes. You can also adjust the angle of water flow to create varying effects, from a straight stream to a fan-like pattern.
Consider adding different textures to your water feature to create layered sounds. Rocks of various sizes can create gentle splashing effects, while copper or ceramic surfaces produce distinctive musical notes. These elements not only enhance the visual appeal but also contribute to creating nighttime water feature effects that are both soothing and magical.
Remember to test your feature at different times of day, as ambient noise levels change. What sounds perfect during a quiet morning might need adjustment for evening enjoyment. Don’t be afraid to make small tweaks until you achieve the perfect balance of sound and aesthetics for your outdoor space.
Creating your own water feature is an incredibly rewarding project that can transform your outdoor space into a tranquil oasis. Whether you’ve chosen to build a cascading fountain, a serene pond, or a simple container water garden, the principles we’ve covered will help you achieve the perfect balance of visual appeal and soothing sounds. Remember to carefully plan your design, select appropriate materials, and take time to experiment with water flow until you achieve your desired soundscape. Even beginners can tackle simple weekend water feature projects that make a big impact. Don’t be afraid to start small and gradually expand your water gardening skills. With proper maintenance and care, your DIY water feature will provide years of enjoyment and create a peaceful atmosphere in your outdoor living space.