Breed Beautiful Koi Like a Pro: Essential Pond Techniques That Work
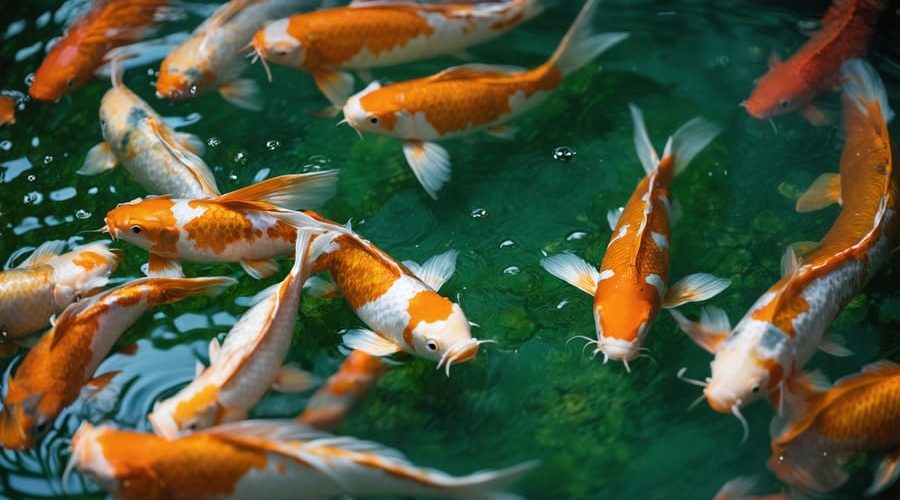
Transform your koi pond into a thriving breeding sanctuary by creating dedicated spawning areas with aquatic brush, maintaining water temperatures between 65-75°F during breeding season, and carefully selecting mature parent fish at least 3-4 years old. Successful koi breeding demands precise timing, typically occurring in late spring when water temperatures naturally rise and trigger spawning behavior.
Breeding koi represents both an art and science, combining centuries-old Japanese techniques with modern pond management practices. Beyond the remarkable beauty these living jewels bring to your garden, breeding koi offers a deeply rewarding experience as you witness the full cycle of life unfold in your own backyard. Whether you’re a seasoned pond keeper or embarking on your first breeding project, understanding the fundamental principles of koi reproduction opens the door to countless possibilities.
From selecting premium breeding stock to raising vibrant, healthy fry, this comprehensive guide will walk you through every crucial step of the koi breeding process. We’ll explore essential factors like water quality management, proper nutrition for breeding pairs, and the specialized care required for developing fry. With careful attention to detail and the right preparation, you can successfully breed these magnificent creatures and perhaps even develop your own unique bloodlines.
Setting Up Your Breeding Pond for Success
Ideal Pond Size and Depth
For successful koi breeding, your pond should be at least 1,000 gallons (3,785 liters) in volume, with a minimum depth of 4 feet. The ideal breeding pond measures approximately 12 feet by 8 feet, providing enough space for breeding pairs to establish territory and perform their natural spawning behaviors.
The pond should include both shallow and deep areas. Create a shallow shelf around 2 feet deep that covers about 25% of the pond’s surface area – this is where you’ll place breeding brushes or spawning ropes. The remaining area should maintain the 4-foot depth, giving adult koi plenty of swimming space and allowing for proper temperature regulation.
Include multiple depth zones in your design: shallow areas for spawning (2 feet), medium-depth areas for fry development (3 feet), and deeper sections (4+ feet) for adult koi. This variety of depths creates distinct temperature zones that support different stages of the breeding process.
Remember to factor in extra space for filtration equipment and plants, which play crucial roles in maintaining water quality during breeding season.

Water Quality Parameters
Maintaining optimal water quality is crucial for successful koi breeding. Your pond needs a perfect filtration system and proper natural pond oxygenation to create the ideal environment for spawning.
The most critical parameters to monitor are temperature, pH, ammonia, nitrite, and dissolved oxygen levels. During breeding season, maintain water temperature between 65-70°F (18-21°C). This temperature range triggers the natural spawning instinct in koi. The pH should stay between 7.0 and 8.0, with 7.5 being ideal for breeding.
Keep ammonia and nitrite levels at zero, as these compounds can harm eggs and fry. Regular testing with a reliable water testing kit is essential. Dissolved oxygen should be maintained at 6-8 ppm (parts per million), which can be achieved through proper aeration and water movement.
Water hardness (KH) should be between 100-200 ppm to ensure proper egg development. Soft water can lead to weak egg shells and poor hatching rates. Testing your water weekly becomes even more important during breeding season, as developing eggs and fry are particularly sensitive to water quality fluctuations.
Remember to perform partial water changes (about 10-15%) weekly, being careful not to disturb breeding areas. Use a dechlorinator when adding fresh water, and always match the temperature of the new water to your pond’s temperature to avoid shocking the fish or eggs.
Selecting Your Breeding Pairs
Identifying Quality Parent Fish
Selecting the right parent fish is crucial for successful koi breeding. Look for healthy, vibrant koi that are at least 3-4 years old, as younger fish typically aren’t ready for breeding. The ideal parent fish should display strong colors, clean body lines, and balanced proportions.
When choosing male koi, observe their behavior during breeding season (spring). Healthy males develop small white bumps, called breeding tubercles, on their pectoral fins and head. These males should be active and show interest in pursuing females. Select males that are slightly smaller than your females, as this size difference helps with natural breeding behavior.
Female koi should have full, rounded bellies, especially during breeding season. The best breeding females typically show consistent growth, good body shape, and strong color patterns. Avoid females that appear too thin or have irregular body shapes, as these might indicate health issues that could affect breeding success.
Both parent fish should be free from visible deformities, parasites, or signs of illness. Check their scales for damage, observe their swimming patterns for any irregularities, and ensure their fins are complete and undamaged. Good parent fish will have clear, bright eyes and display regular eating habits.
Keep detailed records of your potential breeding fish’s lineage if possible. This helps prevent inbreeding and allows you to predict the possible color patterns in offspring. Remember, high-quality parent fish are more likely to produce healthy, attractive offspring, so take your time in selecting the best breeding pairs for your pond.

Age and Health Requirements
Successful koi breeding starts with selecting the right parent fish. Your breeding pairs should be at least 3-4 years old, as this is when koi reach sexual maturity. Younger fish might spawn, but their success rate is typically lower, and the offspring may not display the desired qualities.
Choose healthy, vibrant koi that are free from any common koi health problems. Look for fish with good body confirmation, strong scales, and clear eyes. The female (hen) should have a plump, rounded belly, especially during breeding season, while the male (cock) should be slightly smaller and more streamlined.
The ideal weight for breeding koi is between 10-15 pounds for females and 8-12 pounds for males. Avoid using overweight fish as they might have reproductive issues. Your breeding pairs should also show active behavior and good appetite, which are indicators of robust health.
It’s best to select parent fish with complementary colors and patterns if you’re aiming for specific varieties in their offspring. However, remember that koi genetics can be unpredictable, and you might get surprising results even from carefully chosen pairs.
Keep your breeding stock in optimal condition by maintaining a balanced diet rich in protein and vitamins. During the pre-breeding season, gradually increase their food intake to help build up their energy reserves for the spawning process. Regular health checks and proper quarantine procedures for new fish will help ensure your breeding program’s success.
The Breeding Process
Timing and Seasonal Considerations
Koi breeding naturally occurs in spring when water temperatures consistently reach 65-70°F (18-21°C). This seasonal timing isn’t random – it’s nature’s way of ensuring the best survival chances for young koi. The warming temperatures trigger hormonal changes in adult koi, preparing them for spawning.
Typically, the breeding season starts in April or May, depending on your location and climate. You’ll notice male koi becoming more active and developing small white bumps (breeding tubercles) on their heads and pectoral fins. Females will appear noticeably rounder as they fill with eggs.
To successfully time your breeding project, start monitoring water temperatures in early spring. When temperatures remain stable for at least two weeks, you can begin conditioning your breeding koi with protein-rich foods. Many experienced breeders simulate natural seasonal changes by gradually raising the water temperature over several weeks.
The actual spawning usually occurs in the early morning hours and can last several hours. After spawning, it’s crucial to maintain stable water temperatures for the developing eggs, which will hatch in about 4-5 days. Planning your breeding timing around local weather patterns helps avoid sudden temperature fluctuations that could harm the eggs or fry.
Remember that patience is key – rushing the process by artificially heating the pond too quickly can stress your koi and reduce breeding success.
Spawning Behavior and Support
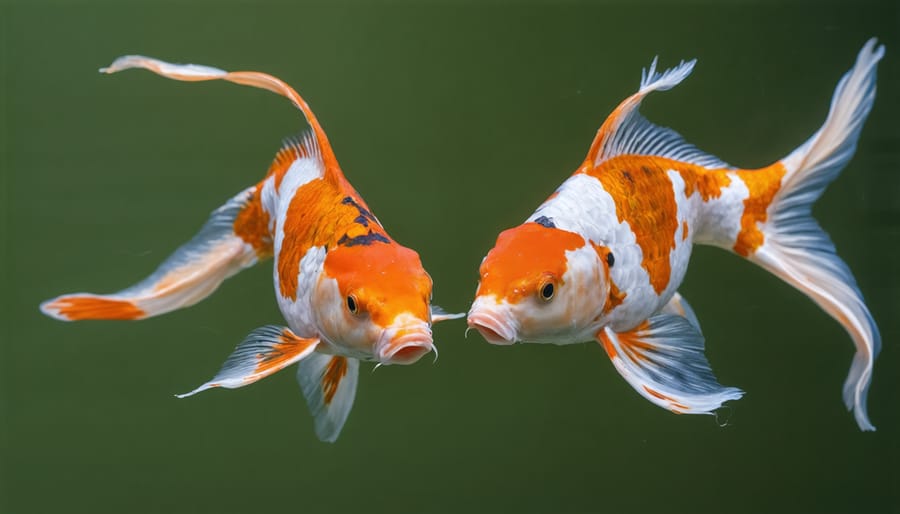
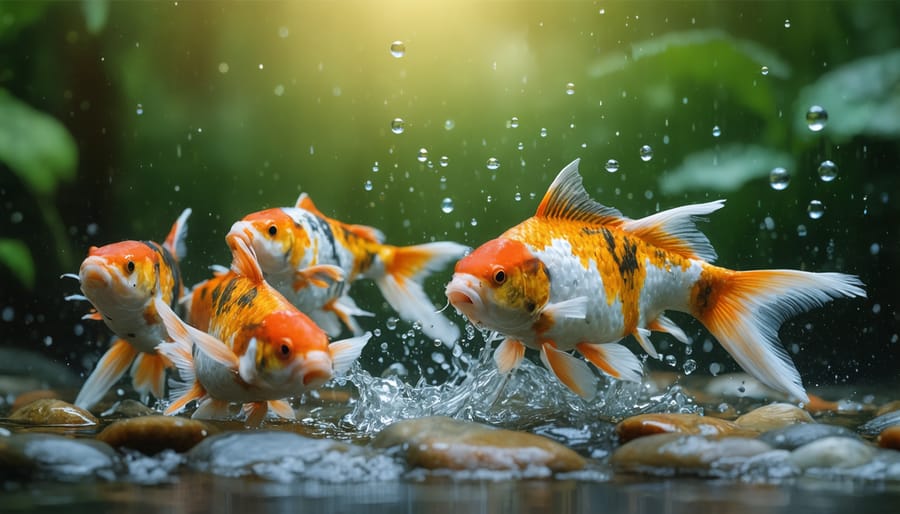
During spawning, female koi release thousands of eggs while males simultaneously release milt to fertilize them. This typically occurs in the early morning hours, with fish engaging in an energetic courtship dance – males will chase females, often nudging their sides to encourage egg release. You’ll notice splashing and increased activity near the surface, particularly around floating plants and spawning brushes.
To support successful spawning, maintain optimal water conditions with temperatures between 65-70°F (18-21°C). Place spawning ropes or brushes in shallow areas where you’ve observed koi activity. These materials give the eggs something to stick to and provide protection from predators. Remove any excess debris or uneaten food from the pond to maintain water quality during this crucial period.
After spawning, carefully remove the egg-covered materials to a separate hatching tank if possible. This protects the eggs from being eaten by other pond inhabitants. The eggs typically hatch within 4-5 days, depending on water temperature. During this time, avoid disturbing the eggs and maintain gentle water movement with an air stone to ensure proper oxygenation.
Monitor the spawning area regularly but minimize interference. Some eggs may not be viable and will turn white – this is normal. Once hatching begins, you’ll see tiny fry hanging vertically from surfaces before becoming free-swimming after 2-3 days.

Egg Care and Protection
Once your koi have laid their eggs, proper care and protection become crucial for successful breeding. The eggs typically attach to spawning brushes or plants, appearing as tiny, clear spheres with a slight yellow tint. Remove any eggs that appear white or cloudy, as these are likely unfertilized or damaged.
To protect the eggs from hungry adult koi and other fish, carefully transfer the spawning brushes or plants with attached eggs to a separate hatching tank or protected area of the pond. This dedicated space should have gentle water circulation to prevent fungal growth while avoiding strong currents that could damage the eggs.
Maintain stable water parameters during the incubation period, which typically lasts 3-4 days. Keep the water temperature between 68-74°F (20-23°C) and ensure adequate oxygen levels through gentle aeration. Consider using methylene blue in the hatching tank to prevent fungal infections, following the product’s recommended dosage.
Natural predators like frogs, newts, and even insects can pose a threat to koi eggs. Installing fine mesh netting over the hatching area helps keep these unwanted visitors away. Some breeders also use specialized egg incubators with built-in protection and water flow control for optimal results.
Monitor the eggs daily for signs of development. As hatching time approaches, you’ll notice tiny black eyes developing within the transparent eggs, indicating healthy progress.
Caring for Koi Fry
First Weeks of Life
The first few weeks of a koi fry’s life are incredibly delicate and require careful attention to ensure their survival. During this crucial period, the tiny fry will feed primarily on their egg sacs for the first 2-3 days after hatching. Once they’ve consumed their egg sacs, it’s time to begin feeding them infusoria or specially formulated fry food.
Keep the water temperature stable between 68-74°F (20-23°C), as sudden temperature changes can be fatal to young fry. Install a gentle air stone to maintain proper oxygen levels, but ensure the bubbles aren’t too strong as this can stress or harm the delicate babies. Regular water quality testing is essential during this time – even small amounts of ammonia can be deadly to fry.
To protect your koi from dangers, remove any debris or uneaten food promptly, as these can quickly foul the water. Feed the fry small amounts 4-5 times daily, rather than one or two large feedings. This helps maintain water quality and ensures all fry have access to food.
Watch for any signs of illness or stress, such as fry hanging at the surface or not eating. During this period, you’ll notice the fry beginning to develop their first hints of color, usually around weeks 2-3. Keep predators away by using fine mesh covers over the breeding tank or pond section. With proper care and attention during these critical first weeks, you can expect a survival rate of 60-70% among healthy fry.

Growing Out Your Fry
Growing out your koi fry is an exciting and rewarding phase that requires patience and attention to detail. During the first few weeks, feed your fry freshly hatched brine shrimp or specialized fry food 4-5 times daily. Keep portions small but frequent to promote healthy growth while maintaining water quality.
As your fry grow, gradually introduce larger food particles and reduce feeding frequency to 3-4 times daily. Around week 6-8, you can begin incorporating crushed pellets into their diet. Make sure all food particles are small enough for the fry to easily consume.
Water quality is crucial during this growth period. Perform small water changes (10-15%) every few days to maintain optimal conditions. Keep the water temperature stable between 68-75°F (20-24°C) and ensure proper filtration without creating strong currents that could stress the small fish.
Around month 2-3, you’ll notice your fry developing distinct colors and patterns. This is an excellent time to begin selecting potential keepers based on their growth rate, body shape, and color development. Move the strongest specimens to a separate growing pond or tank to ensure they receive adequate space and nutrition.
Continue this selective growing process until your koi reach about 6-8 inches in length, typically around 6-8 months of age. During this time, maintain a varied diet including quality pellets, live foods, and color-enhancing feeds. Regular monitoring of growth rates and health will help you identify any potential issues early on.
Remember that patience is key – quality koi development takes time, and rushing the process can lead to stunted growth or health issues. Keep detailed records of feeding schedules and growth rates to help refine your techniques for future breeding seasons.
Embarking on a koi breeding journey is both exciting and rewarding. As we’ve explored throughout this guide, successful koi breeding requires careful planning, the right environment, and dedicated attention to detail. From creating the perfect spawning conditions to nurturing tiny fry into beautiful adult koi, each step brings its own challenges and joys.
Remember that patience is key in koi breeding. Your first attempt may not be perfect, and that’s perfectly normal. Start with healthy parent fish, maintain optimal water conditions, and provide appropriate nutrition at each life stage. Pay special attention to water temperature during spawning season and ensure your pond has plenty of plants and spawning brushes for the breeding process.
Don’t be discouraged if you face initial setbacks. Many successful koi breeders started just like you, learning through experience and gradually improving their techniques. Keep detailed records of your breeding attempts, including spawning dates, water parameters, and growth rates. This information will prove invaluable as you refine your breeding program.
The satisfaction of raising koi from eggs to mature fish is truly unparalleled in the water gardening hobby. Whether you’re breeding for personal enjoyment or hoping to develop specific color patterns, the process of creating new life and watching it develop is deeply fulfilling.
Ready to start your breeding adventure? Begin by assessing your current pond setup and making necessary adjustments. With the knowledge you’ve gained from this guide, proper preparation, and enthusiasm for the process, you’re well-equipped to begin your journey into koi breeding. Remember, every experienced breeder started with their first spawn – now it’s your turn to join this fascinating aspect of koi keeping.
