
Build a Crystal-Clear Pond with This DIY Bio-Filter System
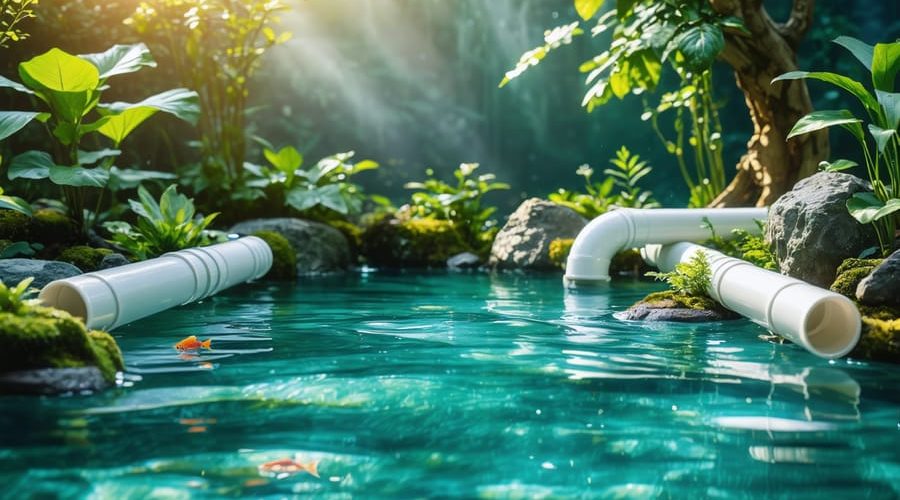
Transform your backyard pond into a crystal-clear oasis with a DIY filtration system that rivals commercial alternatives at a fraction of the cost. Building your own pond filter combines the perfect balance of mechanical and biological filtration, ensuring healthy water for fish and plants while saving hundreds of dollars in equipment expenses.
A homemade pond filtration system harnesses natural biological processes using readily available materials like plastic storage containers, PVC pipes, filter media, and pond pumps. Whether managing a small garden pond or a larger water feature, custom-built filtration offers complete control over water quality while adapting perfectly to your specific needs.
This comprehensive guide walks through creating a three-stage filtration system that removes debris, converts harmful ammonia, and polishes water to pristine clarity. From selecting the right materials to understanding the science behind biological filtration, you’ll discover how simple components work together to maintain a thriving aquatic ecosystem.
The beauty of DIY pond filtration lies not just in its cost-effectiveness, but in its scalability and ease of maintenance. By following proven design principles and using smart material choices, you can build a system that’s both efficient and long-lasting. Let’s dive into the essential components and step-by-step construction process that will keep your pond naturally balanced and crystal clear year-round.
Understanding Biological Filtration Basics
The Three Stages of Pond Filtration
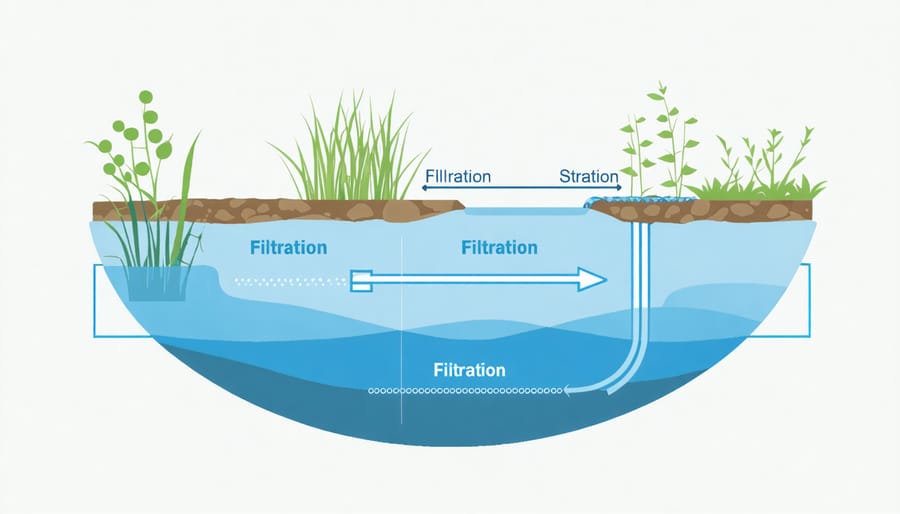
A well-functioning pond relies on three essential natural filtration processes working together to keep your water crystal clear and healthy for aquatic life. Let’s break down these stages to understand how each one contributes to your pond’s ecosystem.
Mechanical filtration is your first line of defense, acting like a giant pond strainer. It captures floating debris, fallen leaves, and other physical particles before they can break down and cloud your water. Think of it as your pond’s vacuum cleaner, preventing larger particles from clogging up the rest of your system.
Biological filtration is where the real magic happens. Beneficial bacteria colonize your filter media and break down harmful compounds like ammonia and nitrites into less harmful substances. These microscopic helpers are the true heroes of your pond, converting fish waste and organic matter into nutrients that your plants can use.
Chemical filtration is your final touch, helping to remove dissolved pollutants that mechanical and biological filtration can’t catch. While not always necessary in natural ponds, it can help tackle specific issues like water discoloration or excessive minerals. Activated carbon is a popular choice for this stage, working like a magnet to attract and trap unwanted substances.
Understanding these three stages is crucial for building an effective DIY filtration system that keeps your pond healthy and clear all year round.
Beneficial Bacteria: Your Pond’s Natural Cleaners
Think of beneficial bacteria as your pond’s microscopic cleaning crew! These hardworking organisms are the backbone of your biological filtration system, breaking down harmful waste into harmless compounds. Just like a tiny recycling plant, they convert fish waste, decaying plants, and other organic matter into nutrients that your pond plants can use.
These beneficial bacteria thrive in your filter media, creating what we call a biofilm – their home base for waste processing. Combined with proper pond aeration, these microscopic helpers transform ammonia (toxic to fish) into nitrites and then into nitrates (much safer for your pond life).
To keep your bacterial colony happy and productive, maintain consistent water flow through your filter and avoid using harsh chemicals that might harm them. When starting a new pond filter, you can speed up the colonization process by adding commercial bacterial supplements, though natural colonization will occur over time. Remember, a healthy bacterial population means clearer water and healthier fish!
Materials and Tools Needed
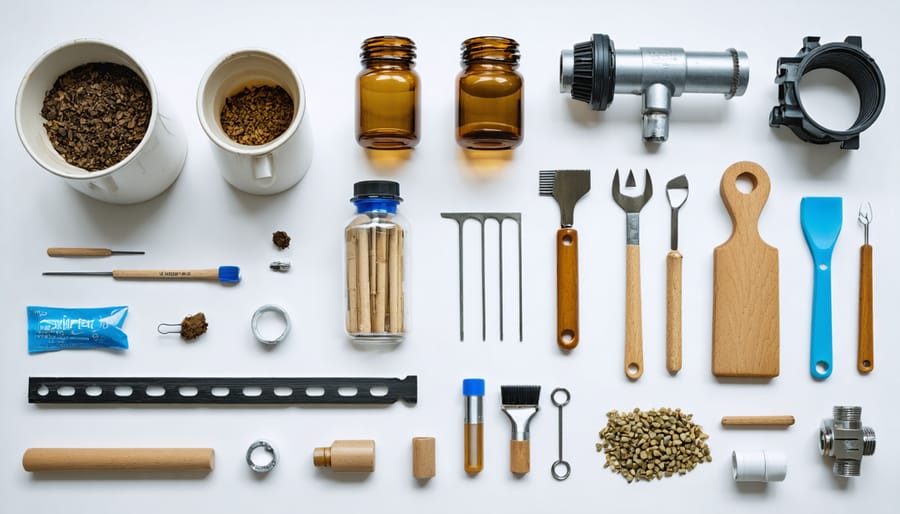
Before diving into construction, let’s gather all the necessary materials and tools for your DIY pond filtration system. You’ll be pleased to know that most of these items are readily available at local hardware stores or online, and there are several cost-effective filter materials to choose from.
Essential Materials:
– 55-gallon plastic drum or large container (alternatively, use multiple 5-gallon buckets)
– PVC pipes (2-inch diameter) and connectors
– Filter media layers:
• Coarse filter pads or sponge
• Bio balls or lava rock
• Activated carbon
• Ceramic rings or pot scrubbers
– Pond pump (sized according to your pond volume)
– Silicone sealant (aquarium-safe)
– Screen mesh or filter mat
– Rubber gaskets
– Zip ties
Required Tools:
– Drill with hole saw attachments
– Utility knife
– Measuring tape
– Marker or pencil
– Safety equipment:
• Protective gloves
• Safety goggles
• Dust mask
– Adjustable wrench
– PVC pipe cutter
– Sandpaper
Budget-Friendly Alternatives:
Instead of expensive bio balls, you can use plastic pot scrubbers or recycled plastic bottle rings. Old filter media from an established pond can jumpstart beneficial bacteria growth. For mechanical filtration, washable filter pads are more economical than disposable ones.
Optional but Helpful:
– Level tool
– Teflon tape for pipe connections
– Garden hose attachments
– Bucket for media cleaning
– Water testing kit
– Spare filter media
Remember to clean all materials thoroughly before use and avoid any metal components that might rust over time. Store any leftover materials in a dry place for future maintenance or upgrades.
Building Your DIY Bio-Filter
Preparing the Filter Container
Let’s start by preparing our filter container, which will be the heart of your DIY pond filtration system. Begin by thoroughly cleaning your chosen container – a heavy-duty plastic storage bin or drum works perfectly for this purpose. Once clean, mark spots for the inlet and outlet holes about 2-3 inches from the top of the container on opposite ends.
Using a hole saw attachment or sharp utility knife, carefully cut these holes to match the diameter of your plumbing pipes. Smooth any rough edges with sandpaper to prevent future leaks. For additional stability, drill several small drainage holes in the bottom of the container, spacing them evenly about 6 inches apart.
Next, install bulkhead fittings into your inlet and outlet holes. These create a watertight seal and provide secure attachment points for your plumbing. Apply a thin bead of silicone sealant around each fitting to ensure they’re completely waterproof. Let the sealant cure for at least 24 hours before proceeding.
While waiting, prepare your container’s interior by adding support structures for your filter media. Place plastic grid material or egg crate lighting diffuser along the bottom to prevent your filter media from blocking the drainage holes. This creates better water flow and makes maintenance easier down the line.
Test all your connections with plain water before adding any filter media to ensure everything is properly sealed and working as intended.
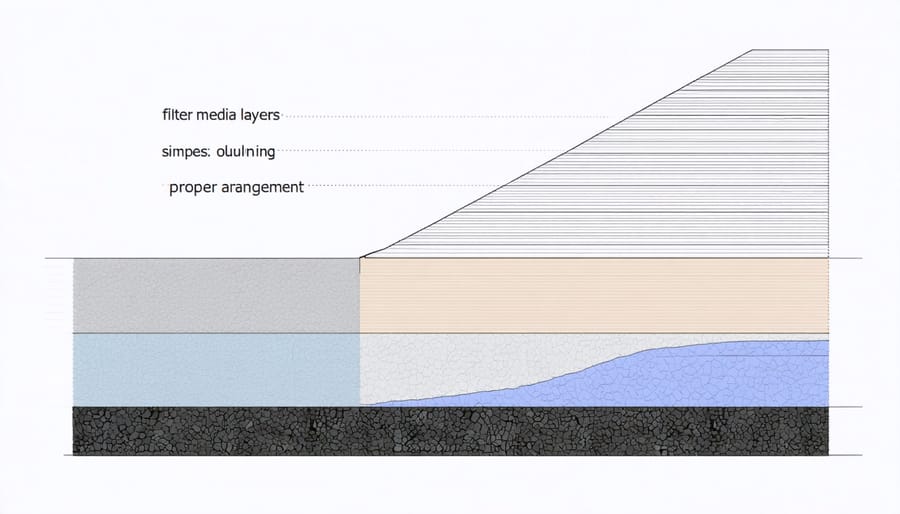
Creating Filter Media Layers
Creating effective filter layers is like building a natural water purification system – each layer plays a crucial role in keeping your pond water crystal clear. Let’s walk through the process of arranging your filter media from bottom to top.
Start with the bottom layer using coarse materials like lava rock or large bio-balls. This layer should be about 4-6 inches thick and catches the biggest debris. Think of it as your first line of defense against pond muck and large particles.
Next comes your mechanical filtration layer using medium-grade materials. Pot scrubbers, filter mat, or aquarium filter foam work great here. Make this layer about 3-4 inches thick. These materials trap smaller particles that made it through the first layer while allowing beneficial bacteria to thrive.
The third layer is where the magic of biological filtration happens. Use materials with lots of surface area like ceramic rings or bio-rings. This 3-4 inch layer provides a home for beneficial bacteria that break down harmful ammonia and nitrites.
For the top layer, add fine filter media like filter floss or polyester fiber. Keep this layer thinner, about 2-3 inches, as it catches the tiniest particles and polishes your water to a sparkling finish.
Pro tip: Always arrange your layers from coarsest to finest as water flows upward. This prevents clogging and makes maintenance easier. When placing the media, avoid compressing it too tightly – you want water to flow through freely while still making good contact with each layer.
Remember to rinse all materials thoroughly before use, and consider adding a pre-filter sponge at your pump intake to protect these layers from excess debris. With proper layering, your homemade filter will efficiently clean your pond water while supporting healthy bacterial growth.
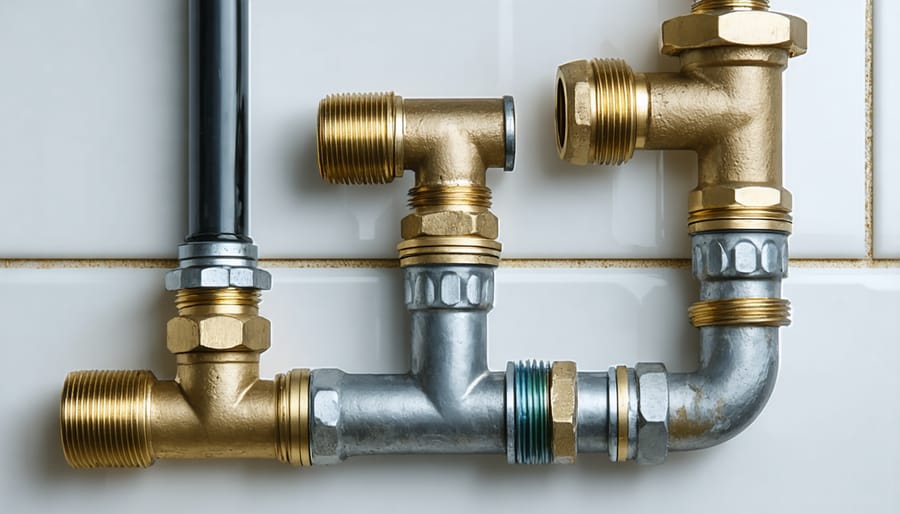
Installing Plumbing Components
Setting up the plumbing components is like putting together the circulatory system of your pond filter. Start by connecting your pond pump to a length of flexible PVC pipe – this will be your main water supply line. Make sure to use appropriately sized pipe that matches your pump’s output; typically, 1 to 2-inch diameter works well for most home ponds.
Position your pump in the deepest part of your pond, ideally in a pump basket to prevent debris from clogging it. Run the supply line from the pump to your filter container, securing it with waterproof silicone sealant at entry points to prevent leaks.
At the top of your filter container, install a valve to control water flow. This helps during maintenance and allows you to adjust the filtration rate. Create a spray bar by drilling small holes in a length of PVC pipe – this distributes water evenly over your filter media. Secure it across the top of your container using PVC brackets.
For the drainage system, install a bulkhead fitting near the bottom of your container. This creates a watertight seal for your outlet pipe. Attach another piece of flexible PVC pipe to direct filtered water back to your pond. Consider adding a ball valve on this line too – it’s super helpful when you need to clean the system.
Don’t forget about overflow protection! Install a second bulkhead fitting near the top of your container and connect it to an overflow pipe. This prevents flooding if your main drain gets clogged.
Pro tip: Always use pipe primer and PVC cement when connecting rigid pipes, and double-check all connections with a quick water test before adding filter media. Keep spare fittings handy – they’re lifesavers when you need to make quick repairs or modifications to your system.
Remember to position your return pipe so it creates some water movement in your pond – this helps with oxygenation and prevents stagnant areas from forming.
Installation and Setup
Now that you’ve built your DIY pond filter, it’s time to get it up and running! Start by choosing the perfect location for your filter system. The ideal spot should be slightly elevated from your pond and easily accessible for maintenance. If you’re using a gravity-fed system, position the filter higher than the pond’s water level.
Begin by connecting your pump to the filter intake using appropriate PVC piping or flexible tubing. Make sure all connections are tight and secure using hose clamps to prevent any leaks. If you’re installing the system above ground, consider creating a small concrete pad or using pavers to provide a stable, level foundation.
Before adding your filter media, thoroughly rinse everything to remove any dust or debris. Layer your media starting with the coarse materials at the bottom (like lava rock), followed by your biological media in the middle, and finishing with the fine filter material on top. Leave enough space at the top for water flow.
Connect the outlet pipe from your filter back to your pond, ensuring it creates some surface agitation for better oxygenation. If you’re using a waterfall return, position it to create an attractive water feature while maximizing aeration.
Time to test the system! Fill your pond to the appropriate level, then plug in your pump. Watch for any leaks and adjust connections as needed. You might notice the water looking cloudy at first – this is normal and will clear up as the system establishes itself.
Let the system run for 24 hours to ensure everything is working properly. During this time, check for proper water flow and make any necessary adjustments to your pump’s flow rate. Remember, it takes about 4-6 weeks for beneficial bacteria to fully colonize your filter media, so be patient as your system matures.
For optimal performance, place any UV clarifier (if using one) after the mechanical filtration but before the water returns to your pond. Finally, consider adding some protective covering or housing for your filter system to shield it from the elements and maintain its appearance.
Maintenance and Troubleshooting
Regular maintenance is key to keeping your DIY pond filtration system running smoothly. Clean the mechanical filter media every 2-4 weeks, depending on your pond’s debris load. Remove and rinse filter pads or sponges in pond water, not tap water, to preserve beneficial bacteria. Check pump flow rates monthly and remove any clogs or blockages.
When it comes to maintaining water balance, test your water parameters weekly using a reliable test kit. Monitor ammonia, nitrite, and nitrate levels, adjusting the biological filtration as needed. Replace about 10-15% of pond water monthly to prevent waste buildup.
Watch for these warning signs that indicate potential common filtration issues: decreased water flow, unusual odors, cloudy water, or dying plants. If water flow slows, check for pump blockages or clean the filter media. Green water usually means insufficient filtration or too much sunlight – consider adding more biological media or installing shade cloth.
During winter, protect your system from freezing by either moving it indoors or insulating exposed pipes. Clean the entire system thoroughly in spring and fall, replacing worn-out filter media and checking all connections. Remember, a well-maintained DIY filter can last for years with proper care and attention.
Building your own pond filtration system is not only cost-effective but also incredibly rewarding. By creating a custom solution, you’ll gain a deeper understanding of how your pond ecosystem works while saving money in the process. The materials are readily available, and with some basic DIY skills, you can have a fully functional filtration system up and running in a weekend. Best of all, you’ll have the satisfaction of knowing you’ve created something that keeps your pond crystal clear and your aquatic friends healthy. Don’t be afraid to get started – even if you’re new to pond keeping, this project is totally achievable. Your pond will thank you with clearer water, healthier fish, and reduced maintenance needs in the long run. So gather your materials, follow the steps we’ve outlined, and enjoy watching your pond transform into a pristine water feature.